Table of Contents
Advertisement
Quick Links
Advertisement
Table of Contents

Related Manuals for Sunbeam SAW24CR3FHUE


Summary of Contents for Sunbeam SAW24CR3FHUE
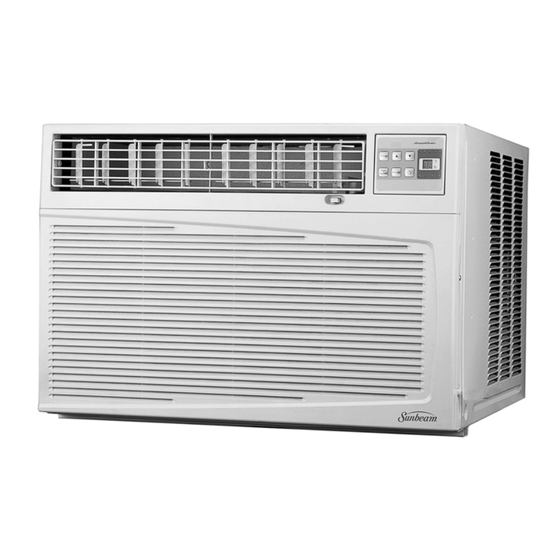
- Page 1 User’s Manual 24,000 BTU Room Air Conditioner SAW24CR3FHUE PTT042106...
-
Page 2: Table Of Contents
Introduction Parts Identification Electrical Specifications Tips Before Installation Installation Instructions Operating Instructions Care and Maintenance Troubleshooting Guide Table of Contents Page... -
Page 3: Introduction
Introduction Thank you for choosing this room air conditioner to cool your home. This USE AND CARE MANUAL provides information necessary for the proper care and maintenance of your new room air conditioner. If properly maintained, your air conditioner will give you many years of trouble free operation. To avoid installation difficulties, read instructions completely before starting. -
Page 4: Part Identification
Timer Mode Speed Note: The figures in this manual are based on the external view of a standard model. Consequently, the shape may differ from that of the air conditioner you have selected. Air Outlet Airconditioner Control Panel Exterior Air Inlet... -
Page 5: Electrical Specifications
RATED VOLTS AMPS WALL OUTLET FUSE SIZE If the air conditioner has a serial plate rating of 115 volts and up to and including 7.5 amps, the unit maybe on a fuse or circuit breaker with other devices. However, the maximum... -
Page 6: Tips Before Installation
3. Use drapes, curtains, or shades to keep direct sunlight from heating your room, but DO NOT obstruct the air conditioner. Allow air to circulate around the unit without obstructions. 4. Start your air conditioner before outdoor air becomes hot/cold and uncomfortable. -
Page 7: Installation Instructions
1. Select the Best Location A. Your room air conditioner was designed to fit easily into a single or double hung window. However, since window designs vary, it may be necessary to make some modifications for safe and proper installation. - Page 8 C. Grasp the pull handle at the front of the slide-out chassis and carefully slide the air conditioner out of the cabinet. See (Fig. 2). Please seek assistance for this procedure. Note: Screws must be reinstalled upon completion of the window installation to secure slide-out chassis.
- Page 9 Installation instructions 5. Installation of Mounting Brackets and First Sealing Strip NOTE: Windows come in a variety of different styles. Therefore, it may be necessary to modify or improve your particular installation. A. Attach the bracket assembly to 90 angle support brackets (Fig.
- Page 10 If necessary, re-adjust support bracket as shown in (Fig. 7). 7. Secure Shutters A. Carefully slide the air conditioner back into the cabinet.(Please seek assistance for this procedure). B. Reinstall the slide-out-chassis security screws (removed earlier) on both sides of the cabinet.
- Page 11 C. In very humid areas, the water removal may be excessive enough to overflow the unit or increase the noise of the air conditioner. If this occurs, you may wish to attach a drain hose (not included) to the drain plug allowing condensations to run off conveniently.
-
Page 12: Operating Instructions
THERMOSTAT The thermostat automatically controls the cooling cycle (compressor) of the air conditioner to maintain room temperature. However, the fan motor will continue to operate after the compressor (cooling cycle) is completed. - Page 13 You can easily operate this air conditioner by pressing relevant button on the control panel as well as the remote control. Button The air conditioner will be started when it is energized or will be stopped when it is in operation, if you press this button. Mode button...
-
Page 14: Remote Control
Operating Instructions Remote control Mode Auto Indication symbols of LCD on remote control: Signal transmit Cooling Auto fan speed Low fan speed The Above symbols are shown when the relevant mode is in use. When Changing modes during operation, sometimes the unit does not always respond at once. Wait 3 minutes. Wait 3 minutes before restarting the appliance. - Page 15 LCD of the remote control. User can preset the remote control type depending on the air conditioner type you have purchased as follows: Press any button when flashes, Heat Pump will be set. Press any button when flashes, Cooling Only will be set.
-
Page 16: Care And Maintenance
Care and Maintenance When servicing the air conditioner, be sure to turn the mode switch to the "OFF" position and disconnect the power cord from the electrical outlet. 1. DO NOT use gasoline, benzine, thinner or other chemicals on the air conditioner as these substances may cause damage to the paint finish and deformation of plastic parts. -
Page 17: Troubleshooting Guide
Troubleshooting Guide Frequently, a problem is minor and a service call may not be necessary, use this troubleshooting guide for a possible solution. PROBLEM Air conditioner will not operate Inefficient or no cooling Noisy unit Odors Water dripping outside Water dripping inside... - Page 18 © 2006 Sunbeam Products, Inc. doing business as Jarden Consumer Solutions. ® All rights reserved. Sunbeam is a registered trademark of Sunbeam Products, Inc. used under license. Distributed by Petters Consumer Brands, LLC. 4400 Baker Road, Minnetonka, MN 55343. For service, support and warranty information, visit www.sunbeammajorappliances.com...
Need help?
Do you have a question about the SAW24CR3FHUE and is the answer not in the manual?
Questions and answers