Table of Contents
Advertisement
Quick Links
Advertisement
Table of Contents

Subscribe to Our Youtube Channel
Summary of Contents for Link LM-TV04Q
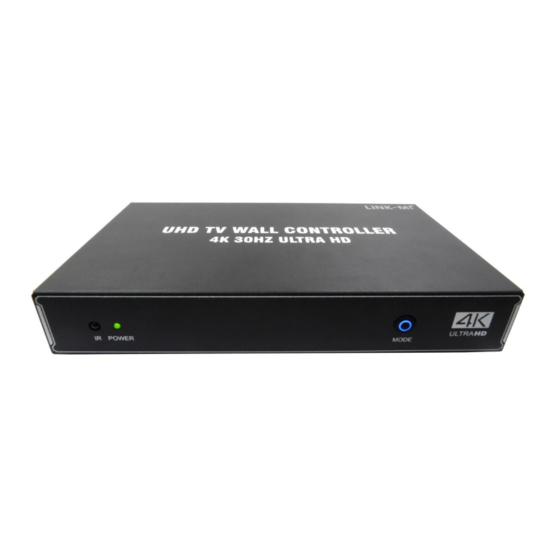
- Page 1 2x2 Video Wall Controller 4K@30Hz Model No.: LM-TV04Q User Manual...
-
Page 2: Table Of Contents
Catalog Foreword ...................1 1. Notes .....................2 2. Features ..................3 3. Technical parameter ..............4 4. Packing Contents ................. 4 5. Interfaces ..................5 6. Connection Diagram ..............6 7. Remote control key description ............7 8. Function description ..............8... -
Page 3: Foreword
Foreword 1. Welcome to use our products, thank you for your support to our products! For the safety of you and the equipment, please be sure to read the product manual carefully before using the equipment. 2. The product is labeled with fragile label, please pay attention to protection, it will be used as a warranty certificate. -
Page 4: Notes
1. Notes 1) Please use DC 12V-2A power supply, and make sure the whole engineering system use the same protective ground. 2) Do not press and place objects on the power cable, signal cable, communication cable and other cables, and should avoid the cable being stepped on or squeezed to prevent the risk of leakage or short circuit. -
Page 5: Features
2. Features 1. This product is a special LCD TV, ultra-narrow LCD screen, projector HD screen splicing processor, a single unit supports 4 HDMI signal output, connected to LCD TV or other display devices, can be customized according to user needs of various splicing mode. 2. -
Page 6: Technical Parameter
3. Technical parameter Item Parameter Specification HDMI1.4 HDMI with audio resolution support Input Signal 640x480 to 3840x2160@30hz; HDMI signal Support 2x2 1x4 4x1 video wall mode, max resolution upto 1920x1200/60hz; HDMI1 Support 2x2 1x4 4x1 video wall mode, max resolution upto 1920x1200/60hz; Output HDMI2 Signal... -
Page 7: Interfaces
5. Interfaces... -
Page 8: Connection Diagram
6. Connection Diagram... -
Page 9: Remote Control Key Description
7. Remote control key description Power on Power off No function HDMI No function No function Volume reduction Volume up No function SW/SP Splicing / Decomposition INPUT No function ← Leftward menu options → Right menu options ↑ Up Menu Options ↓... -
Page 10: Function Description
8. Function description 8.1 Setup Menu 8.1.1 2x2 splicing installation instructions A. Connect the input signal (HDMI) to the input of the splicing box. B. Connect the HDMI output of the splicing box to the four large screens. C. Call out the splicing menu through the remote control or the button "MENU" on the device panel, select "left"... - Page 11 upper left corner of the 2 × 2 HDMI Port 1 Splice Index 1)
- Page 12 E, set up the remaining three screens in turn F, set the completion of the splicing mode, splicing position, select splicing: open, complete the splicing settings. 8.1.2 Border fading. Border fade function: adjust the horizontal/vertical fade function, effective when the image is in the splicing state, the default value is 0, adjust the value to remove the border part of the image, adapt to different border size screen, so that the overall image display more three-dimensional.
- Page 13 8.2.1 OSD Timer Set the closing time of OSD menu, default 15 seconds 8.2.2 Key light Set the key light on, off, dynamic mode 8.2.3 Fan Set the fan to be always on or always off, it is recommended to be always on to avoid untimely heat dissipation, resulting in abnormal machine 8.2.4 HDMI output resolution Set the output resolution of the output port, the default 1920 * 1080.
- Page 14 Image mode: Default standard. Standard/Dynamic/Mild/User Color temperature: default Medium. cool/Medium/warm 8.4 Sound Setting Sound Mode: Default Standard. Standard/Movie/Music/Sports/User Balance: Default 0. Parameters 0~100 8.5 No signal display When there is no input signal, prompt NO SIGNAL display box...
- Page 15 9. Common problems and solutions - After normal link and start, the screen shows "No signal". 1. Please check whether the signal cable on the device is plugged in properly. 2. Try to restart the device and re-capture the signal.


Need help?
Do you have a question about the LM-TV04Q and is the answer not in the manual?
Questions and answers