Advertisement
Please give us a chance to make it right and do better !
Contact our friendly customer service department for help first.
Replacements for missing or damaged parts will be shipped ASAP !
US office: Fontana
UK office: Ipswich
Contact Us !
Do NOT return this item.
AU office: Truganina
US:cs.us@costway.com
UK:cs.uk@costway.com
AU:cs.au@costway.com
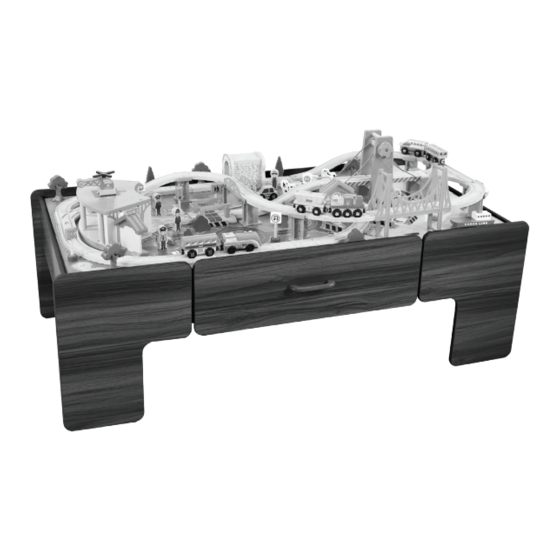
Wooden Train Table Set
THIS INSTRUCTION BOOKLET CONTAINS IMPORTANT SAFETY INFORMATION. PLEASE READ AND KEEP FOR FUTURE REFERENCE.
USER'S MANUAL
TM10008
Advertisement
Table of Contents

Related Manuals for Costway TM10008


Summary of Contents for Costway TM10008
- Page 1 US office: Fontana UK office: Ipswich AU office: Truganina USER’S MANUAL Contact Us ! Wooden Train Table Set TM10008 Do NOT return this item. US:cs.us@costway.com UK:cs.uk@costway.com AU:cs.au@costway.com THIS INSTRUCTION BOOKLET CONTAINS IMPORTANT SAFETY INFORMATION. PLEASE READ AND KEEP FOR FUTURE REFERENCE.
-
Page 2: Safety Information
Safety Information Important-Please read these instructions fully before assembly or use Before You Start General safety Please read all instructions carefully and keep it for future reference. Warning! Not suitable for children under 36 months due to small parts-choking hazard. General Security Warning Caution! Product should be used only for the purpose for Caution: The Product is not suitable for the children under 3 years... -
Page 3: Disposal Information
Rechargeable batteries are only to be charged under adult Disposal Information supervision. Different types of batteries or new and used batteries are not to be mixed. Only batteries of the same or equivalent types Electrical product waste should not be discarded with as recommended are to be used. - Page 4 Hardware Note: The quantities below are the correct amount to complete Insert cam bolts B into the corresponding holes of part 3. the assembly. In some cases more fittings may be supplied than are required. Assembly Instructions Insert cam nuts A into the corresponding holes of part 4 in the direction shown in the figure, insert it into part 1 and and then tighten cam nuts A.
- Page 5 Insert cam nuts A into the corresponding Same as Step 5. holes of part 4 in the direction shown in the figure, insert part 2 into part 4, and then tighten cam nuts A. Insert cam nuts A into the holes of part 1 and part 2 as shown in the figure, insert part 3 into the holes, and then tighten cam nuts A.
- Page 6 Insert cam nuts A into the corresponding holes of part 6 in the Fix the Part 10 (Drawer Handle) direction shown in the figure, insert part 7 and part 8 into part 6, with screws C. and then tighten cam nuts A. Insert cam nuts A into the corresponding holes of part 7 and part 8 in the direction shown in the figure, insert part 5 and then tighten cam nuts A.
- Page 7 Assembly Instructions Station Insert screws D into the corresponding holes as shown in the figure. Hardware Tunnel Put part 11 and part 12 on the table. Hardware...
- Page 8 Assembly Instructions Tracks Parts A x7 B x1 C x1 Tracks 54mm 54mm 42mm D x1 E x3 F x1 100mm 108mm 144mm G x1 H x1 I x6 J x8 K x1 L x3 M x1 N x1 O x1 P x1 Q x1 R x1...
-
Page 9: Care And Maintenance
Accessories Table and tracks Care and Maintenance General - Wipe clean with a damp cloth only. - Important: Check the product and fixings regularly to ensure no parts are damaged, loose, lost or broken. - Take care when moving the table. - The product should be regularly inspected by an adult for broken or damaged parts.
Need help?
Do you have a question about the TM10008 and is the answer not in the manual?
Questions and answers