Waterpik WP-564 Manual
Water flosser
Hide thumbs
Also See for WP-564:
- Manual (68 pages) ,
- Owner's manual (20 pages) ,
- Quick start manual (2 pages)
Advertisement
Available languages
Available languages
Quick Links
Waterpik
Model WP-560/562/563/
Water Flosser
®
564/565/566
Waterpik
Modell-560/562/563/
Hydropulseur Waterpik
Modèle WP-560/562/563/
Idropulsore Waterpik
Modello WP-560/562/563/
Irrigador bucal Waterpik
Modelo WP-560/562/
563/564/565/566
Waterpik
ModelWP-560/562/563/
Modelo do Irrigador dentário
Waterpik
WP-560/562/563/
®
Ирригатор Waterpik
Модель WP-560/562/
563/564/565/566
Munddusche
®
564/565/566
564/565/566
564/565/566
Water Flosser
®
564/565/566
564/565/566
®
®
®
®
Advertisement

Related Manuals for Waterpik WP-564


Summary of Contents for Waterpik WP-564
- Page 1 564/565/566 Waterpik Munddusche ® Modell-560/562/563/ 564/565/566 Hydropulseur Waterpik ® Modèle WP-560/562/563/ 564/565/566 Idropulsore Waterpik ® Modello WP-560/562/563/ 564/565/566 Irrigador bucal Waterpik ® Modelo WP-560/562/ 563/564/565/566 Waterpik Water Flosser ® ModelWP-560/562/563/ 564/565/566 Modelo do Irrigador dentário Waterpik WP-560/562/563/ ® 564/565/566 Ирригатор Waterpik ®...
- Page 2 • Do not place charger in or drop charger into into water. Contact Water Pik, Inc. via email at water or other liquid. InternationalService@waterpik.com. • Check the charger cord for damage before the • Do not direct water under the tongue, into the first use and during the life of the product ear, nose or other delicate areas.
- Page 3 Closely instruct and supervise • Only use tips and accessories that are • recommended by Water Pik, Inc. children 8 years and above • Do not drop or insert any foreign object into any and individuals with special opening on the product. needs in the proper use of this •...
- Page 4 TABLE OF CONTENTS Product Description Getting Started Cleaning and Troubleshooting Your Waterpik Water Flosser ® Limited Two-Year Warranty...
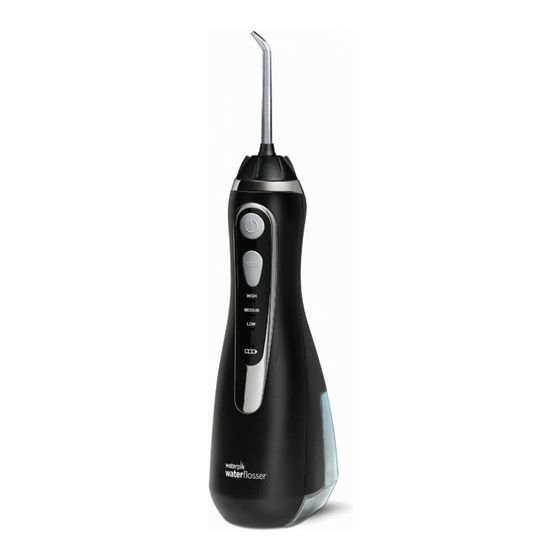
- Page 5 PRODUCT DESCRIPTION 1. Tip rotator 2. Power button 3. Mode/pressure button 4. Battery charge indicator 5. Tip 6. LED pressure indicators 7. Reservoir 8. Tip eject button 9. Reservoir fill door Charger 20018701-2, WP-560E, White 20018701-5, WP-562E, Black 20018701-21 WP-563E, Blue 20018701-9, WP-564E, Pink 20018701-22, WP-565E, Orchid 20018701-10, WP-566E, Teal...
- Page 6 GETTING STARTED Charging Unit Prior to First Use Plug the power cord into the wall and place the magnetic charger on the front of the unit for approximately 4 hours (see image). The charge indicator on the handle will flash when charging and will stay on continuously when the unit is fully charged.
- Page 7 NOTE: NOT ALL TIPS INCLUDED WITH ALL MODELS. TIP USAGE Pik Pocket™ Tip The Pik Pocket tip is specifically designed to deliver water or anti-bacterial ™ solutions deep into periodontal pockets. To use the Pik Pocket tip, set the unit to the lowest pressure ™...
- Page 8 CLEANING AND TROUBLESHOOTING YOUR WATERPIK WATER FLOSSER ® Using Mouthwash and Other Solutions Your Waterpik Water Flosser can be used to deliver mouthwash and ® antibacterial solutions. For ease of adding other solutions remove the reservoir (see “When Finished” section) and add from top opening on reservoir.
- Page 9 For all your warranty and accessory needs, please email InternationalService@Waterpik.com. Please do not ship product to Waterpik International, Inc. offices, this will delay service. Refer to the serial and model numbers in all correspondence.
- Page 10 TABLE DES MATIÈRES Description du produit Comment démarrer Nettoyage et dépannage de votre hydropulseur Waterpik ® Garantie limitée de deux ans...
- Page 11 DESCRIPTION DU PRODUIT 1. Embout tournant 2. Bouton de mise sous/hors tension 3. Bouton de sélection du mode et de la pression 4. Témoin de charge de la batterie 5. Embout 6. Voyants à DEL de pression 7. Réservoir 8. Bouton d’éjection de l’embout 9.
- Page 12 COMMENT DÉMARRER Chargement de l’appareil avant la première utilisation Branchez le cordon d’alimentation sur une prise murale et placez le chargeur magnétique sur l’avant de l’appareil pendant environ 4 heures (voir l’illustration). Le témoin de charge sur lemanche clignote lorsque l’appareil est en charge et reste fixe lorsque l’appareil est complètement chargé.
- Page 13 Si vous le souhaitez, le réservoir peut être retiré du manche d’alimentation en faisant glisser la languette de fixation du réservoir sur la position de déverrouillage (1) et en faisant coulisser le réservoir vers le socle de l’appareil (2). REMARQUE : tous les embouts ne sont pas compris avec tous les modèles.
- Page 14 NETTOYAGE ET DÉPANNAGE DE VOTRE HYDROPULSEUR WATERPIK ® Utilisation de bains de bouche et autres solutions Vous pouvez utiliser l’hydropulseur Waterpik pour l’administration d’un rince- ® bouche ou d’une solution antibactérienne. Pour ajouter facilement d’autres solutions, retirez le réservoir (consultez la section « Lorsque le nettoyage est terminé ») et ajoutez le liquide par l’ouverture supérieure du réservoir.
- Page 15 Pour tous vos besoins en garantie et en accessoires, veuillez envoyer un courriel à InternationalService@Waterpik.com. Veuillez ne pas expédier le produit aux bureaux de Waterpik International, Inc., ceci retardera le service. Veuillez indiquer les numéros de série et de modèle dans toute correspondance.
- Page 16 Inc. registrada en Alemania, Arabia Saudita, Argentina, eingetragenes Warenzeichen in Argentinien, Australien, Australia, Benelux, Brasil, Canadá, Chile, China, Corea, Waterpik® – торговая марка компании Water den Beneluxländern, Brasilien, Kanada, Chile, China, Dinamarca, Estados Unidos Federación Rusa, España, Pik, Inc., зарегистрированная в Аргентине, der Tschechischen Republik, Dänemark, der EU,...
Need help?
Do you have a question about the WP-564 and is the answer not in the manual?
Questions and answers