Advertisement
Quick Links
•
250-18,000 rpm range with 10 rpm resolution. (100 rpm res. above 10,000)
•
Adjustable cylinder selection (1-15).
•
Adjustable warning point to flash the gauge readout.
•
High rpm recall.
Mounting:
The Series I gauge requires a rectangular hole 2-9/16" x 1-11/16". . It should be inserted into the opening
from the front and the U-clamp will be installed from the back. Tighten the two nuts on the U-clamp so that the
gauge is secure. Gauge depth to the back of the case is 1". Gauge depth including the mounting studs is 1-7/8".
SETTING THE WARNING LIMITS, CYLINDER SETUP, AND UPDATE SPEED:
The setup is done using the function switch. The tachometer can be calibrated two different ways. The green
wire is used to enter and change the warning settings. You will need a switch connected with one side to the green
wire and the other side to 12 volts.
1. To enter the set mode, turn the key on with the switch pressed. The gauge will display "SEt".
2. Release the swtich. The gauge will display "HI" and then change to the current hi rpm warning point. (2800
– 15,200)
3. Each time you momentarily press the switch the warning will increase 200rpm.
4. When the desired warning value is displayed, keep the switch held for about 2 seconds. The gauge will
display "CYL".
5. Release the switch. The gauge will display the current cylinder setting. (1-15)
6. Each time you momentarily press the switch the number will increase by 1.
7. When the desired cylinder setting is displayed, keep the switch held for about 2 seconds. The gauge will
display "SPd".
8. Release the switch. The gauge will display the current update speed. (slow "SLO" or fast "FSt").
9. Each time you momentarily press the switch the display will change.
10. When the desired update speed is displayed, keep the switch held for about 2 seconds. The gauge will
display "--".
11. Turn the key off.
Series I
ODY-02-7 MINI TACHOMETER rev. C
MAN# 650028
Advertisement

Related Manuals for Odyssey ODY-02-7


Summary of Contents for Odyssey ODY-02-7
- Page 1 Series I ODY-02-7 MINI TACHOMETER rev. C • 250-18,000 rpm range with 10 rpm resolution. (100 rpm res. above 10,000) • Adjustable cylinder selection (1-15). • Adjustable warning point to flash the gauge readout. • High rpm recall. Mounting: The Series I gauge requires a rectangular hole 2-9/16“ x 1-11/16“. . It should be inserted into the opening from the front and the U-clamp will be installed from the back.
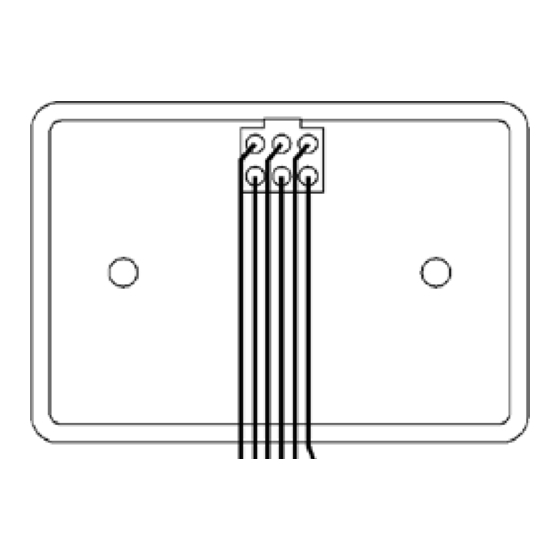
- Page 2 POWER Connect the red wire from the main harness to accessory power from the ignition switch. Never connect this to a battery charger alone. It needs to have a 12 volt battery connected to it. Battery chargers have an unregulated voltage output that will cause the system to not operate properly. GROUND The black wire is the main ground for the gauge.
- Page 3 TROUBLESHOOTING GUIDE. Problem Possible cause Solution Gauge will not light up Red wire does not have power. Connect to a location that has power. Black wire is not getting a good ground. Connect ground to a different location. Gauge is damaged. Return gauge for repair.
- Page 4 SERVICE AND REPAIR DAKOTA DIGITAL offers complete service and repair of its product line. In addition, technical consultation is available to help you work through any questions or problems you may be having installing one of our products. Please read through the Troubleshooting Guide. There, you will find the solution to most problems.
Need help?
Do you have a question about the ODY-02-7 and is the answer not in the manual?
Questions and answers