Advertisement
Quick Links
where inspiration flows
Wedmore Road, Cheddar, Somerset, England BS27 3EB
tel 01934 744466
aftersales @ vado.com
www.vado.com
Version 2, 1-1-23
Vado
fax 01934 744345
ZONE
Installation Guide
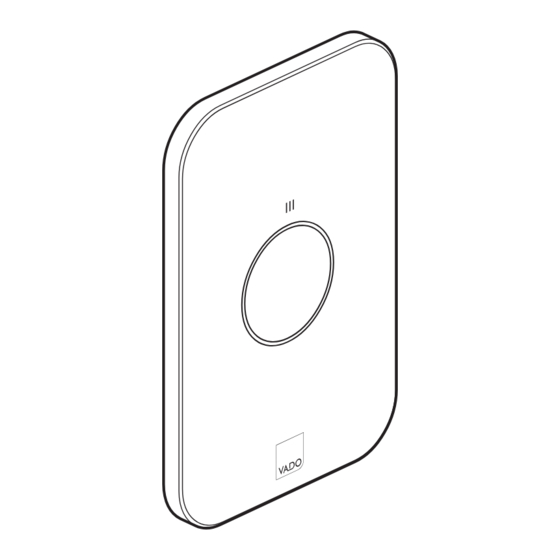
1 way wall mounted concealed stop valve
ZON-143-CP
ZON-143-H-CP
IND-Z143-☓☓☓
IND-Z143-H-☓☓☓
Keep for future reference
Advertisement

Summary of Contents for VADO IND-Z143 Series
- Page 1 ZONE Installation Guide 1 way wall mounted concealed stop valve ZON-143-CP ZON-143-H-CP IND-Z143-☓☓☓ IND-Z143-H-☓☓☓ Vado Wedmore Road, Cheddar, Somerset, England BS27 3EB tel 01934 744466 fax 01934 744345 aftersales @ vado.com www.vado.com Keep for future reference Version 2, 1-1-23...
-
Page 2: Important - Please Read
Important - please read Contents of Packaging Please read these instructions carefully before starting installation and keep for future reference. Remove all packaging and check the product for missing parts or damage before starting installation. Any alterations made to this product and fittings may infringe water regulations and will invalidate the guarantee. - Page 3 Dimensions Installation - Quick guide 78-113mm 78mm 113mm 52mm 1/2" 121mm...
- Page 4 Installation - Quick guide Installation - Quick guide X mm - X mm ZON-143-CP ZON-143-H-CP...
-
Page 5: Installation
Installation - Quick guide Installation Minimum 78mm Maximum 113mm On opposite side of tiling guide Tiling guide Valve Final wall surface Tiling guide Maximum wall mark Fixing screws Outlet arrow on valve Minimum wall mark Select the position for the shower valve and offer the shower valve to the wall, make sure the valve is level and mark the 2 fixing points with a suitable pencil. - Page 6 Installation Installation Tiling guide Inlet from ZON-128 Screws Outlet arrow on valve Outlet After removing the blanking plug and adding the outlet adaptor to the ZON-128 connect Remove the 2 screws using the suitable hex key provided with the ZON-128 and pullout the tiling guide.
- Page 7 Installation Installation X mm Spacer plate Tiling guide Spacer plate There is a spacer plate incorporated into the end of the tiling guide. Remove this by Measure the distance (X mm) the rod protrudes from the level of the spacer plate and then unscrew the rod and remove the spacer plate.
- Page 8 Installation Installation Cover Cover Apply a thin bead of silicone between Place the screws inside the fixing nut on With the correct cover orientation, use Make sure the cover is level and tighten the screws using the suitable hex key the collar and the tiles.