Advertisement
Table of Contents
Advertisement
Table of Contents

Subscribe to Our Youtube Channel
Related Manuals for Living Spaces 321905


Summary of Contents for Living Spaces 321905
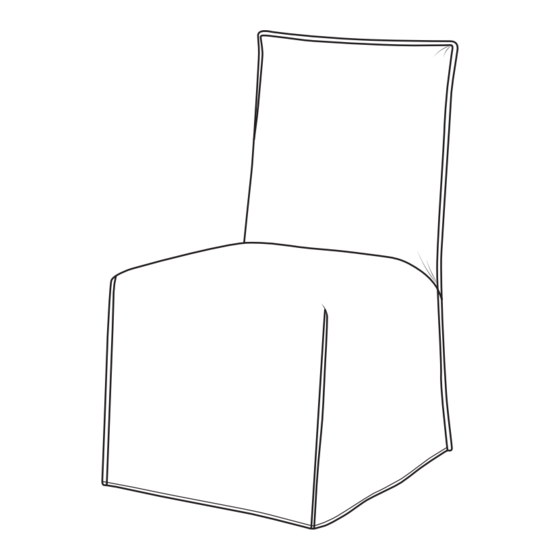
- Page 1 ASSEMBLY INSTRUCTIONS Slipper Dining Chair ASSEMBLY INSTRUCTIONS SLIP DINING CHAIR Slip Dining Chair (321905) Description : Dimension : 20"W×25 1/2"D×37"H Caution: Please retighten all connections periodically Please inspect all connections periodically and retighten them if loose.
- Page 2 BEFORE ASSEMBLY Thank you for purchasing this quality product. This product has been designed for easy assembly and constructed for durability. Please take the time to read and follow the assembly instructions carefully. Be sure to check all packing material carefully for small parts which may have come loose inside the carton during shipment. Please separate, identify, and count all parts and metal hardware.
- Page 3 STEP 1 Please lay the Seat Cushion (B) on soft, clean surface to assemble. Open the dust cover and take out the parts package from the bottom of seat. (Bottom of seat) A x 2 H1 x 8 H2:Flat Washer (8PCS) H3:Spring Washer(8PCS) H1:Allen Bolt(M8x60mm)/(8PCS) H2 x 8...
- Page 4 STEP 3 Attach Front legs (Ax2) to Seat Cushion (B) using Bolts (H1x4), Spring Washers (H3x4), Flat Washers (H2x4), and Allen Wrench (H4). Note: Do not fully tighten yet. STEP 4 Flip the chair over and press down on seat over legs to secure in place. Tighten all bolts and close the dust cover.
- Page 5 STEP 5 Please double check the balance of the chair,adjust the foot levelers if necessary. Foot levelers STEP 6 Put the Cloth Cover (D) on the chair. Assembly completed. Note: Light steaming may be necessary to remove wrinkles.
Need help?
Do you have a question about the 321905 and is the answer not in the manual?
Questions and answers