Advertisement
Quick Links
Advertisement

Subscribe to Our Youtube Channel
Related Manuals for Millenium MPS-750X PRO

Summary of Contents for Millenium MPS-750X PRO
- Page 1 MPS-750X PRO E-Drum Set...
- Page 2 Thomann GmbH Hans-Thomann-Straße 1 96138 Burgebrach Germany Telephone: +49 (0) 9546 9223-0 Internet: www.thomann.de 12.09.2023, ID: 561586_493327...
-
Page 3: Table Of Contents
Table of contents Table of contents General information........................................5 1.1 Symbols and signal words....................................5 Safety instructions.......................................... 6 Scope of delivery..........................................7 Assembly.............................................. 9 Protecting the environment....................................16 MPS-750X PRO E-Drum Set... - Page 4 MPS-750X PRO E-Drum Set...
-
Page 5: General Information
NOTICE! This combination of symbol and signal word indicates a possible dangerous situa‐ tion that can result in material and environmental damage if it is not avoided. Warning signs Type of danger Warning – danger zone. MPS-750X PRO E-Drum Set... -
Page 6: Safety Instructions
The plasticiser contained in the rubber feet of this product may react with the coating of the floor and cause permanent dark stains after some time. If necessary, use a suitable mat or felt slide to prevent direct contact between the device’s rubber feet and the floor. MPS-750X PRO E-Drum Set... -
Page 7: Scope Of Delivery
Tom rack Tom rack connection Ground tom legs Bass drum legs Mains plug Multi-connector cable set Trigger cable for crash pad Drumstick set Assembly instructions for MPS-750X PRO E-Drum Mesh Set User manual for MPS-750X Drum Module MPS-750X PRO E-Drum Set... - Page 8 Scope of delivery Item Qty. Screwdriver Drum set key ö & < > MPS-750X PRO E-Drum Set...
-
Page 9: Assembly
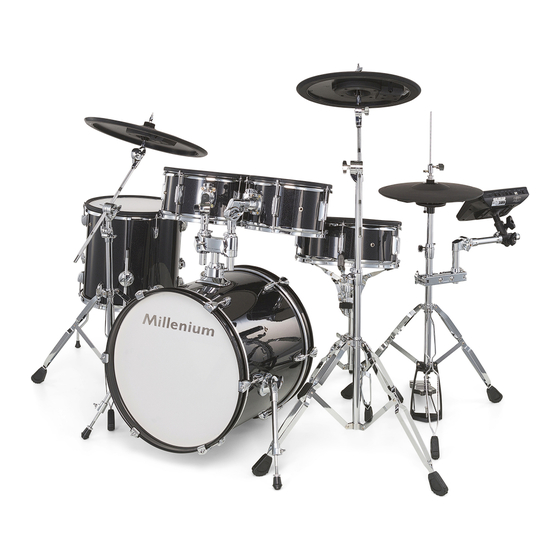
Tom pad (12 inch, dual zone, mesh head) Ride pad (18 inch, triple zone, with choke function) Snare pad (13 inch, dual zone, mesh head) Bass drum pad (18 inch) with bass drum pedal Ground tom pad (14 inch, dual zone, mesh head) MPS-750X PRO E-Drum Set... - Page 10 Tighten the wing nuts (2). Unfold the legs (1) to prevent slipping. Attach the bass drum pedal (3) to the bass drum (4). Adjust the position of the bass drum pedal (3) and tighten the wing nuts. MPS-750X PRO E-Drum Set...
- Page 11 Place the two tom pads in the support tubes (6) and adjust the upper memory locks (7). Setting up the ground tom Push the legs (8) of the ground tom into the connecting parts (9) on the sides. Tighten the wing nuts of the fastening clamps. MPS-750X PRO E-Drum Set...
- Page 12 Place the base of the drum module (14) on the holder (15) so that the holes are above each other. Screw the drum module to the holder. Unfold the support tube (16). Place the drum module in the fastening clamp by its holder (17) Tighten the wing nuts of the fastening clamps. MPS-750X PRO E-Drum Set...
- Page 13 Align the metal stopper on the base of the cymbal and insert the metal stopper. Put on the felt washer (20) and the round nut (21) as shown in the figure. Tighten the screws of the clasp (22) on the metal stopper. MPS-750X PRO E-Drum Set...
- Page 14 Push the hi-hat cymbal onto the tube. Leave enough space between the support and the cymbal so that you can control the opening and closing of the cymbal. Tighten the screws on the clasp (28) of the hi-hat cymbal. MPS-750X PRO E-Drum Set...
- Page 15 The tension of the mesh heads is relatively low in the delivery state in order to avoid damage during transport. For good playability and better trigger behaviour, adjust the drum head tension to your playing habits. MPS-750X PRO E-Drum Set...
-
Page 16: Protecting The Environment
Dispose of this device through an approved waste disposal firm or through your local waste facility. When discarding the device, comply with the rules and regulations that apply in your country. If in doubt, consult your local waste disposal facility. MPS-750X PRO E-Drum Set... - Page 17 Notes MPS-750X PRO E-Drum Set...
- Page 18 Notes MPS-750X PRO E-Drum Set...
- Page 20 Musikhaus Thomann · Hans-Thomann-Straße 1 · 96138 Burgebrach · Germany · www.thomann.de...
Need help?
Do you have a question about the MPS-750X PRO and is the answer not in the manual?
Questions and answers