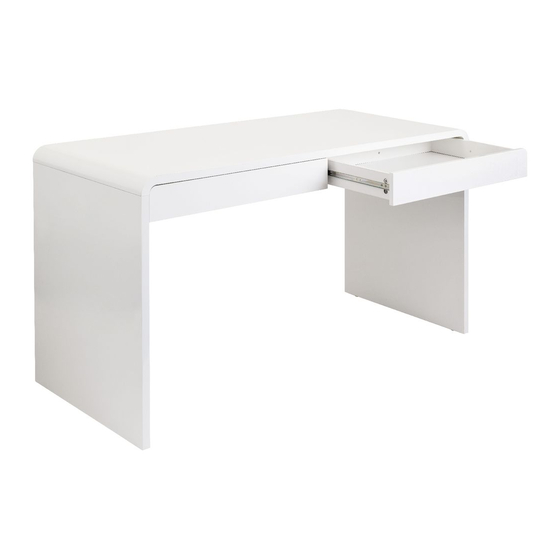
Summary of Contents for Otto REINE 2 OTREINEWE
- Page 1 ASSEMBLY INSTRUCTIONS REINE 2 DRAWER DESK ITEM CODE: OTREINEWE This design and instruction booklet is subject to copyright 1 Carton www.officeworks.com.au For missing hardware call (03) 9310 3011 or email hardware@kyvas.com.au 1/19...
- Page 2 To view an assembly video, go to https://www.officeworks.com.au/ Search the product by item code or name: Click on the icon to watch the video. Tools Required CAUTION Do not use tools other than those required, as this can damage your new item. NOTE Please check you have all hardware before assembling.
- Page 3 Part Overview 3/19...
- Page 4 Part List Parts located in Carton - OTREINEWE 4/19...
- Page 5 Hardware List Hardware Pack located in Carton - OTREINEWE Washer X 4pcs X 4pcs X 4pcs Sticker Cover Wrench X 2pcs X 1pc Other hardware located in Carton - OTREINEWE Plastic Cap X 2pcs For missing hardware, please contact Kyvas on (03) 9310 3011 or email hardware@kyvas.com.au 5/19...
- Page 6 Assembly Step 1 Separate slider components (E) x4 Fully extend the sliders by pulling. Locate tab and press as indicated whilst pulling sliders apart to release sections. (E1) x4 (E2) x4 Separated components now become E1 and E2. This procedure can be viewed in the assembly video.Video details on page 2 of this booklet. X 4sets 6/19...
- Page 7 Step 2 Front Front X 1pc X 3pcs Step 3 X 2pcs X 2pcs 7/19...
- Page 8 Step 4 Front Front X 1pc X 3pcs Step 5 X 2pcs X 2pcs 8/19...
- Page 9 Step 6 Front Front Front X 2pcs X 6pcs Step 7 X 2pcs 9/19...
- Page 10 Step 8 Tighten cam locks once panel 5 is in place. X 2pcs Step 9 Tighten cam locks once panel 2 and 3 are in place. X 4pcs 10/19...
- Page 11 Step 10 X 6pcs X 8pcs X 4pcs Step 11 Tighten cam locks once panel 1 is in place (to make sure the curved edge of Part 1 and Part 2 / 3 are in line). Tighten cam locks once panel 1 is in place. X 6pcs 11/19...
- Page 12 Step 12 X 4pcs X 4pcs X 4pcs X 1pc Step 13 X 2pcs X 2pcs 12/19...
- Page 13 Step 14 X 8pcs Step 15 X 8pcs 13/19...
- Page 14 Step 16 Tighten cam locks once panel 8 and 9 are in place. X 8pcs Step 17 14/19...
- Page 15 Step 18 Tighten cam locks once panel 6 is in place. X 4pcs Step 19 Front Front Front X 2pcs X 6pcs 15/19...
- Page 16 Step 20 Tighten cam locks once panel 7 is in place. X 4pcs Step 21 Front Front Front X 2pcs X 6pcs 16/19...
- Page 17 Step 22 Note: Move the inner ball bearing sliding part as shown below to the front end on both sides before inserting the drawer. Note: Insert the sliding part (at drawer section) into ball bearing part gently as shown below. Maximum Load Capacity: Desk Top - 40 kg Drawer - 5 kg...
-
Page 18: Care Advice
Care Advice Care Instructions - PU Painting Finish Desk Keep away and protect from direct sunlight and heat. Do not place sharp materials (knife, fork, etc) directly onto your furniture as sharp material may scrape and damage the finish. Clean up spills quickly. Water left over a prolonged period of time may cause damage. - Page 19 Warranty 3 years Product Warranty – valid for Australian customers only Officeworks Ltd warrants that this product will be free from defects and work as intended for 3 years from the date of purchase by the original customer. If the product has any defects or does not work as intended during the Warranty Period, Officeworks will, at its election and at its expense, repair or replace the product.


Need help?
Do you have a question about the REINE 2 OTREINEWE and is the answer not in the manual?
Questions and answers