Table of Contents
Advertisement
Quick Links
Advertisement
Table of Contents

Summary of Contents for Ariston AXIOS LUX ECO
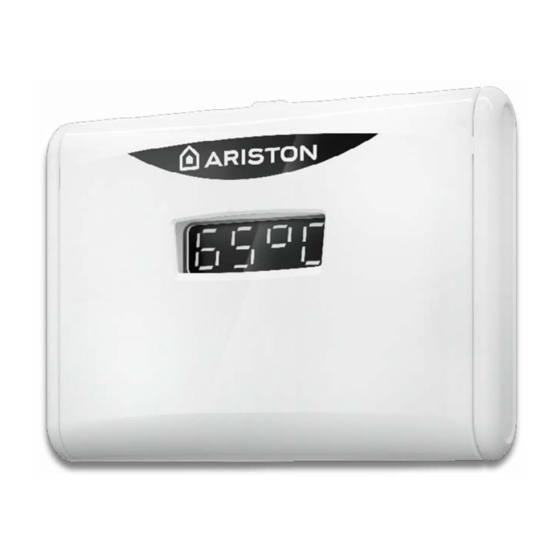
- Page 1 AXIOS LUX ECO Electronic Water Heater AXIOS LUX ECO AXIOS LUX ECO Remote Controller (HMI) Instruction Manual Electronic Water Heater Electronic Water Heater Remote Controller (HMI) Instruction Manual Remote Controller (HMI) Instruction Manual...
-
Page 2: Product Highlights
User Instructions This Product is supplied with an accessory box, containing the Valve Pack (Draincock + T&P Valve) and the Human Machine Interface (HMI) kit. The HMI kit includes a 10 m cable that has to be connected to the motherboard mounted on the geyser itself, this cable provides power to the HMI and allows for communication between the motherboard and HMI. -
Page 3: Different Operating Modes
Different Operating Modes This product can operate in different modes, Manual Mode: This is the default mode in factory setting. This mode allows users to set the desired temperature between 40° C and 70 °C. 2. Timer Mode: This mode allows users to set the time in a day when hot water is required. - Page 4 Fig. 3 Fig. 4 At the first connection to the power grid, the HMI turns on (LEDs and Display all light up) and after a few seconds, the display shows the sign “OFF” (Fig. 5). This means that the product is linked to the power grid but is turned off. To turn on the product, press the Power button .
-
Page 5: Set Local Time
Set Local time When the unit is first switched on, the device will automatically require the setting of the current time. To adjust the time, press the “SET” button for 2 seconds. Set the hour by using the “+” and “-” buttons and confirm by pressing the button “SET”. - Page 6 Caution: During the disinfection cycle, water temperature may be higher than expected, feel the water before use to avoid scalding and injury. To activate/deactivate the function, when the product is on, access the user menu, select option “U01”, then by using “+” / “-” buttons, select “1” for ON and “0”...
- Page 7 Different Mode Settings Set Manual Mode: Default mode. In this mode, only the “HEATING” LED “g” (Fig.4) is on when heating. Manual mode allows the user to set the desired temperature by pressing the “+” and “-” buttons until the desired temperature is indicated on the display (the setting range is 40°C-70°C).
-
Page 8: Diagnostic / Reset
If the cause of the malfunction disappears immediately following the reset process, the product will resume normal operation. If the display still shows the error code, then it is necessary to contact the Ariston Call Centre on 010 745 9911. - 7 -... -
Page 9: Leakage Detection
To switch off the power supply, press the Power button on the HMI module. To reset the water heater, call the Ariston Call Centre on 010 745 9911. When this fault occurs, only a specialized technician can reactivate the water heater. - 8 -... - Page 10 Power outage considerations In case of a power outage the user settings will not be lost (operating mode, temperature setting, scheduling setting and Anti-Legionella on/off). Functions related to the clock will be stored on the HMI for at least 2 hours (ECO- EVO memory, timer programming and Anti-Legionella 30day cycle timing).


Need help?
Do you have a question about the AXIOS LUX ECO and is the answer not in the manual?
Questions and answers