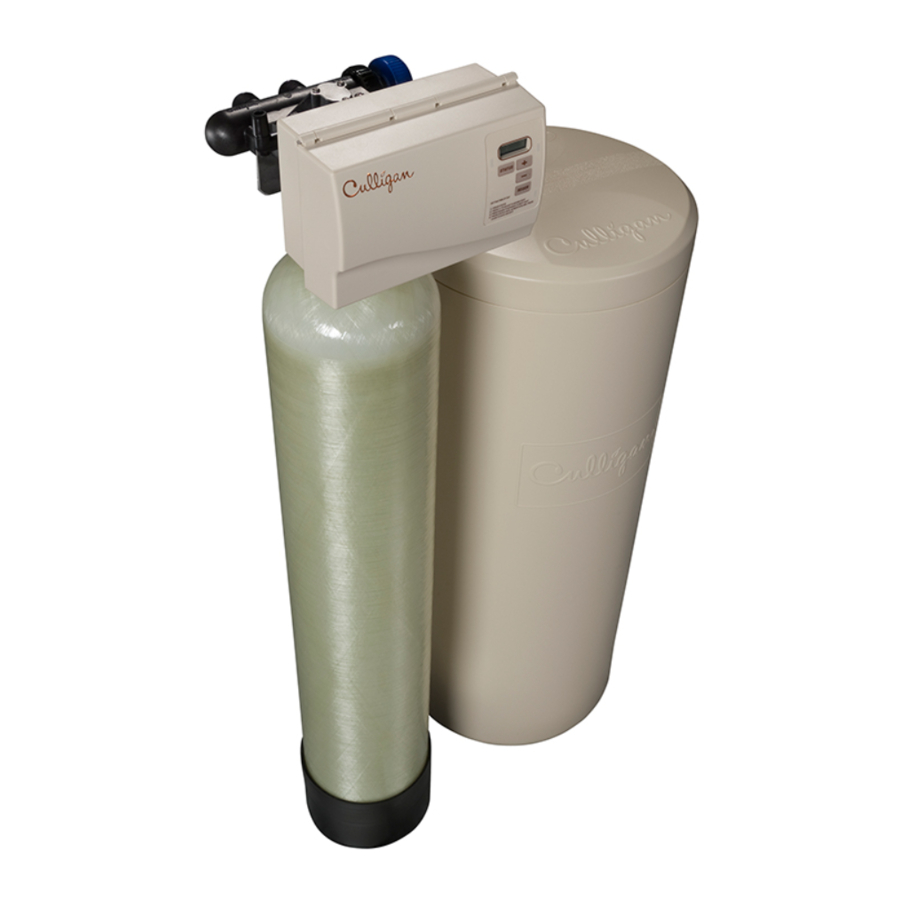
Culligan MEDALLIST - Water Dispenser Programming Manual
- Programming instructions (2 pages) ,
- Owner's manual (58 pages) ,
- Service manual (41 pages)
Advertisement
Introduction
Use this sheet to assist in programming the Medallist water softener when used as a standard application. Please refer to the Medallist Installation and Operation Manual if modifications need to be made to the programming options or service check out.
Make sure the inlet water supply is turned off, then supply power to the timer. The display will power up flashing "12:00 PM" and the motor will energize and cycle the control, without stopping, to the home position. This is required to ensure that the control is in the home position.
Overview

The timer uses four buttons:
- STATUS: Advance timer through display options.
- UP ARROW "+": Increase the setting.
- DOWN ARROW "-": Decrease the setting.
- REGEN.: Initiate a manual regeneration.
SETTING THE MICROPROCESSOR
The microprocessor senses when it is installed as a Soft-Minder® control. Adding or removing any connection to the board will automatically reset the microprocessor to the factory settings.
Step 1 – Programming Time of Day
Press the "STATUS" key.
The display will blink "tod" for 3 seconds and then change to time of day with the "ones" digit blinking. Adjust the "ones" digit with the "+" or "-" keys. Press the "REG" key to blink the "tens" digit. Adjust the "tens" digit with the "+" or "-" keys. Press the "REG" key to blink the "hours" digit. Adjust the "hours" digit with the "+" or "-" keys. Press the "REG" key to cycle back to "ones" or
Note: The "hours" setting scrolls through 1-12 AM and 1-12 PM. Make sure the proper AM or PM indicator is shown when setting the time.

Step 2 – Programming Regeneration Time
Press the "Status" key after setting the time of day. The display will blink "tor" for 3 seconds and then change to the time setting with the "ones" digit blinking. Adjust regeneration time as time of day above.
Note: This option will not show if the "dIP 2" option is set to immediate

Step 3 – Programming Salt Dosage
Press the "Status" key after programming regeneration time.
The display will blink "SLtP" if set to English or "SLtG" if set to Metric for 3 seconds and then display the salt dosage. Refer to the reverse side of this sheet for salt settings. Adjust the setting with the "+" or "-" key (3-24 lbs.)(1-10 kgs.)
Note: This option will not show if the control is set to Filter mode.

Step 4 – Programming Backwash Time
Press the "Status" key after programming salt dosage. The display will blink "bw" for 3 seconds and then display the backwash time in minutes. Adjust the setting with "+" or "-" key. (1-40 minutes)

Step 5 – Programming Brine Draw/Slow Rinse
Time Press the "Status" key after programming the backwash time. The display will blink "br" for 3 seconds and then display the brine draw/slow rinse time in minutes. Adjust the setting with the "+" or "-" key. (35-99 minutes). See Table 5 for suggested brine draw/slow rinse times.
Note: This option will not show if the control is set to Filter mode.

Step 6 – Programming Gallons (Liters) or Days to Regeneration
Meter Mode — Press the "Status" key after programming the brine draw/slow rinse time.
The display will blink "CAPG" ("CAPL") for 3 seconds and then display the gallons or liters set point. Adjust the setting with the "+" or "-" key. (10-9990 Gallons) (40-37000 Liters). Refer to the reverse side of this sheet for calculating capacity setting.
Note: The programmed value must be multiplied by 10 to obtain the actual setting. For example, if 87 is shown in the display, the control will regenerate after 870 gallons have passed through the meter.

Timeclock Mode — Press the "Status" key after programming the brine draw/slow rinse time. The display will blink "CAP" for 3 seconds and then display the number of days between regenerations.
Adjust the setting with the "+" or "-" key. (1-42 days). Refer to the reverse side of this sheet for calculating time clock settings.
Exiting Program Mode
From Step 6 (or step 7 if it is active) press the "Status" key.
The display will go blank.
Press the "Status" key again to exit programming.
Note: The control will exit the programming mode if no key press activity takes place within one minute.
Locking the Programmed Menu
Press and hold the "+" key for 3 seconds while in the service mode. The display will show the status of the lock feature. ("LoC" or "unL") Adjust with the "+" or "-" key.
Press the "STATUS" key to return to the service mode.
Note: While the programmed menu is locked ("LoC") all of the programming menu items will display, however only the time of day can be changed.
Note: If programming times out, values will not be saved. The "Status" key must be pressed to save values.
TABLE 5 - Suggested Brine Draw/Slow Rinse Times

Note: Values are for 50 psi pressure. Minutes should be adjusted for lower and higher pressures to ensure that the brine is fully rinsed out.
CAPACITY AND SALT SETTINGS
As mentioned previously, the softener will regenerate once the amount of water equal to the treated water volume set point has passed through the turbine for meter models or after a fixed time interval for timeclock models. Regeneration is either delayed until the selected regeneration time or immediate depending on how the microprocessor is programmed. Before completing the programming, the following information must be determined:
- Compensated Water Hardness.
If your water supply contains iron, compensate for it by the following procedure.- Multiply the iron by 0.1 and add the result to the hardness.
Example: (3 ppm of iron x 0.1) + 25 gpg of hardness = 25.3 gpg of total hardness - Choose the % capacity you want and refer to the table below for the appropriatemultiplier.
Example: 67% capacity gives a multiplier of 1.5.
- Multiply the iron by 0.1 and add the result to the hardness.
TABLE 2

- Multiply the result from Step 1 by the multiplier chosen in Step 2. This is thecompensated hardness.
Example: 25.3 gpg total hardness x 1.5 = 38 gpg compensated hardness. - Use the effective hardness for sizing and to determine salt dosage and regenerationfrequency.
- The forced regeneration feature should be used for Soft-Minder meter operation toensure the resin bed does not become iron fouled due to lack of water flow. See "Programming the Option Settings" for the forced regeneration feature.
- Salt Dosage
From Table 3, select the salt dosage at which the softener will be operated.
- Low Setting — Maximum salt efficiency, more frequent regeneration, reducedoverall softening capacity.
- Medium Setting — Good combination of efficiency and overall softening capacity.
- High Setting — Maximum softening capacity, less frequent regeneration, andreduced salt efficiency.
Recommended whenever iron is present and for hardness levels above 30 Grains Per Gallon, or high volume water usage.
TABLE 3 - SALT DOSAGE

- Treated Water Volume Set Point
Calculate the treated water volume set point using the following information:
- Softening capacity — Grains (based upon salt dosage setting).
- Compensated hardness of water supply — Grains Per Gallon
- Estimated daily water usage — Gallons Per Day (refer to Table 4)
TABLE 4 - Daily Water Usage

Example - Meter: Softener Model Medallist 2M

Example - Timeclock: Softener Model Medallist 2

Use the following worksheets to calculate and record the proper settings.
Treated Water Volume Set Point Work Sheet - Meter Models
- Enter Softening Capacity
- Divide by Compensation Hardness Result is Total Gallons of Soft Water Per Regeneration
- Subtract Daily Water Usage (Reserve Result
Round down to nearest ten for Treated Water Volume Set Point (Gallons)
Treated Water Volume Set Point Work Sheet - Timeclock Models
- Enter Softening Capacity
- Divide by Compensation Hardness
Result is Total Gallons of Soft Water Per Regeneration - Subtract Daily Water Usage Reserve
- Divide by Daily Water Usage Result
Round down to nearest ten for days between regeneration set point (Days)
Note: All Softening capacity is based on using sodium chloride as the regenerate: If potassium chloride is used reduce the rated softening capacity by 20%.
BRINE VALVE "A" DIMENSION
The brine valve contains a float-actuated safety shut-off device to prevent overflow of the brine tank in the unlikely case of an electrical or mechanical failure during the brine tank refill cycle.
It is recommended that the brine valve float be used as intended, that is, as a secondary, safety shut-off. Remember, the timer mechanism provides the primary refill shut-off. To use the float as a safety shut-off, refer to Table 4 for the salt dosage and brine tank size being used. The "A" dimension is the distance between the filter screen and the bottom of the float (Figure 11) when the float stem is in its fully raised position; adjust the float and rubber grommets accordingly.


Documents / ResourcesDownload manual
Here you can download full pdf version of manual, it may contain additional safety instructions, warranty information, FCC rules, etc.
Download Culligan MEDALLIST - Water Dispenser Programming Manual
Advertisement


Need help?
Do you have a question about the MEDALLIST and is the answer not in the manual?
Questions and answers