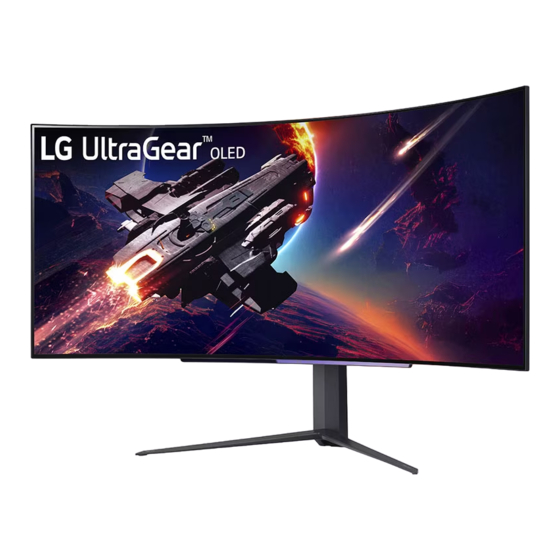
LG UltraGear 45GR95QE Quick Setup Manual
Oled monitor
Hide thumbs
Also See for UltraGear 45GR95QE:
- Owner's manual (33 pages) ,
- Quick setup manual (16 pages) ,
- Quick setup manual (16 pages)
Summary of Contents for LG UltraGear 45GR95QE
- Page 1 Quick Setup Guide (OLED Monitor) 45GR95QE *MBM67534010* www.lg.com Copyright 2022 LG Electronics Inc. All Rights Reserved. (2307-REV00)
-
Page 5: Moving And Lifting The Monitor
Moving and Lifting the Monitor When moving or lifting the monitor, follow these instructions to prevent the monitor from being scratched or damaged and to ensure safe transportation, regardless of its shape or size. • Place the monitor in the original box or packing material before attempting to move it. • Before moving or lifting the monitor, disconnect the power cord and all other cables. -
Page 6: Installing On A Table
Installing on a Table Installing on the Wall Lift the monitor and place it on the table in an upright position. Place the monitor at least 100 mm away from This monitor meets the specifications for the wall mount plate or other compatible devices. the wall to ensure sufficient ventilation. -
Page 7: Product And Button Description
Product and Button Description Using the button The monitor can be operated by pressing a button. Basic functions Power On (Press) Power Off (Press and Hold) Move Menu (Press Select Menu (Press and Hold The desired function can be selected by moving the menu. You can enter the menu to change the function while the monitor is on. -
Page 8: Using The Remote Control
Using the Remote Control Replacing the Remote Control Battery Use 3 V, CR2025 button cell battery. Replace the battery with new one and insert it in the battery tray as shown. To separate the battery tray on the back of the remote control, push the hook to the side and then pull it. Align the side of the replacement battery to the battery tray label and insert them correctly. - Page 9 (Direction buttons and OK) It allows you to move, select, and adjust menus. ) Go to the menu specified by the user. ) Go to the [ ] menu. ) Select the desired sound settings. ) Changes the audio output method. CAUTION • Be sure to point the remote control toward the remote control sensor on the monitor.
- Page 10 ข ้อความนี ้ ใ ช ้ ส � า หรั บ รุ ่ น ที ่ ม ี ก ารรองรั บ อุ ป กรณ์ ไ ร ้สาย เท่ า นั ้ น เช ่ น Wi-Fi, Bluetooth, เป็ นต ้น.
- Page 13 LG Electronics Inc. ၏ ၂၀၂၂ ကာလ အတြ င ္ း ရွ ိ မူ ပ ိ ု င ္ ခ ြ င ္ ့ အ ားလံ ု း ကိ ု LG မွ ပိ ု င ္ ဆ ိ ု င ္ သ...
- Page 16 သိ ု ႔ မ ဟု တ ္...
- Page 17 ေမာ္ န ီ တ ာ အား မတင္ ျ ခင္ း ႏွ င ္ ့ ေရြ ႕ ေျပာင္ း ျခင္ း ေမာ္ န ီ တ ာ အမ် ိ ဳးအစားႏွ င ္ ့ အရြ ယ ္ အ စားမ်ား ကြ ဲ ျပားေစကာမူ တီ ဗ ီ အ ား ကု တ ္ ျ ခစ္ ရ ာမ်ားျဖစ္ ေ ပၚျခင္ း သိ ု ႔ မ ဟု တ ္ ထိ ခ ိ ု က ္ ပ ်က္ စ ီ း ျခင္ း မွ တားဆီ း ကာကြ ယ ္ ရ န္ ႏ ွ င ္ ့ လံ ု ျ ခံ ဳ စိ တ ္ ခ ်ရမႈ ရ ွ ိ ရွ ိ သယ္...
- Page 18 စားပြ ဲ ေပၚတြ င ္ ေထာင္ မ တ္ ျ ခင္ း နံ ရ ံ ေ ပၚတြ င ္ ေထာင္ မ တ္ ျ ခင္ း ေမာ္ န ီ တ ာ ကိ ု မတင္ ၍ စားပြ ဲ ေပၚသိ ု ႔ မတ္ တ ပ္ အ ေနအထားျဖင္ ့ ထားပါ။ ယခု...
- Page 19 ခလု တ ္ အ သံ ု း ျပဳပံ ု ထု တ ္ က ု န ္ ႏ ွ င ္ ့ ခ လု တ ္ အ သံ ု း ျပဳျခင္ း ဤခလု တ ္ က ိ ု ႏိ ွ ပ ္ ၍ သင့ ္ ေမာ္ န ီ တ ာ ကိ ု အသု ံ း ျပဳလု ပ ္ ေ ဆာင္ န ိ ု င ္ သ ည္ အေျခခံ...
- Page 20 ရီ မ ု က ြ န ္ ထ ရိ ု း အသံ ု း ျပဳျခင္ း ရီ မ ု က ြ န ္ ထ ရိ ု း ဘက္ ထ ရီ အ ားလဲ လ ွ ယ ္ ရ န္ ၃ ဗိ ု ့ ဒ ္ စီ အ ာ၂ဝ၂၅ ဘက္ ထ ရီ လ ဲ လ ွ ယ ္ ပ ါ။ ဘက္ ထ ရီ အသစ္ က ိ ု သ ာ ပံ ု ပ ါအတိ ု င ္ း လဲ လ ွ ယ ္ ပ ါ 1 ရီ...
- Page 21 (အေပၚေအာက္ ဘ ယ္ ည ာႏွ င ္ ့ အိ ု ေ က) မီ ႏ ူ း မ်ားအားေရြ း ခ်ယ္ အ သံ ု း ျပဳရန္ (User-defined Key) အသံ ု း ျပဳသူ စ ိ တ ္ ၾ ကိ ဳ က္ မီ ႏ ူ း အားေရြ း ရန္ (OLED Care) [OLED Care] မီ...


Need help?
Do you have a question about the UltraGear 45GR95QE and is the answer not in the manual?
Questions and answers