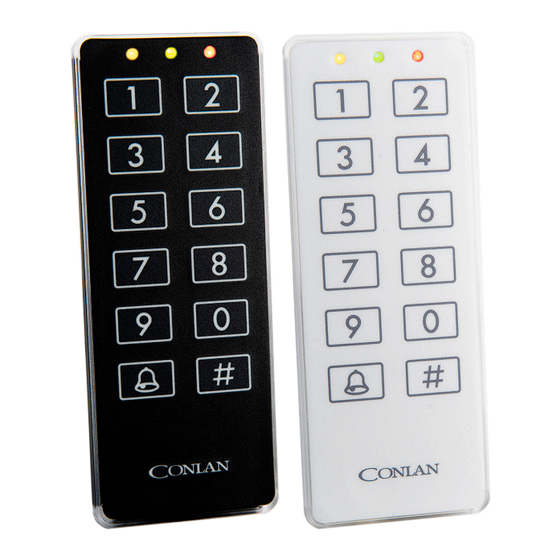
Salto CONLAN CT1000 v2 Installation Manual
Hide thumbs
Also See for CONLAN CT1000 v2:
- User manual (20 pages) ,
- User manual (21 pages) ,
- Installation manual (3 pages)
Advertisement
Installation guide
Eng
Installationsvejledning
Dk
4 x PZ1
1N4007
Front label
(self adhesive)
All contents current at time of publication.
CONLAN ApS reserves the right to change availability of any
item in this catalog, its design, construction, and/or materials.
50.3
Reader unit
Steel screws
©
2022 CONLAN ApS
CT1000 v2
8
4.65
41
24.98
CT1000 -ED0 -27/09/2022
1/3
4.65
Advertisement
Table of Contents

Subscribe to Our Youtube Channel
Summary of Contents for Salto CONLAN CT1000 v2
- Page 1 CT1000 v2 Installation guide 4.65 Installationsvejledning 50.3 4.65 4 x PZ1 1N4007 24.98 Front label Reader unit (self adhesive) Steel screws All contents current at time of publication. CT1000 -ED0 -27/09/2022 CONLAN ApS reserves the right to change availability of any ©...
- Page 2 CT1000 v2 Installation Installation 25 mm [1"] deep hole. Hul 25 mm dybt. 3/8") 25/32") Stick the label on the front of the device. Sæt etiketten på forsiden af enheden. Use a PZ1 screwdriver. Bruge en PZ1 skruetrækker. Kabelforbindelser Wiring Cable color Function Power +, 9 to 24 VDC, ~45mA...
- Page 3 CT1000 v2 Electrical characteristics Elektriske detaljer OPERATING CHARACTERISTICS POWER SUPPLY Min. Max. Unit 9 to 24 Temperature ºC Humidity MILJØBETINGELSER Ø MFORSYNING Min. Max. Måleenhed 9 to 24 Temperatur ºC Fugtighed Lock connection Låseforbindelse Doorstrike Output2 Optionally connect Output1. Eventuelt tilslut Output1. Doorstrike Output1 All contents current at time of publication.


Need help?
Do you have a question about the CONLAN CT1000 v2 and is the answer not in the manual?
Questions and answers