Watt Stopper WI-200 - Infrared Automatic Switch Installation Manual
- Installation instructions (2 pages)
Advertisement
UNIT DESCRIPTION AND OPERATION
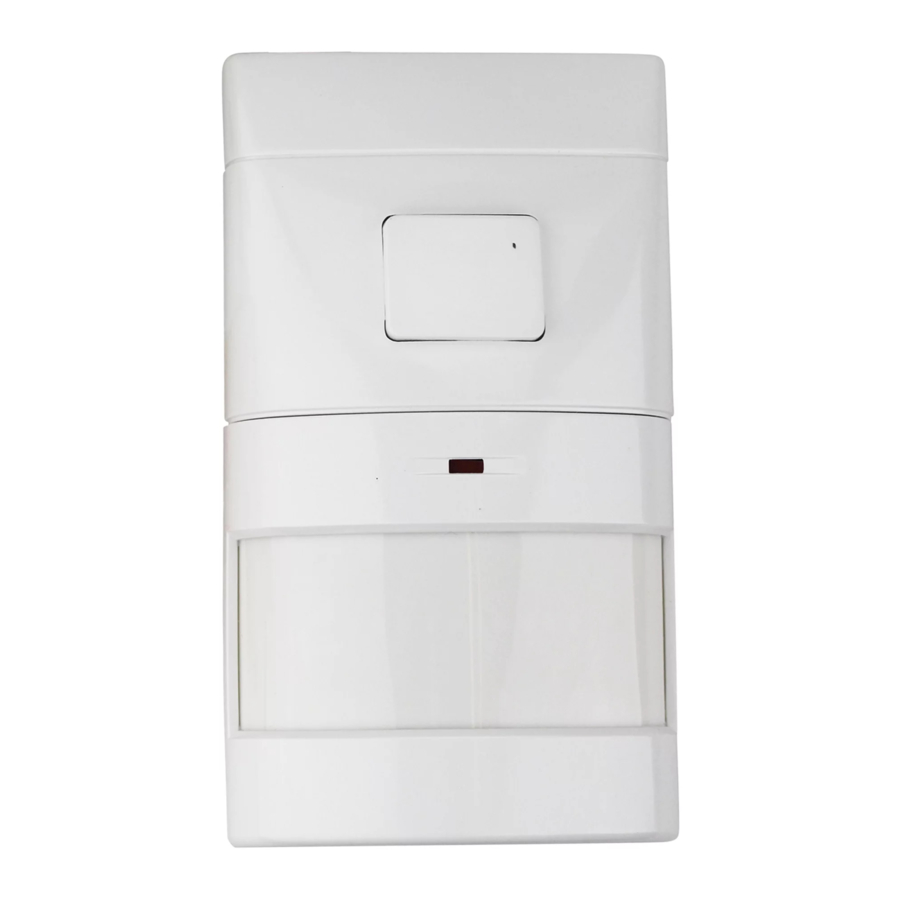
The Watt Stopper's WI-200 is a passive infrared wall switch that turns lighting systems on and off based on occupancy and ambient light levels in the controlled area. Pushing the AUTO/OFF button will turn the lights on. If no motion occurs for a user-adjustable time delay of 15 seconds to 30 minutes, the lights will be turned off.
Automatic On Mode
When the sensor is set to Automatic On mode, the WI-200 will turn the lights on based on occupancy. It will hold the lights on until no motion is detected for a user-definable time period of 15 seconds-30 minutes at which point it will turn the lights off until motion is again detected. If the ambient light level is below the light level setting when motion is detected, the sensor will turn the lights on automatically. If the ambient light is higher than the user-defined light level, the sensor will keep the lights off even if someone enters the controlled area. To manually turn the lights on, cover the sensor's lens. This keeps the ambient light from reaching the sensor and the sensor will hold the lights on until it no longer senses movement in the controlled area.
Manual On Mode
When the sensor is set to Manual On mode, the WI-200 will not turn the lights on until the occupant pushes the AUTO/OFF switch. It will hold the lights on until no motion is detected for a user-definable time period of 15 seconds-30 minutes at which point it will turn the lights off. Once the lights have been turned-off, the sensor has a 30 second reset delay during which it acts as if it were set to Automatic On mode, and will turn the lights on if motion is detected without having to press the AUTO/OFF switch. If no motion is detected during the 30 second reset delay, the AUTO/OFF switch will have to be pushed to turn the lights on.
NOTE: In both Manual On and Automatic On mode, if the AUTO/OFF switch is pressed while the lights are on, the lights will turn off and not come back on until the AUTO/OFF switch is pressed again.
NOTE: When unit is set to Manual On mode, the light level should be set to override. Otherwise, the lights will come on only when the AUTO/OFF switch is pressed AND the ambient light is below the configured level.
COVERAGE PATTERNS
The WI-200 will cover up to 1000 sq. ft. and over 40' from the sensor. The Fresnel lens in the sensor has multiple-cell viewing lenses in four tiers with a field of view of 180°.


Opaque adhesive tape is supplied with the WI-200 so that sections of the coverage area can be masked. Since masking removes bands of coverage, remember to take this into account when troubleshooting coverage.
INSTALLATION

TURN THE POWER OFF AT THE CIRCUIT BREAKER BEFORE INSTALLING THE SENSOR.

The ground MUST be tightly secured or the sensor will not work!

- Make sure that the power has been turned off at the circuit breaker.
- Connect leads to sensor with UL listed wire connectors (RED to load, BLACK to the line, and GREEN for 120VAC or GREEN/YELLOW for 277VAC to the ground). Cap the unused ground wire or unit could be damaged!
- Attach the sensor to the wall by sliding the bottom screw through the keyholein the back of the unit and sliding the sensor down.
- Insert the top screw into position and tighten.
- Turn circuit breaker on. After 10-30 seconds, push the AUTO/OFF switch andthe lights will turn on. The delay is due to initial power-up of the sensor and only occurs during installation.


SENSOR ADJUSTMENT
See DIP SWITCH SETTINGS for DIP switch configurations.

- Adjustments should be made after a 2 minute warm-up.
- To test unit operation, press switch to turn lights on. Set time delay to minimum, leave the room and the lights should go off after 15 seconds.
- To test sensitivity (unit comes with sensitivity set to high), make no motion for 10 seconds. This 10 second time period must be observed in order for the LED to charge. Move sideways in front of the sensor at least 12" (LED will come on when movement is detected). Typically, the sensitivity should be set at maximum.
- The light level setting must be set when the lights would be off because of sufficient ambient light.
- Adjust the light level to minimum position and let the sensor time-out so lights are off. Enter the space and lights should remain off. Adjust the light level until the lights turn on. At this setting the lights will not turn on if light levels are above the current level.
- Re-adjust time delay to the desired setting. The time adjustment can be set from 15 seconds to 30 minutes.
- The unit comes with a tamper-proof plate which can be installed to prevent the settings from being changed once they've been set..
PLEASE NOTE:
When the Manual On mode is being used, there is a 30 second reset delay after the lights turn off. If motion is detected during the reset delay, the sensor acts as if it were in Automatic On mode, and will turn the lights on when motion is detected without having to push the AUTO/OFF switch. After the reset delay has elapsed and no motion has been detected, the AUTO/OFF button must be pressed to turn the lights on.
DIP SWITCH SETTINGS


TROUBLESHOOTING
Lights will not turn on, LED does not flash
- Check the sensitivity settings. Make sure it is set to HIGH (DIP switch #8 ON).
- Check all wire connections and verify the ground wire is tightly secured.
- If lights still do not go on, call (800) 879-8585 for technical support.
Lights will not turn off
- If time delay is adjusted to maximum the lights will remain on for 30 minutes after last motion is detected. Also, when the Manual On mode is being used, the sensor acts as if it were in Automatic On mode for 30 seconds after the lights turn off, and will turn the lights on when motion is detected without having to push the AUTO/OFF switch.
- To test if unit is operating properly, set time delay to minimum and move out of the sensor's view. Lights should turn off after 15 seconds.
- If lights still do not go off, call (800) 879-8585 for technical support.
Sensing motion outside detection areas
- An opaque adhesive tape is included with the sensor and can be used to limit the detection areas.
- Adjust sensitivity to LOW (DIP switch #8 OFF) to reduce excessive sensitivity.
Sensor reset
After checking a sensor for any possible malfunction it will be necessary to reset the sensor. Turn the unit ON and warm it up. After 2 minutes, push the AUTO/OFF switch 3 times and then check operation. This procedure will allow the unit to reset properly.
Override function
In the event of unit failure or if it is necessary to leave the lights on, set DIP switch #1 to ON. This will turn the AUTO/OFF switch into a standard ON/OFF toggle switch.
ORDERING INFORMATION
| WI-200 | Universal PIR Wall Switch; 120/277VAC, 60Hz |
| WI-250 | Universal PIR Wall Switch; 220-240VAC, 50Hz |
| WI-260 | Universal PIR Wall Switch; 347VAC, 60Hz |
| ASP-121 | Blank plate for 2 gang box |
| ASP-122 | 2 gang box plate with switch option |
Units and plates come in White (-W) and Ivory (-I).
Add color designator to catalog number when ordering.
WARRANTY INFORMATION
The Watt Stopper®, Inc. warranties its products to be free of defects in materials and workmanship for a period of five years. There are no obligations or liabilities on the part of The Watt Stopper®, Inc. for consequential damages arising out of or in connection with the use or performance of this product or other indirect damages with respect to loss of property, revenue, or profit, or cost of removal, installation or reinstallation.
SPECIFICATIONS
| Voltages | 120VAC & 277VAC |
| Load Requirements | |
| @ 120VAC | 0-800W ballast |
| @ 277VAC | 0-1200W ballast |
| Time Adjustment | 15 seconds-30 minutes |
| Sensitivity Adjustment | Low & High |
| Light Level Adjustment | 10-150+FC |
Santa Clara, CA 95050
 Call (800) 879-8585 For Technical Support

Documents / ResourcesDownload manual
Here you can download full pdf version of manual, it may contain additional safety instructions, warranty information, FCC rules, etc.
Download Watt Stopper WI-200 - Infrared Automatic Switch Installation Manual
Advertisement


Need help?
Do you have a question about the WI-200 and is the answer not in the manual?
Questions and answers