Table of Contents
Advertisement
Quick Links
IMPORTANT:
"
"
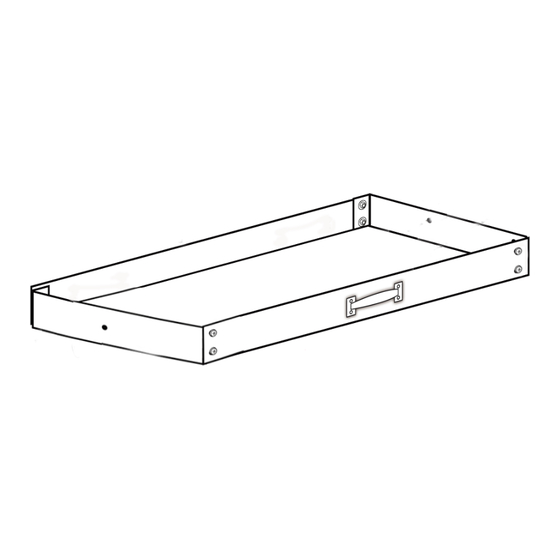
ITEM NAME: STEEL METAL DRAWER
30 mins
APPROXIMATE ASSEMBLY
TIME
"
"
"
Read Assembly Instructions carefully
and retain for future reference."
DESCRIPTION
2 PERSONS ASEEMBLY
"
"
"
REQUIRED ASSEMBLY TOOLS:
"
"
"
"
"
"
PRODUCT
CODE:
Floor Area
2500 mm x
"
1000 mm
"
SCREWDRIVER
RUBBER FACED MALLET
PLIERS
GLOVES
ASSEMBLED DIMENSIONS (cm)
"
"
"
"
"
"
1
1
KL-DRW-001
KL-DRW-002
"
REQUIRED ASSEMBLY SPACE
"
Ceiling
Height
2000 mm
"
Advertisement
Table of Contents

Related Manuals for Riana KL-DRW-001

Summary of Contents for Riana KL-DRW-001
- Page 1 IMPORTANT: and retain for future reference." " " " DESCRIPTION " " " " ITEM NAME: STEEL METAL DRAWER PRODUCT KL-DRW-001 CODE: KL-DRW-002 " 30 mins Floor Area Ceiling 2500 mm x Height " 1000 mm 2000 mm "...
- Page 2 2 ...
- Page 3 3 ...
- Page 4 COMPONENT CHECKLIST FOR DRAWER Part Number Component Line Drawing Quantity Bolt/Nut – Small Bolt/Washer/Nut – Short Please make sure that the holes are on the correct side. Drawer Front – Long Drawer Sides Short Drawer Base Drawer Back - Long This part comes pre-assembled together with Part H.
- Page 5 STEP 1: STEP 2: STEP 3: Drawer Base must rest on the interior ledges. STEP 4: STEP 5: Separate Drawer Runners, ‘Part G’ and ‘Part H’. Extend all the way outwards until the small runner ‘pops’, revealing the end of a clip retainer. Press in the clip to release the small runner and separate the two parts.
- Page 6 STEP 6: Note: Make sure that the closed end of ‘Part H’ is facing the front of the drawer unit, as shown. STEP 7: STEP 8: Slot the Drawer Supports from ‘Step 7’ into the Racking Unit at your preferred height. May use a Rubber Mallet to tap gently, or a screwdriver to guide the tabs into the slots.
Need help?
Do you have a question about the KL-DRW-001 and is the answer not in the manual?
Questions and answers