Table of Contents
Advertisement
Quick Links
SERVICE MANUAL
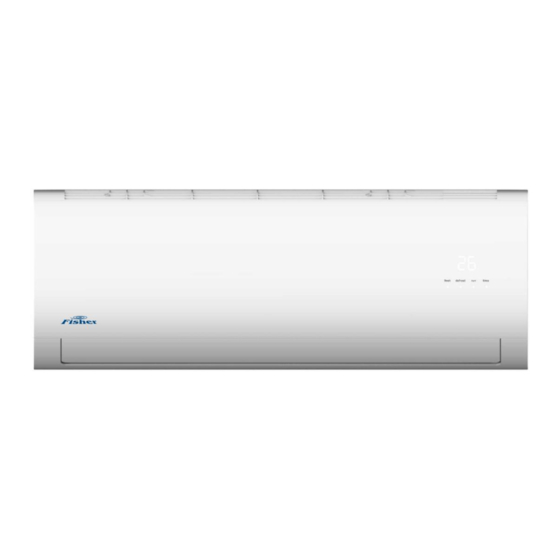
Room Air Conditioner
Split Wall-Mounted Type
FSAI-SU-91AE2 / FSOAI-SU-91AE2
FSAI-SU-121AE2 / FSOAI-SU-121AE2
FSAIF-SU-181AE2 / FSOAIF-SU-181AE2
FSAIF-SU-241AE2 / FSOAIF-SU-241AE2
NOTE:
Before servicing the unit, please read this at first.
Always contact with your service center if meet problem.
FI_SM_FSAI-SU-91-121-181-241AE2_160806
Advertisement
Table of Contents
Troubleshooting


Need help?
Do you have a question about the FSAI-SU-91AE2 and is the answer not in the manual?
Questions and answers