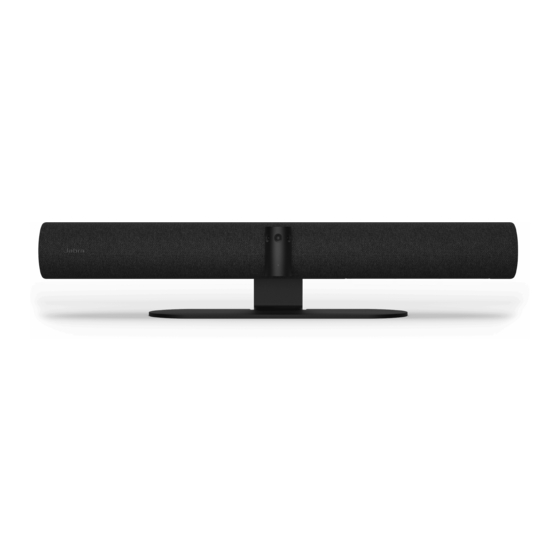
Jabra PanaCast 50 Manual
Video bar system wall mount
Hide thumbs
Also See for PanaCast 50:
- Administrator's manual (73 pages) ,
- User manual (50 pages) ,
- Installation manual (38 pages)
Summary of Contents for Jabra PanaCast 50
- Page 1 PanaCast 50 Video Bar System Wall Mount Install below screen Start from page 1 Install above screen Start from page 5...
-
Page 2: Items Included
Items included Wall Mount Tools needed (not supplied in the pack) Drill Level Wall screws... - Page 3 Measure 8cm from the bottom of the screen to the top of the Wall Mount. Using a pencil, mark the screw holes on the wall, as illustrated. Screw the Wall Mount to the wall using a drill (screws not supplied).
- Page 4 Attach the video bar to the Wall Mount. Screws are not required. Rotate the video bar down for easy access to the ports.
- Page 5 Attach the relevant cables to the video bar.. HDMI IN HDMI OUT2 HDMI OUT1 USB A USB A ETHERNET USB C POWER 3.5MM JACK Screw the cable cover to the video bar using the supplied screws.
- Page 6 Rotate the PanaCast 50 into its final position and angle the camera to point at eye-level.
- Page 7 Measure 8cm from the top of the screen to the bottom of the Wall Mount. Using a pencil, mark the screw holes on the wall, as illustrated. Screw the Wall Mount to the wall using a drill (screws not supplied).
- Page 8 Attach the video bar to the Wall Mount. Screws are not required. Rotate the video bar down for easy access to the ports.
- Page 9 Attach the relevant cables to the video bar.. HDMI IN HDMI OUT2 HDMI OUT1 USB A USB A ETHERNET USB C POWER 3.5MM JACK Screw the cable cover to the video bar using the supplied screws.
- Page 10 Rotate the PanaCast 50 into its final position and angle the camera to point at eye-level.


Need help?
Do you have a question about the PanaCast 50 and is the answer not in the manual?
Questions and answers