
Related Manuals for Signature Design by Ashley P421-625


Summary of Contents for Signature Design by Ashley P421-625
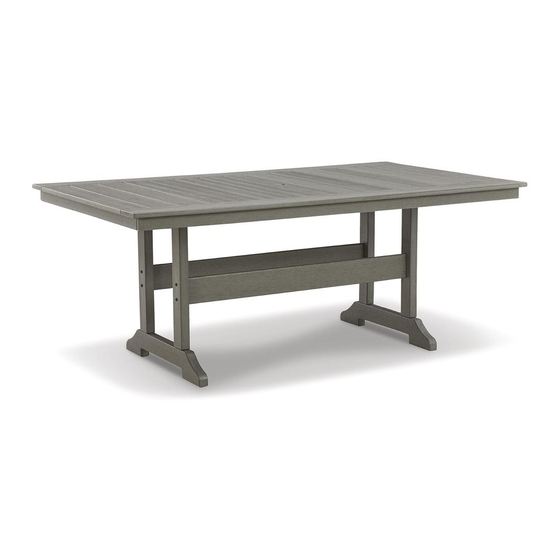
- Page 1 PRODUCT ASSEMBLY ® INSTRUCTIONS Signature Design by Ashley Ashley #P421-625 PLEASE READ THIS BOOKLET CONTAINS IMPORTANT INFORMATION KEEP FOR FUTURE REFERENCE Customer Service 866-319-0809 Page 1 of 11 ®...
-
Page 2: Customer Service Information
CUSTOMER SERVICE INFORMATION DO NOT RETURN TO THE STORE Roomsolutions by Ashley wants to help you. This product is covered by a manufacturer's limited warranty. In the event that you notice parts are missing or damaged, have a warranty question or you have assembly questions, contact the Roomsolutions by Ashley brand customer service at: Phone Number: 866-319-0809... -
Page 3: Care And Cleaning Instructions
CARE AND CLEANING INSTRUCTIONS Congratulations on the purchase of your new product. Proper care and cleaning will extend the life of your purchase. To ensure your product maintains its finish and quality: · Use a soft,clean cloth that will not scratch the surface when dusting ·... -
Page 4: Assembly Parts List
ASSEMBLY PARTS LIST Part Number: A Part Number: B Part Number: C Quantity: Quantity: Quantity: Description: Table Top Description: Leg Description: Stretcher Part Number: D Part Number: E Part Number: F Quantity: Quantity: Quantity: Description: Base Description: Cover Description: 1/4inx75mm Allen Bolt Part Number: G Part Number: H Part Number: J... - Page 5 ASSEMBLY INSTRUCTIONS Customer Service 866-319-0809 Page 5 of 11 ®...
- Page 6 ASSEMBLY INSTRUCTIONS Step 1- Align the holes in the Base (D) with the holes in the Legs (B). Install screw (H) and fully tighten them using Allen wrench (L). Repeat step one to assemble the other Base (D) and Legs (B). Step 2- Align the holes in the Legs (B) with the holes in the Stretchers (C).
- Page 7 ASSEMBLY INSTRUCTIONS Step 3- Place the table top (A) top side down on a smooth and protective surface, place table legs(B) on bottom of the table top, align the holes in the Legs (B) with the holes in the frame of table top, Install bolt (F), lock washers (G) and screw (F) and lock nut (K), using Allen wrench (L) and open wrench (M).
- Page 8 ASSEMBLY INSTRUCTIONS Step 4- Turn the table over and fully tighten the bolts using Allen wrench (L) and open wrench (M), then place the cover (E) insert the center hole of table top to complete the assembly. Customer Service 866-319-0809 Page 8 of 11 ®...
-
Page 9: Replacement Parts List
REPLACEMENT PARTS LIST Part Replacement Part Description Quantity Number Number Leg (598x70x40mm) R75921 Base (710x120x40mm) R75922 R75923 Stretcher (1085x110x18mm) Cover (D=54mm) R75924 Top Plank #1 (1840x118x19mm) R75925 Top Plank #2 (847x118x19mm) R75926 Top Plank #3 (847x118x19mm) R75927 Apron #1 (1784x50x15mm) R75928 Apron #2 (981x50x15mm) R75929... -
Page 10: Replacement Parts Drawing
REPLACEMENT PARTS DRAWING Assembly Hardware Pack (H) 1/4"x110mm 8pcs (F) 1/4"x75mm 8pcs (G) 1/4" 8pcs (K) 1/4"x8mm 8pcs (J) 1/4"x80mm 8pcs Customer Service 866-319-0809 Page 10 of 11 ®... - Page 11 *Your Name_____________________________*Daytime Phone:________________________________ *Address:_______________________________ Home Phone:___________________________________ _______________________________________ Cell Phone:____________________________________ _______________________________________ Email:________________________________________ *City:_____________________*State:________ *Zip Code:_________________ Model #: Ashley #P421-625 *Serial #:___________________________(found on back or bottom of unit) Purchased from:___________________________ *Date of Purchase:______________________________ Reason for Parts Order (Circle One): Missing Part(s) Scratched Broken...
Need help?
Do you have a question about the P421-625 and is the answer not in the manual?
Questions and answers