Table of Contents
Advertisement
Quick Links
Advertisement
Table of Contents

Subscribe to Our Youtube Channel
Summary of Contents for Costway TY327770
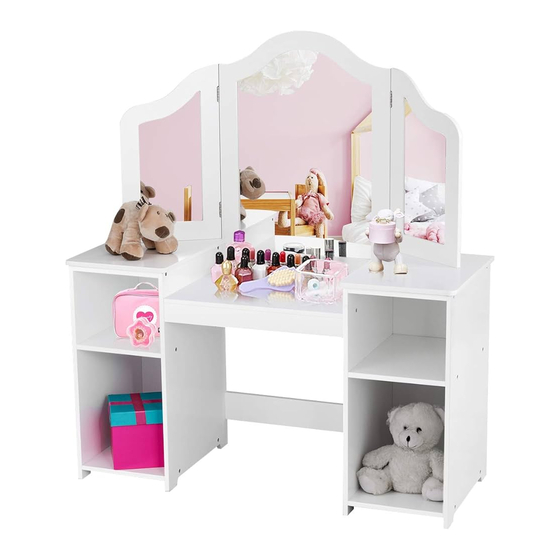
- Page 1 Kids' Vanity Table with Mirror Coiffeuse avec Miroir pour Enfants TY327770 USA office: Fontana AUS office: Truganina GBR office: Ipswich FRA office: Saint Vigor d'Ymonville THIS INSTRUCTION BOOKLET CONTAINS IMPORTANT SAFETY INFORMATION. PLEASE READ AND KEEP FOR FUTURE REFERENCE.
- Page 2 Before You Start Avant de Commencer Please read all instructions carefully and keep it for future reference. Veuillez lire attentivement toutes les instructions et les conserver pour la référence ultérieure. General Security Warning Avertissement de Sécurité Générale Caution: Children should use this product under the parental supervision. Attention : Les enfants doivent utiliser ce produit sous la surveillance de leurs parents.
- Page 3 5x40mm 3x10mm 6x30mm WARNING: Assembled by an adult. AVERTISSEMENT : Assemblé par un adulte. Use screws (A) to lock No.2 Use screws (A) to lock No.4 and No.3 panel to No.1 panel. panel to No.2 and No.3 panel. Utilisez les vis (A) pour Utilisez les vis (A) pour verrouiller les panneaux N°2 verrouiller le panneau N°4 aux...
- Page 4 Use screws (A) to lock No.8 panel to Insert the No.5 panel in groove. No.2 and No.3 panel. Insérez le panneau N°5 dans la Utilisez les vis (A) pour verrouiller le rainure. panneau N°8 aux panneaux N°2 et N°3. Lock the No.6 panel to the top with screws (A) to complete the left part Insert the No.5 panel in groove.
- Page 5 Insert wooden dowels (C) in the No.11 panel, then use screws (A) to connect No.10 and No. 12 panels to the left and right parts. Insérez les chevilles en bois (C) dans le panneau N°11, puis utilisez les vis (A) pour connecter les panneaux N°10 et N°12 aux parties gauche et droite.
- Page 6 Return / Damage Claim Instructions DO NOT discard the box / original packaging. In case a return is required, the item must be returned in original box. Without this your return will not be accepted. Take a photo of the box markings. A photo of the markings (text) on the side of the box is required in case a part is needed for replacement.


Need help?
Do you have a question about the TY327770 and is the answer not in the manual?
Questions and answers