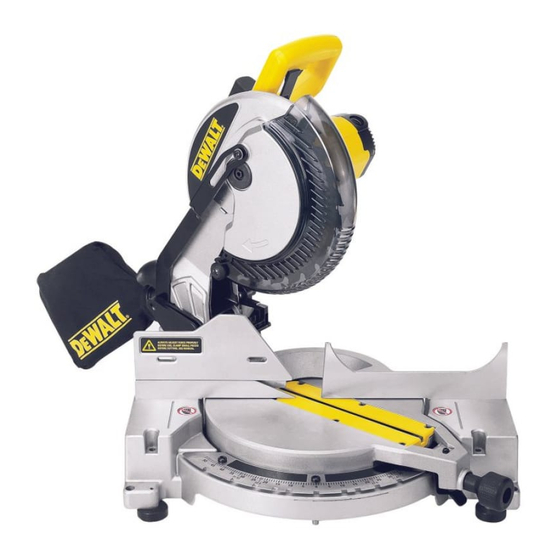
DeWalt DW706, DW704, DW705, DW703, DW712, DW705S - Changing or Installing a Blade
- Instruction manual (49 pages) ,
- Quick start manual (2 pages) ,
- Instruction manual (49 pages)
Advertisement

Changing or Installing a New Saw Blade
Miter Saws: B&D #3660, #3680, DW704, DW705, DW705S (Before date code 200210) and
Miter Saws: DW703, DW706 and DW712 (DW705S after date code 200210)

- Never depress the spindle lock button while the blade is under power or coasting.
- Do not cut ferrous metal (containing iron or steel) or masonry or fiber cement productwith this miter saw.
Removing the Blade
Miter Saws: B&D #3660, #3680, DW704, DW705, DW705S
(Before date code 200210)
- Unplug the saw.
- Raise the arm to the upper position and raise the lower guard (A) as far as possible.
![]()
- Loosen, but do not remove guard bracket screw (B) until the bracket can be raised farenough to access the blade screw.
- Depress the spindle lock button (C) while carefully rotating the saw blade by hand untilthe lock engages.
- Keeping the button depressed, use the other hand and the wrench provided (D) toloosen the blade screw. (Turn clockwise, left-hand threads)
- Remove the blade screw (E), outer clamp washer (F), and blade (G). The 1" (25.4mm) blade adapter (H), if used, and the inner clamp washer (I), may be left on the spindle.
NOTE: For blades with a blade hole of 5/8" (15.88mm), the 1" (25.4mm) blade adapter is not used.
Miter Saws: DW703, DW706 and DW712 (DW705S after date code 200210)
- Unplug the saw.
- Raise the arm to the upper position and raise the lower guard (A) as far as possible.
![]()
- Loosen, but do not remove guard bracket screw (B) until the bracket can be raised farenough to access the blade screw. Lower guard will remain raised due to the position of the guard bracket screw.
- Depress the spindle lock button (C) while carefully rotating the saw blade by hand untilthe lock engages.
- Keeping the button depressed, use the other hand and the wrench provided (D) toloosen the blade screw. (Turn clockwise, left-hand threads)
- Remove the blade screw (E), outer clamp washer (F), and blade (G). The 1" (25.4mm) blade adapter (H), if used, and the inner clamp washer (I), may be left on the spindle.
NOTE: For blades with a blade hole of 5/8" (15.88mm), the 1" (25.4mm) blade adapter is
Installing a Blade
Miter Saws: B&D #3660, #3680, DW704, DW705, DW705S
(Before date code 200210)
- Unplug the saw.
- With the arm raised, the lower guard held open and the pivot plate raised, place theblade on the spindle, onto the blade adapter [if using a blade with a 1" (25.4mm) diameter blade hole] and against the inner clamp washer with the teeth at the bottom of the blade pointing toward the back of the saw.
![]()
- Assemble the outer clamp washer onto the spindle.
- Install the blade screw and, engaging the spindle lock, tighten the screw firmly withwrench provided. (Turn counterclockwise, left-hand threads)
NOTE: When using blades with a 5/8" (15.88mm) diameter blade hole, the blade adapter will not be used and should be stored in a safe place for future use.
- Return the guard bracket to its original position and firmly tighten the guard bracketscrew to hold bracket in place.
- The guard bracket must be returned to its original positionand the screw tightened before activating the saw.
- Failure to do so may allow the guard to contact the spinning saw blade resulting in damage to the saw and severe personal injury.
Miter Saws: DW703, DW706 and DW712 (DW705S after date code 200210)
- Unplug the saw.
- With the arm raised, the lower guard held open and the pivot plate raised, place theblade on the spindle, onto the blade adapter [if using a blade with a 1" (25.4mm) diameter blade hole] and against the inner clamp washer with the teeth at the bottom of the blade pointing toward the back of the saw.
![]()
- Assemble the outer clamp washer onto the spindle.
- Install the blade screw and, engaging the spindle lock, tighten the screw firmly withwrench provided. (Turn counterclockwise, left-hand threads)
NOTE: When using blades with a 5/8" (15.88mm) diameter blade hole, the blade adapter will not be used and should be stored in a safe place for future use.
- Return the guard bracket to its original position and firmly tighten the guard bracketscrew to hold bracket in place.
- The guard bracket must be returned to its original positionand the screw tightened before activating the saw.
- Failure to do so may allow the guard to contact the spinningsaw blade resulting in damage to the saw and severe personal injury.
DeWALT Industrial Tool Co., 701 East Joppa Road, Baltimore, MD 21286 (JAN05)
Copyright © 2005 DeWALT
The following are trademarks for one or more DeWALT power tools: the yellow and black color scheme; the "D" shaped air intake grill; the array of pyramids on the handgrip; the kit box configuration; and the array of lozenge-shaped humps on the surface of the tool.

VideosDewalt | How to Change a Miter Saw Blade - Video
Dewalt | How to change a Miter Saw blade - Quick and easy! - Video
How to Change a DeWalt Miter Saw Blade - Video
Changing Blade on Black and Decker Miter Saw - Video
Documents / ResourcesDownload manual
Here you can download full pdf version of manual, it may contain additional safety instructions, warranty information, FCC rules, etc.
Download DeWalt DW706, DW704, DW705, DW703, DW712, DW705S - Changing or Installing a Blade
Advertisement


Need help?
Do you have a question about the DW706 and is the answer not in the manual?
Questions and answers