Lippert Solera 5000 Series Installation Manual
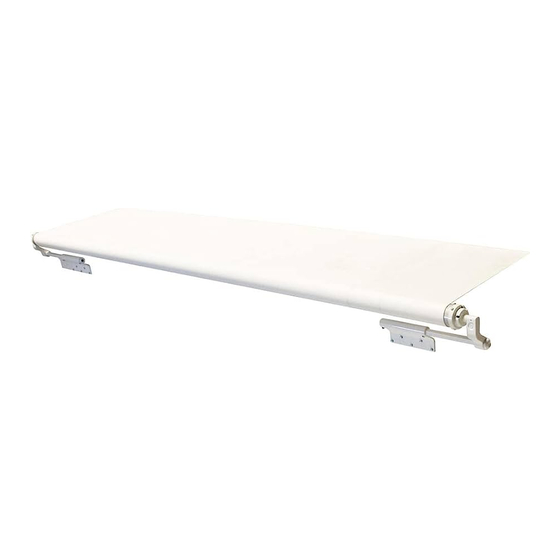
Slide topper
Hide thumbs
Also See for Solera 5000 Series:
- Installation and owner's manual (12 pages) ,
- Installation manual (10 pages) ,
- Owner's manual (8 pages)
Table of Contents
Advertisement
Quick Links
Advertisement
Table of Contents

Subscribe to Our Youtube Channel
Related Manuals for Lippert Solera 5000 Series


Summary of Contents for Lippert Solera 5000 Series
- Page 1 Solera 5000 Series ® Slide Topper OEM INSTALLATION MANUAL...
-
Page 2: Table Of Contents
TABLE OF CONTENTS Introduction Safety Resources Required Prior to Installation Installation Installing the Awning Rail Assemble the Extension Rod and Cap Installing the Solera Slide Topper Access Plate Installing the Solera Slide Topper Access Bracket Installing the Solera Slide Topper Assembly Installing the Access Bracket Screw Cover Securing the Fabric Option 1... -
Page 3: Safety
Failure to correctly follow the provided instructions may result in death, serious personal injury, severe product and/or property damage, including voiding of the Lippert limited warranty. The "WARNING" symbol above is a sign that a procedure has a safety risk involved and may cause death or serious personal injury if not performed safely and within the parameters set forth in this manual. -
Page 4: Prior To Installation
Prior to Installation The unit may be equipped with a removable, cosmetic access plate cover (Fig. 1A) on the access plate (Fig.1B). This cover snaps on and off and must be removed prior to installation of the access bracket. Fig. 1 Installation All screws supporting the Slide Topper assembly have a backer within the structure of the wall of the... -
Page 5: Assemble The Extension Rod And Cap
Assemble the Extension Rod and Cap Slide the extension rod (Fig. 3A) into the idler head spring assembly end cap (Fig. 3B). Fasten using the provided 1/4” - 20 x 5/8” slotted pan head, self-threading screw (Figs. 3C or 4A). Fig. - Page 6 If installing on the T-molding, start on one side of the front of the slide-out by placing one of the two access brackets (Fig. 7A) at the very bottom corner of the T-molding, (Fig. 7B) as close to the outside of the T-molding as possible without going over the corner mold (Fig. 7C). NOTE: Make sure the screws do not go over the roof line.
-
Page 7: Installing The Solera Slide Topper Access Bracket
Installing the Solera Slide Topper Access Bracket NOTE: The Solera Slide Topper Access Bracket can be installed in two different positions. The lower position (Fig. 9A), first extrusion from the top of the access bracket, is used for regular clearance. The higher position (Fig. 10A), second extrusion from the top of the access bracket, is used if the slide topper requires extra clearance. - Page 8 Using at least two people, feed the polycord (Fig. 12A) on the fabric through the awning rail channel (Fig. 12B). Feed one of the extension rods (Fig. 13A) into an access bracket (Fig. 13B). By pulling the extension rod all the way into the access bracket, the opposite end extension rod can now slide into the access bracket at the opposite end.
-
Page 9: Installing The Access Bracket Screw Cover
Center the Solera Slide Topper over the slide room using a tape measure. ® Fasten the extension rods (Fig. 16A) to the access brackets (Fig. 16B) by installing two of the provided Fig. 16 Roll tube springs are under tension. Improperly secured roll tube springs can cause personal injury and/or product damage. -
Page 10: Securing The Fabric
Securing the Fabric Secure the fabric with to the awning rail using ONE of the two options listed below. In option 1 the screw will go through the fabric and polycord, while in option 2, the screw will only go through the awning rail. NOTE: Before securing the fabric, extend and retract the room several times to ensure that the fabric is square on the roll tube. -
Page 11: Slide Topper Check List
• Are Lippert supplied self-threading screws used to attach the spring head assembly? • Are the slide topper hex rods secured in the support arm brackets with two Lippert supplied 5/16 screws each? • Is the awning fabric centered over the slide room? •... - Page 12 Lippert representative has been provided. Any unauthorized use shall void any applicable warranty. The information contained in this manual is subject to change without notice and at the sole discretion of Lippert. Revised editions are available for free download from lippert.com.
Need help?
Do you have a question about the Solera 5000 Series and is the answer not in the manual?
Questions and answers