Table of Contents
Advertisement
Quick Links
MODEL:
Owner's Manual
Please read this manual carefully
before operating your set.
Retain it for future reference.
Record model number and serial
number of the set. See the label
attached on the set and quote this
information to your dealer when
you require service.
For The Warranty Terms & Conditions, Please Refer To Warranty Certificate.
1
Advertisement
Table of Contents

Subscribe to Our Youtube Channel
Related Manuals for Elba ECF-N5610(BK)


Summary of Contents for Elba ECF-N5610(BK)
- Page 1 MODEL: Owner’s Manual Please read this manual carefully before operating your set. Retain it for future reference. Record model number and serial number of the set. See the label attached on the set and quote this information to your dealer when you require service.
-
Page 2: Important Safeguards
IMPORTANT SAFEGUARDS REMOVE ALL PACKING MATERIALS FROM THIS PRODUCT BEFORE USING IT. THIS APPLIANCE MUST BE INSTALLAED BY A QUALIFIED TECHNICIAN. PLEASE ENSURE THE ELECTRICITY SUPPLY TO THE APPLIANCE IS DISCONNECTED BEFORE INSTALLING. Please read this instruction carefully. It is advisable to keep this instruction manual in a safe place for future reference. - Page 3 To avoid injuries caused to users or any damage to properties, please follow all the symbols with explanations written below. A state that may be caused by the mishandling of WARNING products, which, if not avoided, may lead to the possibility of death or serious injury of users.
-
Page 4: Product Descriptions
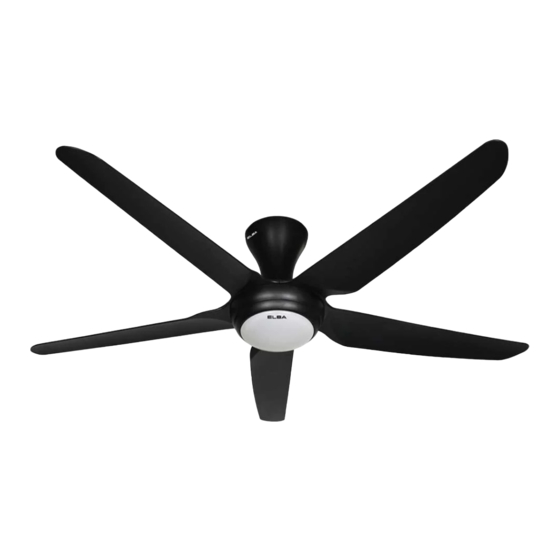
PRODUCT DESCRIPTIONS Upper Canopy Lower Canopy Fan Blade Decorative Ring Cover LED* Remote Control Receiver Blade Screw Suspension Rod Remark: LED module is apply on model ECF-N5612L(BK), ECF-N5652L(BK), ECF-N6032L(BK). - Page 5 INSTALLATION GUIDE Remove all the packaging materials from the box and ensure all components and parts are complete. ASSEMBLY OF FAN 1. Remove 2 pcs of screws from fan body. Inner Wire Safety Wire Connecting Pole...
- Page 6 3. Tighten the blade with screws. Ensure the screws are tightly screwed. Screw 4. Install all the screw as follow and ensure all the screws are tightly screwed. 5. Insert the lower canopy (Left & Right) and tighten the screw as shown. Screw Lower canopy...
- Page 7 6. Adjust and assemble the safety wire to the appropriate length and place the pulley onto the hook. Loop the safety cable around the ceiling fan and secure it with locking screw (Follow step 1 to 6 as shown). Hook Safety wire must be fixed correctly.
- Page 8 8. Connect the wiring as shown below to receiver and current (LED model). Antenna Pink Gray Pink Gray Blue White Blue White Receiver Black White Yellow-green LED MODEL 9. After the remote control and receiver is well function, turn off the ceiling fan. Insert the receiver into upper canopy and fixed with screws.
- Page 9 10. Lastly, install the acrylic cover as shown in clockwise direction to tighten. LED MODEL 11 Lastly, install the spring before put on the cover as shown in anti-clockwise direction to tighten. NON LED MODEL...
-
Page 10: Remote Control
REMOTE CONTROL 1. All OFF Button Turn off the ceiling fan completely 2. Fan Speed Button Turn the fan on at speed 1 to 6. NOTE: Ceiling fan will memory the operation the last operated fan speed when turn on again. 3. - Page 11 MATCHING CODE FOR NEW REMOTE CONTROL NOTE: When the existing remote control not functioning anymore, you require to purchase a new remote control and conduct the matching code before new remote can function. Step to match code on new remote control: Press remote control button for 3 seconds, after that the ceiling fan will alert “Di”...
- Page 12 REMOTE CONTROL COVERAGE...
-
Page 13: Cleaning And Maintenance
CLEANING AND MAINTENANCE Conduct checking on the fan condition at least once per year. If any problem occurs, stop using the fan immediately and refer to the nearest authorized dealer or after-sales service center for examinations, repairs, electrical or mechanical adjustments. Keep the fan clean regularly.
Need help?
Do you have a question about the ECF-N5610(BK) and is the answer not in the manual?
Questions and answers