OPGAL EyeCGas 2.0 - Gas Imaging Camera Quick Start Guide
- User manual (92 pages)
Advertisement
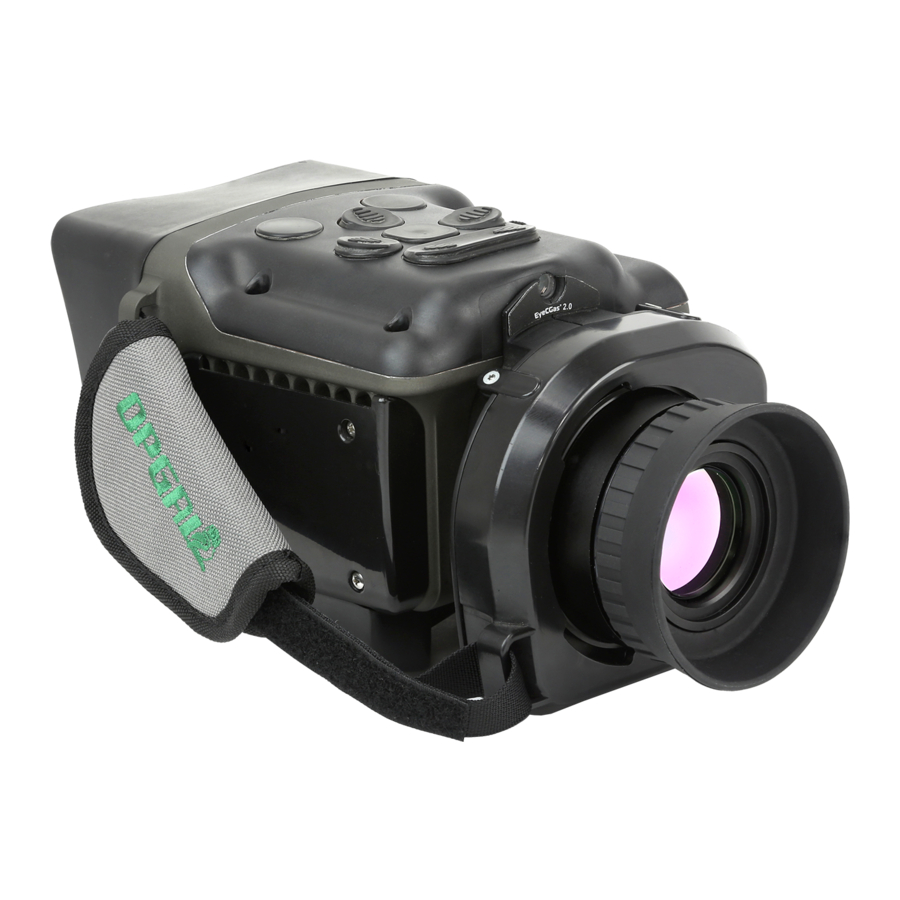
EyeCGas® 2.0 Overview
EyeCGas® 2.0 is a handheld infrared camera used for the detection of gas leaks.

Starting EyeCGas® 2.0
Charge the battery
- Plug battery charger into power outlet.
- Remove tape from battery contacts.
- Insert battery into charger until it latches in place.
- Battery fully charged on green led.
Insert battery into camera

- Ensure contacts are facing up.
- Slide battery up until battery clip snaps in place.
Power up EyeCGas® 2.0

- Ensure lens cover is on.
Power-up sequence:
For 8-10 minutes, EyeCGas® 2.0 is in cool down state. Only visible viewing mode is available during this time.

Keep lens cover on during the entire power-up sequence.
Screen Overlay
The following status indicators appear on the LCD display:

 | Cooler active (icon blinks during cool down) |
 | Recording in progress / Snapshot taken  (snapshot icon appears over recording icon) |
 | Battery level status |
 | Internal memory used |
 | USB* |
 | GPS* |
 | Wi-Fi* |
 | Bluetooth* |
Routine Operations
Use the keypad buttons to perform the following operations:

The following two keypad buttons change functionality based on the viewing mode selected:

- Normal mode: Select polarity
- Enhanced mode: Select polarity
- Thermography mode: Select color palette
- Enhanced mode: Select enhancement level
- Thermography mode: Select emissivity value
Video and Image Playback
To playback an image or video on the LCD display:
- Press the menu button to enter the menu.
![]()
- Press the up/down navigation buttons to navigate between files.
![]()
- Press the right navigation button to select a video or image file.
![]()
- Press the right navigation button to select the relevant action.
- Press the record keypad button to return to the file menu.


Downloading Videos and Images
- Press the menu button to enter the menu.
![]()
- Press the right navigation
![]() button to navigate to the connectivity tab.
button to navigate to the connectivity tab. - Press the down navigation
![]() button and select USB.
button and select USB. - Press the right navigation
![]() button to select Mass Storage.
button to select Mass Storage.
![]()
-
Connect the USB cable between EyeCGas® 2.0 and a computer.

EyeCGas® 2.0 appears as a storage device on the computer, from where files can be transferred.

 button to navigate to the connectivity tab.
 button and select USB.

Connectivity
The following connectivity options are available.
For more information, refer to the user guide.

IMPORTANT SAFETY INSTRUCTIONS

Always read the user manual for complete safety and operation instructions before using this product.
Only use the camera in a temperature range between -20°C to +50°C (-4°F to +122°F).
Do not connect or disconnect external devices to/from the camera inside hazardous areas.
This product uses Li-Ion batteries. Always follow safety instructions when using batteries.
Do not attempt to disassemble or modify this product in any way.
Copyright © 2018, All rights reserved.
The data contained in this document is proprietary. It is disclosed to the receiving party only for the sole purpose stated herein, and shall not be disclosed by the receiving party to any third party, and shall not be duplicated, used or disclosed in whole or in part for any purpose other than the purpose specifically stated.
This publication, or any parts thereof, may not be reproduced in any form without the express written permission of the owners.

Documents / ResourcesDownload manual
Here you can download full pdf version of manual, it may contain additional safety instructions, warranty information, FCC rules, etc.
Download OPGAL EyeCGas 2.0 - Gas Imaging Camera Quick Start Guide
Advertisement


Need help?
Do you have a question about the EyeCGas 2.0 and is the answer not in the manual?
Questions and answers