Table of Contents
Advertisement
Advertisement
Table of Contents

Related Manuals for TYLZA KMJ01-30

Summary of Contents for TYLZA KMJ01-30
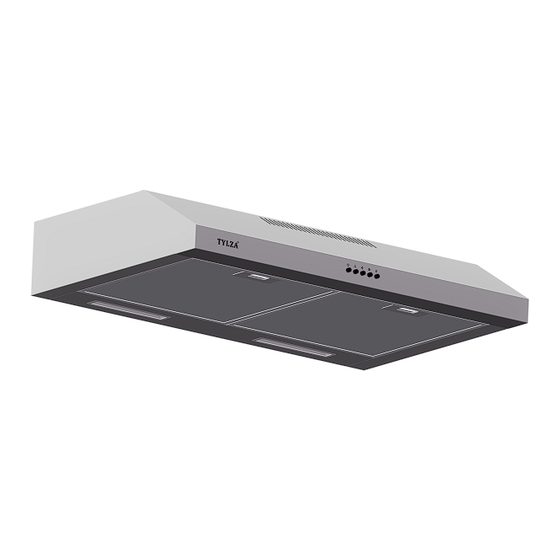
- Page 1 Installation Guide & Users Manual UNDER CABINET RANGE HOOD Model:KMJ01-30"/ KMJ01-36" NOTICE: For residential use only. Installer: Leave this guide with the homeowner. Homeowner: Keep this guide for future reference. Email address:Support@itylza.com Phone number: (213)352-5535...
-
Page 2: Table Of Contents
PARTS DIAGRAM TYLZA appliances are designed according to the strictest safety and INSTALLATION REQUIREMENTS performance standard for the North American market. We follow the most advanced manufacturing philosophy. -
Page 3: Safety Instructions
IMPORTANT SAFETY INSTRUCTIONS ALUMINUM FILTERS Read all instructions before using this appliance. Save these instructions for future references Approved for residential appliances For residential use only IMPORTANT SAFETY INSTRUCTIONS CAUTION WARNING FOR GENERAL VENTILATING USE ONLY. DO NOT USE GROUNDING INSTRUCTIONS TO EXHAUST HAZARDOUS OR EXPLOSIVE MATERIALS OR VAPORS. -
Page 4: Parts Diagram
INSTALLATION REQUIREMENTS 1.Please read the following instructions carefully. MODEL: KMJ01-30" KMJ01-36" 2.This Range Hood can be vented through the top or back. Remove the Air Outlet Cap according to the option chosen (Fig. 1). For ductless installation, install an Air Outlet Cap on both the rear and top vent holes. -
Page 5: Pre-Installation Procedures
INSTALLATION INSTRUCTIONS PRE-INSTALLATION PROCEDURES • Please read the instructions carefully. Unpack the Range Hood and check that all functions are working before installing. CAUTION: HOOD MAY HAVE VERY SHARP EDGES; PLEASE WEAR • Ensure that the voltage (V) and the frequency (Hz) indicated on the sticker match the PROTECTIVE GLOVES WHENEVER IT IS NECESSARY TO REMOVE ANY PARTS FOR INSTALLING, CLEANING OR SERVICING. -
Page 6: Preparing The Vent Hood:air Recirculation Mode
PREPARING THE VENT HOOD: INSTALLATION INSTRUCTIONS AIR RECIRCULATION MODE CAUTION: HOOD MAY HAVE VERY SHARP EDGES; PLEASE WEAR Installing the Carbon Filter PROTECTIVE GLOVES WHENEVER IT IS NECESSARY TO REMOVE ANY PARTS FOR INSTALLING, CLEANING OR SERVICING. Wall Mount Installation Method 1. -
Page 7: Operating Instructions
PREPARING THE VENT HOOD: OPERATING INSTRUCTIONS AIR EXTRACTION MODE Check Valve Installation and Plugs Turns the range hood ON/OFF. If you have any questions about the Installing the Duct Connection Fitting with Damper, please feel free to contact our Customer Support at: support@itylza.com, and we will provide you with the video to install it properly. -
Page 8: Maintenance
MAINTENANCE TROUBLESHOOTING CAUTION: NEVER PUT YOUR HAND INSIDE OF THE UNIT WHILE ITS OPERATING THE BEST PERFORMANCE CLEAN YOUR CAUTION: ALWAYS UNPLUG UNIT FROM POWER BEFORE SERVICING RANGE HOOD REGULARLY PROBLEM SOLUTION TOOLS CLEANING My range hood is A. Check inside the range hood Phillips Screwdriver 1. -
Page 9: Measuremennts & Diagrams
MEASUREMENNTS & DIAGRAMS ***All inch measurements are converted from millimeters.Inch measurements are estimated. ***All measurements in ( ) are millimeters. - Page 10 Correct Disposal of this product: This marking indicates that this appliance should not be disposed with other household wastes. To prevent possible harm to the environment or human health from uncontrolled waste disposal, recycle it responsibly to promote the sustainable reuse of material resources.
Need help?
Do you have a question about the KMJ01-30 and is the answer not in the manual?
Questions and answers