Table of Contents
Advertisement
Quick Links
Advertisement
Table of Contents

Subscribe to Our Youtube Channel
Related Manuals for Mitel 4000 Series

Summary of Contents for Mitel 4000 Series
- Page 1 Mobility Router 4000 Series Hardware Installation Guide October 25, 2017...
- Page 2 Trademarks © Copyright 2017, Mitel Networks Corporation. All Rights Reserved. The Mitel word and logo are trademarks of Mitel Networks Corporation. Any reference to third-party trademarks is for reference only and Mitel makes no representation of ownership of these marks.
- Page 3 “Connecting to the Network” on page 7 “Connecting to the Console Port” on page 8 “Connecting Power” on page 9 “Using the Initial Configuration Wizard” on page 10 Mobility Router 4000 Series Hardware Installation Guide...
-
Page 4: Specifications
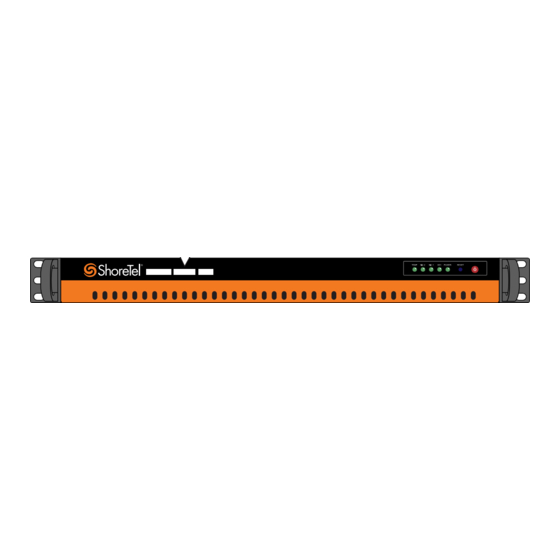
Specifications The Mobility Router is one rack unit (RU) high and installed in a standard 19-inch (48.26-cm) rack. Figure 1-1. Front View of RoamAnywhere Mobility Router 4000 Series Mobility Router 4000 Figure 1-2. Rear View of RoamAnywhere Mobility Router 4000 Series... - Page 5 Electromagnetic Immunity: EN 55024/CISPR 24, (EN 61000-4-2, EN 61000-4-3, EN 61000-4-4, EN 61000-4-5, EN 61000-4-6, EN 61000-4-8, EN 61000-4-11) Safety: CSA/EN/IEC/UL 60950-1 Compliant, UL or CSA Listed (USA and Canada), CE Marking (Europe) Mobility Router 4000 Series Hardware Installation Guide...
-
Page 6: Unpacking A Mobility Router
Before starting the installation: Open the carton and remove the contents. +1.408.331.3300 or If any contents are missing or damaged, contact Technical Support at http://support.shoretel.com. Keep the packing materials and save the carton. Mobility Router 4000 Series Hardware Installation Guide... - Page 7 Mounting screws to rack mount the Mobility Router (not provided) Screwdriver (not provided) 1.4.4 Uninterruptible Power Supply We recommend installing the Mobility Router in an existing Uninterruptible Power Supply (UPS) infrastructure. Mobility Router 4000 Series Hardware Installation Guide...
-
Page 8: Installing The Mobility Router
Install each Pan Head screw through the Mobility Router’s mounting ears into the mounting nuts. Figure 1-4. Fastening the Mobility Router to the Rack tbd screws being inserted (with arrows) into ears Tighten to 30 inch-lbs. Do not over-tighten. Mobility Router 4000 Series Hardware Installation Guide... -
Page 9: Connecting To The Network
Insert the other end of the Ethernet cable to the left Ethernet port (ETH0) on the rear of the Mobility Router. NOTE If using the Secure Remote Voice feature, connect the second Ethernet port (ETH1) to the external network. Figure 1-5. Connecting the Ethernet Cable to the Mobility Router Mobility Router 4000 Series Hardware Installation Guide... -
Page 10: Connecting To The Console Port
On the PC or laptop, start terminal emulation software (such as Microsoft HyperTerminal) and select the appropriate COM port. Configure the port using the following settings: Baud rate: 9600 bps Data bits: 8 Parity: None Stop bits: 1 Flow control: None Mobility Router 4000 Series Hardware Installation Guide... -
Page 11: Connecting Power
The Mobility Router automatically powers on. As the Mobility Router starts up, messages display in the terminal emulation software window. Use the initial configuration wizard to initially configure the Mobility Router with “Using the Initial Configuration Wizard” on page Mobility Router 4000 Series Hardware Installation Guide... -
Page 12: Using The Initial Configuration Wizard
Enter the subnet mask in the format of a 32-bit mask or classless interdomain routing (CIDR) notation. Enter the IP address of the default gateway for the Mobility Router. Enter the IP address of the primary DNS server. Mobility Router 4000 Series Hardware Installation Guide... - Page 13 After verifying access to the Administration Portal, disconnect the serial cable. (Console access is no longer required.) The Mobility Router is now ready to be configured using the Administration Portal. For more information, see the RoamAnywhere Mobility Router Administrator’ s Guide. Mobility Router 4000 Series Hardware Installation Guide...
- Page 14 Mobility Router 4000 Installation Using the Initial Configuration Wizard Mobility Router 4000 Series Hardware Installation Guide...
Need help?
Do you have a question about the 4000 Series and is the answer not in the manual?
Questions and answers