Advertisement
Quick Links
Advertisement

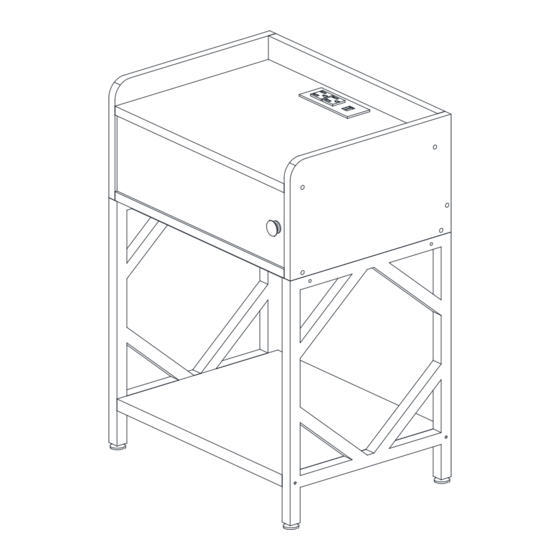
Summary of Contents for Jaxpety HG61F1232
- Page 1 User Manual Model Number: HG61F1232 HG61E1285...
-
Page 2: Dear Customer
Please do not hesitate to contact us for help (Be sure to mark the SKU NUMBER, e.g., TY91S0320, and the TRACKING NUMBER). Our JAXPETY team with factory direct after-sales service will reply within 24 hours and will do our best to resolve the problem for you. Our services are available at any time. -
Page 3: Hardware List
Hardware List STEP 1 2PCS 2PCS 2PCS 2PCS M3*10 A12-3 2PCS 2PCS 2PCS 4PCS 2PCS M4X35mm 24PCS 4PCS 2PCS 24PCS A12-3 Ф8X30mm M4X20mm M6X30mm M6X45 A2&A3 24PCS 8PCS 2PCS 8PCS M6X35 M6X11mm M6X13mm M3X10mm 8PCS 8PCS 8PCS A9&A10 12PCS 4PCS A12-1 2PCS A12-2... - Page 4 STEP 3 STEP 2 A2&A3 4PCS A2&A3 4PCS ×4 ×4 A2&A3 A2&A3 A2&A3 A2&A3 A2&A3 A2&A3 A2&A3 A2&A3...
- Page 5 STEP 4 STEP 5 M4*35 A2&A3 4PCS 6PCS ×4 A2&A3 A2&A3 A2&A3 ×6 A2&A3...
- Page 6 STEP 6 STEP 7 M4*35 M3*10 6PCS 2PCS A12-1 2PCS A12-2 A12-2 A12-1 A12-1 ×6 Note: According to your needs, the door can also be installed on the other side in the same way.
- Page 7 STEP 9 STEP 8 2PCS 4PCS A9&A10 Insert (C) into the hole (c) Tilt the door panel to place it under the top panel Move to the left until (B) goes into the hole (b) ×2 The letters B, b, C, c marked in the picture are just A9&A10 A9&A10...
- Page 8 STEP 10 STEP 11 M6*35 M6*45 M6*30 4PCS 2PCS 4PCS 4PCS 4PCS ×4...
- Page 9 STEP 12 M3*10 2PCS 12PCS ×12 Repeat the above steps to start another assembly.


Need help?
Do you have a question about the HG61F1232 and is the answer not in the manual?
Questions and answers