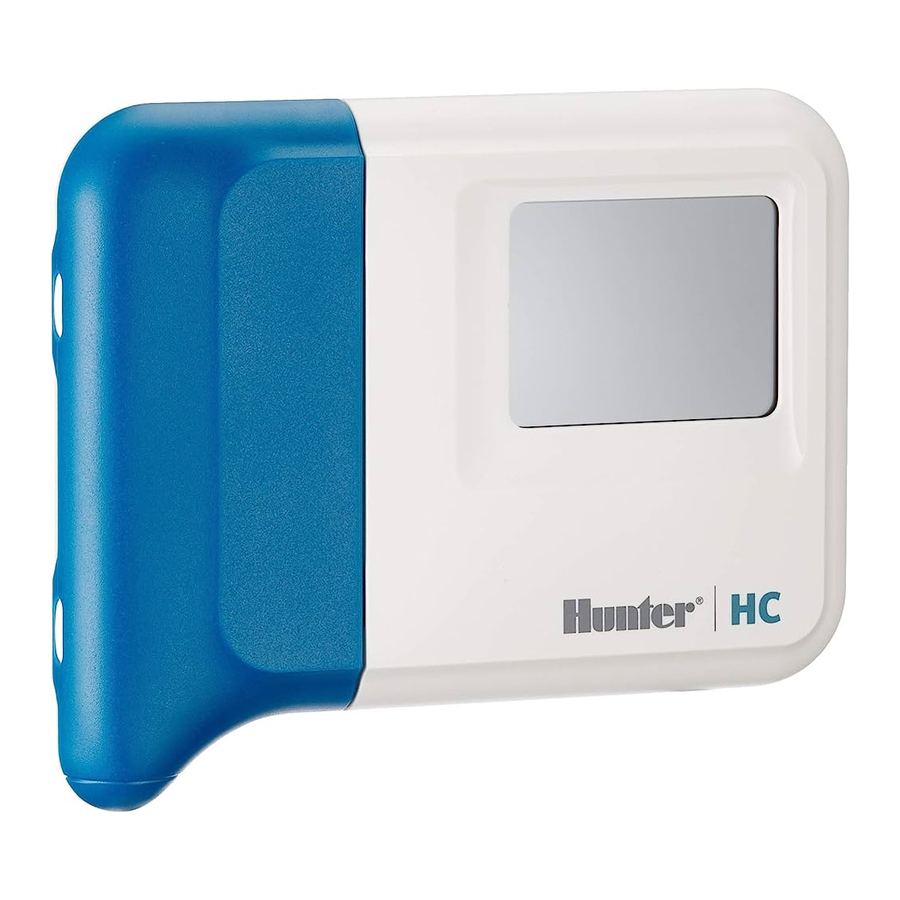
Hunter Hydrawise HC, HPC, Pro-HC - Wi-Fi Irrigation Control System Manual
- Quick start manual (8 pages) ,
- Manual (2 pages)
Advertisement
Intoduction
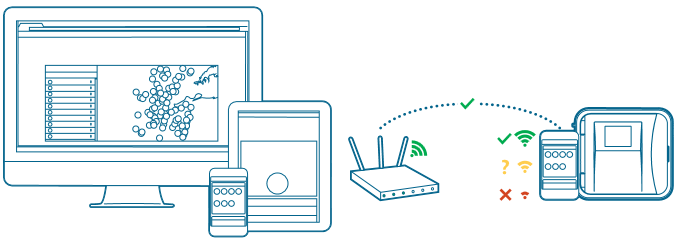
Your Hydrawise controller can connect to the internet via your Wi-Fi router. Once connected, you can access and manage your irrigation system with your smartphone, tablet, or computer. Visit hydrawise.com to get started.
Need more helpful information on your product? Find tips on installation, controller programming, and more.
 1-800-733-2823
http://hunter.help/hydrawise

Typical Wi-Fi range covers up to 150' (45 m). Be sure to install the controller within suitable range of your network router. Use the Hunter Wi-Fi Wizard to test Wi-Fi signal strength and ensure reliable internet connection.
Need help connecting?
Download the free Hunter Wi-Fi Wizard app today!

https://hunter.info/WifiWizardApp


Mount Your Controller
HC Controller

- Choose a suitable location with good Wi-Fi coverage.
- Using a 3/16" drill bit, drill a hole and insert plastic anchor.
- Insert screw into anchor, leaving 1/8" exposed.
- Slide the controller case over the screw head.
- Mark second mounting point, drill and fit anchor, and fix controller in place.
HPC or Pro-HC controller

- Choose a suitable location with good Wi-Fi coverage.
- Using a 3/16" drill bit, drill a hole and insert plastic anchor.
- Insert screw into anchor, leaving 1/8" exposed.
- Slide the controller case over the screw head.
- Mark second mounting point, drill and fit anchor, and fix controller in place.
Connect Power to Your Controller
HC Controller

The HC controller is designed for indoor use only. Do not cut the cord.
- Do not plug the transformer into the power source until controller is mounted and all wiring has been connected.
- Remove blue cover to junction box.
- Route transformer cable through the hole on the bottom of the controller, connect one yellow wire to each of the terminals marked 24 VAC, and replace junction box cover.
Pro-HC Indoor Controller

- Do not plug the transformer into the power source until controller is mounted and all wiring has been connected.
- Open facepack to expose controller cabinet.
- Route transformer cable through the hole on the bottom left of the controller, connect one yellow wire to each of the screws marked 24 VAC, and wire the green wire to the screw marked GND.
- Do not cut the cord.
HPC and Pro-HC Outdoor Controller

The HPC and Pro-HC outdoor controllers must be installed by an authorized service technician.
- Do not plug the transformer into the power source until controller is mounted and all wiring has been connected.
- Remove junction box cover, route cable through the hole on the bottom left of the controller, and attach cable using adapter and nut inside the enclosure.
- Connect cable wires to transformer wires in the junction box and replace junction box cover.
Retrofit Your Pro-C Controller
With the HPC-FP Kit

Ensure you have a strong Wi-Fi signal. Wi-Fi coverage can be easily tested using a smartphone and the Hunter Wi-Fi Wizard. A signal strength of two or three bars is recommended. Wi-Fi connectivity can also be tested on the HPC itself (signal strength is shown when you select a wireless network).
- Do not plug the transformer into the power source until controller is mounted and all wiring has been connected.
- Open the controller facepack to access cabinet, detach ribbon cable, release the hinge on the back of the Pro-C facepack, and remove the facepack.
- Press the hinges on the side of the HPC-FP facepack, insert pins into the controller cabinet, reconnect the ribbon cable to new facepack, and reconnect power to the controller.
Hydrawise Controller Touchscreen

Configure Your Controller Offline
From the Connection Wizard screen, touch Configure Offline. Tap OK to move on to the next step.
Enter in today's date if it hasn't already been set or if it is incorrect. Enter today's time if it hasn't already been set or if it is incorrect. From this screen, touch OK.
Next, enable a Master Valve. If you don't have a master valve then choose Disable Master Valve. Then touch OK.
You can now enter the run length you want for your default zone run time. Then touch OK.
Next, set how often each zone will run. As advised on the previous screen, you can set individual frequencies for each zone. Touch OK to proceed.
From the Zones screen, you can manually configure each zone according to your desired schedule. Touch the Add button to add a program start time and follow the steps below. You can toggle between zones by touching the Next or Previous buttons or you can leave the start time to Apply to All Zones.
Home Screen Navigation

- Touch to view all zones.
- Touch to change controller settings.
- Touch to view controller status information.
- Go to previous screen (changes not saved).
- Go to Home screen (changes not saved).
- GRAY items indicate status information.
- GREEN items indicate settings which can be changed.
Using the Connection Wizard

From the Home screen, touch the Settings button and then the Wireless button.
Select your wireless network from the list shown on the controller display and press the Confirm button on screen. Enter your wireless password and press the OK button on the keyboard.
If your network is not listed, check that the unit is within wireless range. Make sure you press the OK button after you've entered your password. Pressing the Home ![]() or Back
or Back  buttons will not save your changes.
- Touch to change wireless access point.
- Current wireless connection status.
- Touch to change wireless security type.
- Touch to change wireless password.
When connecting to your wireless network, the Wi-Fi ![]() icon at the bottom right of the controller screen will flash. Connecting takes about 30 seconds. When successfully connected, the Wi-Fi
icon at the bottom right of the controller screen will flash. Connecting takes about 30 seconds. When successfully connected, the Wi-Fi ![]() icon will remain solid.
icon will remain solid.

Documents / Resources
References
Hunter Irrigation Sprinkler Systems | Hunter Industries
Hunter Irrigation Sprinkler Systems | Hunter Industries
Hydrawise | Smart Wi-Fi Irrigation Control
![www.apple.com]() App Store - Apple
App Store - Apple![play.google.com]() Google Play
Google Play
Download manual
Here you can download full pdf version of manual, it may contain additional safety instructions, warranty information, FCC rules, etc.
Download Hunter Hydrawise HC, HPC, Pro-HC - Wi-Fi Irrigation Control System Manual
Advertisement


Need help?
Do you have a question about the HC and is the answer not in the manual?
Questions and answers