Advertisement
INTRODUCTION

REFERENCE (n):
- THE STANDARD, THE BENCHMARK, THE POINT USED FOR COMPARISON
- THE EMBODIMENT OF THE LEGENDARY KLIPSCH SOUND
LOUD AND PROUD SINCE 1946
In 1946, Paul W. Klipsch revolutionized the audio industry by creating our proprietary horn technology and the acoustic principles that are the driving force behind our highly acclaimed signature sound.
Today, we remain true to PWK's vision and pack the better part of a century's worth of sweat and genius into every product we make. These speakers are the result of our obsession with that aural perfection. Experience the power, detail and emotion of Klipsch Reference. We are the Keepers of the Sound®.
IMPORTANT SAFETY INSTRUCTIONS
- READ these instructions.
- KEEP these instructions.
- HEED all warnings.
- FOLLOW all instructions.
- DO NOT use this apparatus near water.
- CLEAN ONLY with dry cloth.
- DO NOT block any ventilation openings. Install in accordance with the manufacturer's instructions.
- DO NOT install near any heat sources such as radiators, heat registers, stoves, or other apparatus (including amplifiers) that produce heat.
- ONLY USE attachments/accessories specified by the manufacturer.
- USE ONLY with a cart, stand, tripod, bracket, or table specified by the manufacturer, or sold with the apparatus. When a cart is used, use caution when moving the cart\apparatus combination to avoid injury from tip-over.
- DO NOT expose this apparatus to dripping or splashing and ensure that no objects filled with liquids, such as vases are placed on the apparatus.
 The exclamation point, within an equilateral triangle, is intended to alert the user to the presence of important operating and maintenance (servicing) instructions in the literature accompanying the product.
 The lightning flash with arrowhead symbol within an equilateral triangle, is intended to alert the user to the presence of unisulated "dangerous voltage" within the product's enclosure that may be of sufficient magnitude to constitute a risk of electrical shock to persons.

To reduce the risk of fire or electrical shock, do not expose this apparatus to rain or moisture.

No naked flame sources — such as candles — should be placed on the product.
INSPECTION
We want your new speaker system to look as good as it did leaving the factory! Please check promptly for any transit damage. Carefully unpack your new speaker system and verify the components against the packing list. In extreme circumstances, items may have become damaged in transit. If any damage is discovered, notify the delivery service and dealer where the system was purchased. Make a request for inspection, and follow their instructions for evaluation. Be sure to keep the product's original shipping carton.
CARE & CLEANING
Your speakers have a durable finish that should only require dry dusting or cleaning with a dry cloth. Avoid the use of abraisive or solvent-based cleaners and harsh detergents. The brush attachment of your vaccm should remove any dust from your speakers grilles.
REGISTRATION
Register your product online at www.klipsch.com/register
- Keep up-to-date on new products and promotions.
- Your personal information will never be resold.
- This registration information is not used for warranty purposes.
- Please retain your receipt for warrany claims.
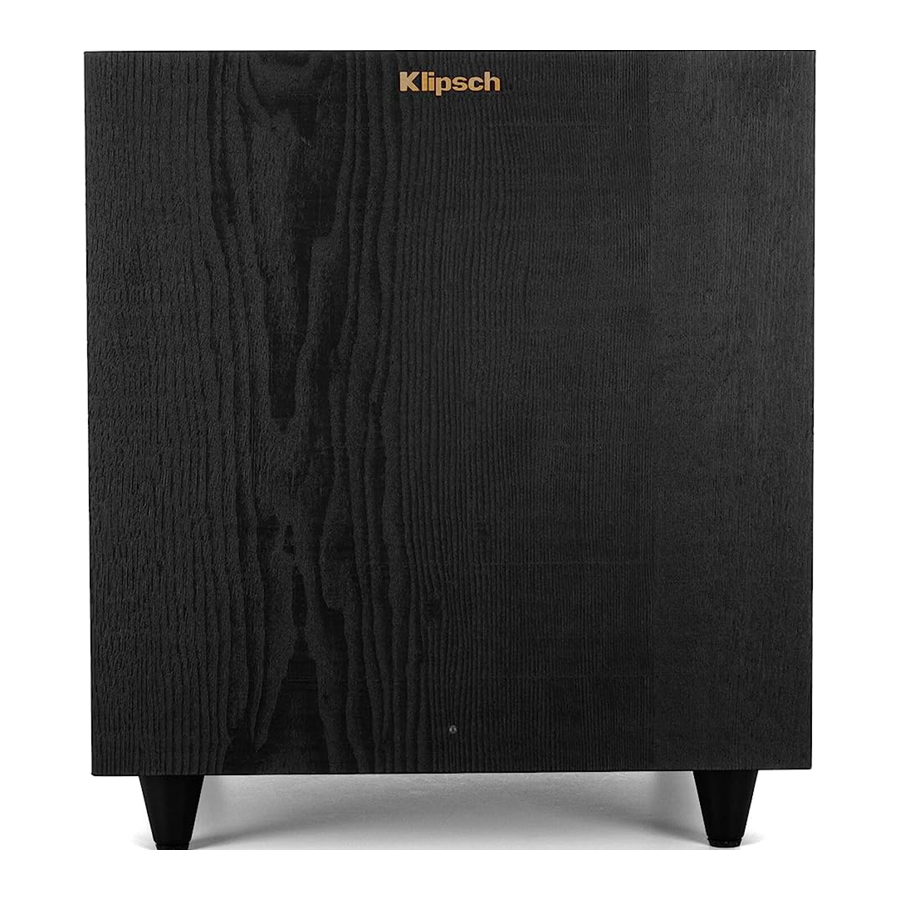
POSITIONING YOUR REFERENCE SUBWOOFER
Klipsch powered subwoofers are designed to reproduce deep bass and deliver the impact that makes your movies and music come alive. For optimum performance, place your subwoofer in a corner of the room on the same wall as your front channel speakers. (refer to Figure 1). Please note that room placement can have a dramatic effect on the performance of your powered subwoofer. Corner placement, as suggested above, will increase the amount of bass output, while placing the subwoofer along the middle of a wall, or out in the room will decrease the amount of bass output. Experiment with a number of different placement options and control settings to find the one that best suits your particular room and taste. When choosing your subwoofer's location, keep in mind that you will need to connect the subwoofer's built-in amplifier to an AC power outlet.

SPEAKER PLACEMENT IN LISTENING AREA
SUBWOOFER

Ensure that the subwoofer is unplugged from the AC wall outlet before making any connections. In the absence of a subwoofer output on your receiver (if provided) to the Left/LFE and right input on the suwoofer.

- POWER LED: Located on the front baffle, this LED indicates the operating status of the built-in amplifier. The LED will light green when the amplifier is on and receiving a signal. If the LED is dark and not lit, the amplifier is off. For more information on the controls mentioned in this manual and on bass management, see your dealer or visit www.klipsch.com
- POWER SWITCH: When this switch is in the "ON/AUTO" position, the subwoofer will automatically turn "on" when it senses a signal. It will automatically go into "standby mode" after 15-20 minutes with no signal. When this switch is in the "OFF" position, the subwoofer will remain "off" until the switch is manually turned back to the "ON/ AUTO" position.
- GAIN: If your subwoofer is connected to a Subwoofer Output of a surround receiver, first set the subwoofer volume level control in the receiver to the "half way" or "0 dB" position. Then increase the volume (or gain) of the subwoofer up until the subwoofer's volume level matches the output of your main speakers. After this setup is completed, the volume control on your system's main amplifier or pre-amplifier will be the volume control for both your subwoofer and speakers together. If your subwoofer is connected to the L/R Pre-Amp Outputs of a receiver there will be no subwoofer volume in that receiver to set before setting the subwoofer's gain control.
- "LOWPASS" CONTROL: The crossover point chosen determines where low bass frequencies are "handed off" from the speakers to the subwoofer. If setting the crossover point in the receiver, turn the Lowpass Filter knob on the subwoofer to the farthest point right (160Hz). Set the crossover point based on the size of the main left/right speakers you are using in the system. As a general rule, for larger, floorstanding speakers, set the crossover point between 50Hz-90Hz. If using small bookshelf or "satellite" speakers for the mains, set the crossover point between 90Hz-150Hz. The smaller the speaker, the higher the setting until the bass frequencies blend well between the speakers and your subwoofer once your system is completely hooked up. If your receiver does not have a crossover point setting, set the Lowpass Filter on the subwoofer instead within the same recommended settings (see receiver manual for additional speaker setup info).
- "PHASE" 0/180: This control is used to acoustically match the subwoofer's output to your main speakers. Select the position either 0˚ or 180˚ in which your subwoofer has more output at the listening position.
WIRELESS CONNECTION

RE-CONNECT
- HOLD 3 SECONDS]
![]()
- FLASHING BLUE
![]()
- SOLID BLUE
![]()


WIRED CONNECTION


Documents / Resources
References
Download manual
Here you can download full pdf version of manual, it may contain additional safety instructions, warranty information, FCC rules, etc.
Advertisement


Need help?
Do you have a question about the R-80SWi and is the answer not in the manual?
Questions and answers