
Related Manuals for OPTIX SVC600


Summary of Contents for OPTIX SVC600
- Page 1 MODEL : SVC600 SIDE / REAR VIEW Camera QUALITY PRODUCTS FOR THE PROFESSIONAL INSTALLER...
- Page 2 MODEL : SVC600 Table of Contents INTRODUCTION Contents/Device FENDER MOUNT MOUNTING PLATE BOTTOM MOUNT QUICK START/INSTALLATION...
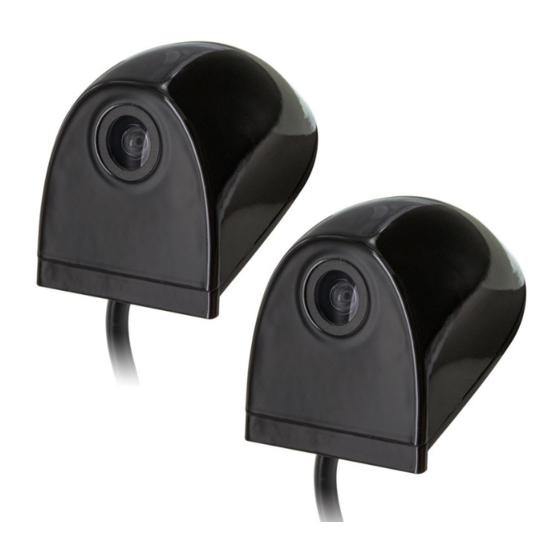
- Page 3 MODEL : SVC600 INTRODUCTION Congratulations on your purchase of the Optix “Side/Rear View Camera Kit”. These cameras can be used in a number of different configurations. When connected to a screen as side view cameras, you can safely monitor the sides of the vehicle and blind spot areas that are hard to see. These cameras are fully adjustable and can be used as either side mount or bottom mount by opening up the shroud and chang- ing the position on the camera.
- Page 4 MODEL : SVC600 FENDER MOUNT Type 1: Fender Mount 1. Inspect the area for suitable mounting location (make sure camera cable is clear of any moving parts) We recommend testing the location for optimum viewing angle be- fore permanently mounting camera.(See example below) 2.
- Page 5 MODEL : SVC600 MOUNTING PLATE Type 2: Bottom Mount (Adapting the camera) STEP 3 - STEP 2 - REMOVE WIRE SCREW STEP 1 - REMOVE 3 SCREWS A. MARK AND NOTE THE TOP OF CAMERA B. ROTATE CAMERA COUNTER CLOCKWISE 90 DEGREES (1/4 TURN) C.
- Page 6 MODEL : SVC600 QUICK START/INSTALLATION Type 2: Bottom Mount 1. Inspect the area for suitable mounting location (make sure camera cable is clear of any moving parts) We recommend testing the location for optimum viewing angle before permanently mount- ing camera. (See example below) 2.
Need help?
Do you have a question about the SVC600 and is the answer not in the manual?
Questions and answers