Sign In
Upload
Download
Table of Contents
Contents
Add to my manuals
Delete from my manuals
Share
URL of this page:
HTML Link:
Bookmark this page
Add
Manual will be automatically added to "My Manuals"
Print this page
×
Bookmark added
×
Added to my manuals
Manuals
Brands
Hunter Manuals
Fan
Minimus
Installation manual
Hunter Minimus Installation Manual
Hide thumbs
1
2
3
4
5
6
7
8
9
Table Of Contents
10
page
of
10
Go
/
10
Contents
Table of Contents
Troubleshooting
Bookmarks
Table of Contents
Choosing the Right Installation Location
Installing the Ceiling Bracket
Hanging the Fan
Wiring the Fan
Installing the Blades
Assembling the Light Kit
Installing the Glass
Preparing the Remote
Troubleshooting
Limited Lifetime Warranty
Advertisement
Quick Links
Download this manual
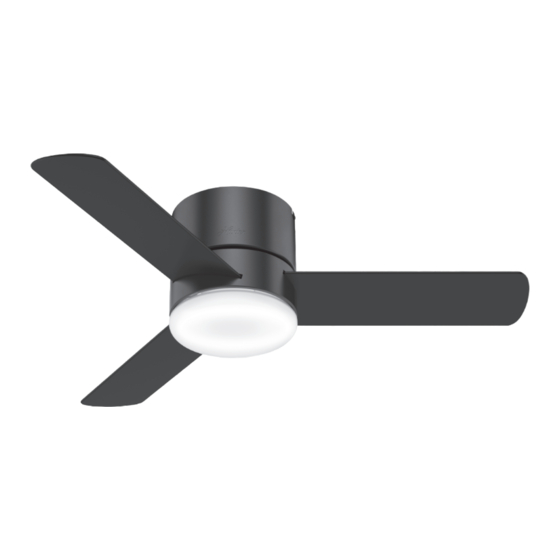
Model: 59452 Fresh White
59453 Matte Black
59454 Brushed Nickel
Fan weight ±2 lbs: 19.3 lbs (8.75 kg)
Minimus
Installation Manual
©2018 Hunter Fan Co.
PG3640 r071618
Table of
Contents
Previous
Page
Next
Page
1
2
3
4
5
Advertisement
Table of Contents
Need help?
Do you have a question about the Minimus and is the answer not in the manual?
Ask a question
Questions and answers
Subscribe to Our Youtube Channel
Related Manuals for Hunter Minimus
Fan Hunter Millennium/Metro 9103x Owner's Manual
The millennium/metro high performance oscillating fan (14 pages)
Fan Hunter Milmack Installation Manual
(10 pages)
Fan Hunter Milstream Installation Manual
(13 pages)
Fan Hunter Ceiling Fans Installation And Operation Manual
(20 pages)
Fan Hunter M0046-01 Instructions Manual
(18 pages)
Fan Hunter M3571-01 Instruction Manual
(21 pages)
Fan Hunter Model Type 2 Owners And Installation Manual
Model type 2 hunter ceiling fan (15 pages)
Fan Hunter Type G Models Owners And Installation Manual
Type t,g,b models (15 pages)
Fan Hunter Memphis User Manual
(19 pages)
Fan Hunter 51807 Installation Manual
(12 pages)
Fan Hunter Margo Installation Manual
(13 pages)
Fan Hunter Mesquite Installation Manual
(12 pages)
Fan Hunter 51264 Installation Manual
(13 pages)
Fan Hunter Melbourne Installation Manual
(13 pages)
Fan Hunter 50786 Installation Manual
Matte black/noble bronze/brushed nickel fan weight +-2 lbs: 13.9 lbs 6.3 kg (13 pages)
Fan Hunter Dante MB531 Installation Manual
(43 pages)
This manual is also suitable for:
59452
59453
59454
Table of Contents
Print
Rename the bookmark
Delete bookmark?
Delete from my manuals?
Login
Sign In
OR
Sign in with Facebook
Sign in with Google
Upload manual
Upload from disk
Upload from URL


Need help?
Do you have a question about the Minimus and is the answer not in the manual?
Questions and answers