Advertisement
Quick set up
 Note: If you have a ChargePAK B1 rechargeable battery (sold separately) fit it now before plugging One Mini in. See "Installing the ChargePAK B1" for more information.
- Unclip the aerial and fully extend it (steps A and B). Insert the jack of the supplied mains adapter into the socket on the rear of the radio (C). Plug the mains adapter into the mains supply. (D)

- Wait for the radio to complete an Autotune for all available stations.
When the Autotune is complete, a station will be selected.


Note: By default, the menus on One Mini are displayed in English. To use another language (Italian, German or French) see "Changing the language".
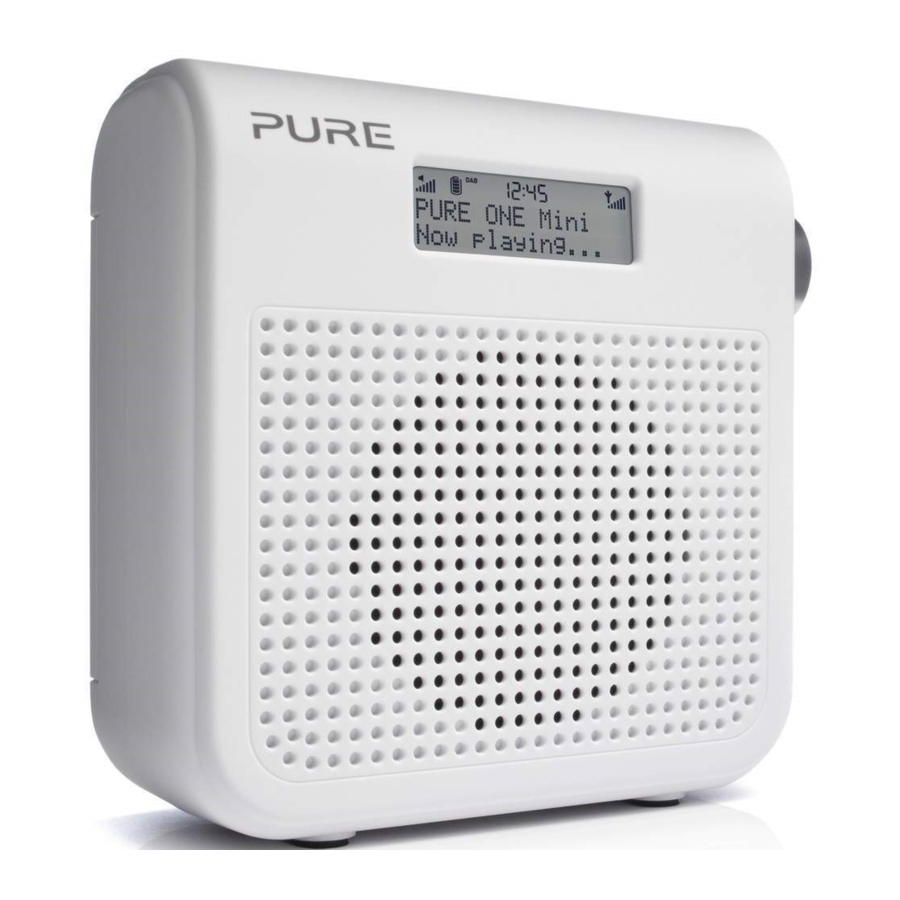
Controls at a glance

| No. | Name | Description |
| 1 | Standby | On/standby switch (mains powered) or on/off switch (ChargePAK powered). |
| 2 | Source | Press to switch between digital and FM radio. |
| 3 | Info | Press to switch between scrolling text and the date. |
| 4 | Autotune | Press to scan for new stations and remove inactive ones. |
| 5 | Presets | Store and select presets. See page "Using radio presets". |
| 6 | Stations | Press then use the Dial to change stations. See "Listening to radio". |
| 7 | Dial | Turn to adjust volume or scroll stations. See "Adjusting the volume". |
| 8 | Side connectors | USB, headphone and aux in connectors. See "Side connectors". |
Side connectors

- Mini-B type USB connector
For software updates only.
- Line in
Analogue stereo input for iPod, MP3 player, etc.
![warning]() Note: One Mini automatically switches from the digital or FM source to the Line In source if you connect an auxilliary device to the Line In connector.
Note: One Mini automatically switches from the digital or FM source to the Line In source if you connect an auxilliary device to the Line In connector.
Display

*Source indicator
Displays the current radio source: DAB indicates digital radio FM indicates FM
Adjusting the volume
Turn the Dial to adjust the volume.

Listening to radio
Selecting digital radio
Press Source until 'DAB' is displayed at the top of the screen.

Changing digital stations

- PressStations so that the scroll symbols
![]() are shown on the display.
are shown on the display. - Turn the Dial to the station you want to listen to.
- Push the Dial to tune into the station.
 are shown on the display.
Selecting FM radio
Press Source until 'FM' is displayed at the top of the screen.

Seek tuning

- PressAutotune so that 'Turn to seek' is shown on the display.
- Turn theDial to automatically scan for the next station. The scan will stop when a station with a strong signal is found.
Manual tuning

- PressStations so that 'Turn to tune' is shown on the display.
- Turn theDial to the required frequency.
Using radio presets
Store up to 8 digital and 8 FM radio stations for quick access.
Storing a radio preset
- Tune into the station that you want to store.
![]()
- Press Presets.
- Turn the Dial to to the required Preset number.
![]()
- Push and hold theDial for two seconds Preset 2 saved to store the radio station as a preset.
![]()


Note: To overwrite a radio preset, tune into the station that you want to store and follow the above steps.
Selecting a radio preset
- Press thePresets button.
- Turn the Dial to the station that you want to listen to.
![]()
- Push the Dial to tune in to the station.

Basic options
Autotune
You can use the autotune function to automatically scan for new digital radio stations and remove inactive ones.

Note: Autotune is only available when you have selected 'Digital' as the radio source.
- Press Autotune.
- Push the Dial.
The number of stations found will be displayed during the autotune.
![]()
- When the autotune has finished, One Mini will tune to the last station that you were listening to.

Using textSCAN to pause and control scrolling text

- When 'Scrolling text' information is displayed in either digital or FM radio, push the Dial to pause the scrolling text.
- Turn the Dial again to scroll forwards and backwards through the text. To exit textSCAN push the Dial again.
Changing the language

- PressInfo and hold until 'Language' is displayed on the screen and push the Dial.
- Turn the Dial until the language you want to use is displayed.
- Push the Dial to save your changes.
Advanced options
Upgrade
Contact Pure technical support (http://support.pure.com) for more information on how to update One Mini to the latest software version.
Reset

Resetting your One Mini removes all presets, stored stations and resets all other options to default settings.
- Ensure your aerial is fully extended and vertical.
- Press and hold Info for two seconds.
- Turn the Dial to 'Factory reset'.
- Press the Dial to confirm that you want to reset the One Mini to default settings.
Installing the ChargePAK B1
- Switch One Mini off and disconnect from the mains power supply.
- Open the battery compartment.
![]()
- insert the ChargePAK connector plug into the socket in the compartment. Line up the ridges on the plug with the slots in the socket to ensure correct orientation. Do not force the plug.
![]()
- Insert ChargePAK into the battery compartment, logo side out.
![]()
- Replace the battery cover and connect One Mini to the mains.
![]()
- ChargePAK will begin charging.


Note: When charging your ChargePAK for the first time or after an extended period of inactivity it is recommended that it is charged for around 24 hours to ensure full battery power. If ChargePAK is in a highly discharged state there may be a slight delay before the battery charging indicator is displayed.
Technical specifications
| Radio | Digital and FM, UK products receive DAB and FM; non-UK products receive DAB/DAB+/DMB-Radio/FM depending on region. |
| Audio | 1.6W RMS. Full-range 3" drive unit. |
| Input Connectors | 5.5V DC power adaptor socket (230V supplied), Mini USB connector for product upgrades, 3.5mm Line-in for auxiliary devices |
| Output Connectors | 3.5mm headphone socket. |
| Power | 230V AC to 5.5V (1.0A) DC external power adapter or optional ChargePAK B1. |
| Power Consumption | Standby: 0.70W, Active: 1.9W. |
| Approvals |  CE marked. Compliant with the EMC and Low Voltage Directives (2004/108/EC and 2006/95/EC) ETSI EN 300 401 compliant. Australian C-Tick N1600 and Electrical Safety. |

Documents / ResourcesDownload manual
Here you can download full pdf version of manual, it may contain additional safety instructions, warranty information, FCC rules, etc.
Advertisement


Need help?
Do you have a question about the One Mini Series 2 and is the answer not in the manual?
Questions and answers