Ryobi E49IR01 - 3-In-1 Infrared Thermometer Manual
- Operator's manual (2 pages)
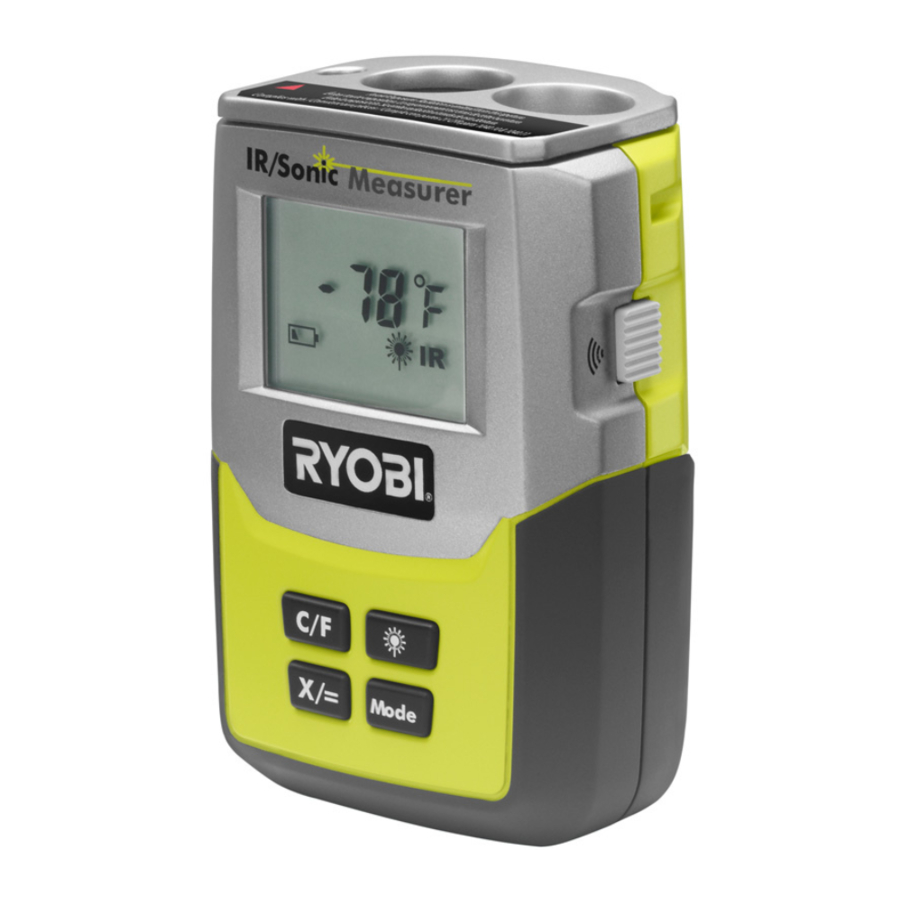
Advertisement
SPECIFICATIONS
| Laser Certifications | <1mW, 630-660 nm | |
| Display Auto Off | 3 minutes | |
| Temperatrue Range | -22ºF to 518º F | |
| INFRARED THERMOMETER SPECIFICATIONS: | ||
| Accuracy | -22º F to 30º F ± 5°F 32°F to 518°F± 4°F | |
| Distance to Spot Ratio | 6:1 | |
| Operating Temperature | 32º F to 104º F | |
| Temperature Update | 5 seconds | |
| DISTANCE MEASURER SPECIFICATIONS: | ||
| Measurement Range | 1 ft to 30 ft | |
| Accuracy of Distance | ±0.5% ± 1 digit | |
OVERVIEW
MAIN UNIT

- Laser beam
- Sonic beam
- Infrared beam
- Measure button
- Power button
- Mode button
- (X/=) button
- ºC/Fº (units) button
- LCD display
DISPLAY

- Length, area, volume icon
- Sonic icon
- Reading
- Infrared icon
- Laser icon
- Hold icon
- Battery charge icon
OPERATION
The 3-in-1 Infrared Thermometer, Sonic Distance Measure, Laser Point takes non-contact temperature measurements and distance measurements for electricians, facility maintenance personnel, HVAC applications, automotive applications, and more.
INSTALLING THE BATTERY

- 9V battery
- Battery cover
- Battery terminals
A 9 volt battery (included) must be installed before using the unit.
- Slide the battery cover off.
- Attach the battery terminals to their connectors on the unit.
- Close the battery compartment by sliding the cover into place until it snaps closed.
TAKING TEMPERATURE READINGS
To obtain the most accurate readings, follow these instructions:
- Temperature readings can only be measured on a target surface.
- Surfaces covered by frost, dirt, or other material should be cleaned before taking reading.
- For highly reflective surfaces, such as mirrors or windows, place a piece of paper or tape on area where reading will be taken.
To take a temperature reading:
- Press Power button (E) to turn on unit.
- Press Mode button (F) to set unit to Infrared Mode, shown as IR (M) on LCD display (I).
- Point the unit toward the area you wish to read and press the Measure button (D). See Figure below to determine distance to spot ratio for accuracy of reading.

NOTE: The Laser pointer (A) will come on whenever Measure button (D) is pressed. The Laser pointer (A) indicates the center of the circular area being scanned for reference only. - The unit will take reading (L).
- The surface temperature readings (L) are shown in LCD display.
- When the Measure button (D) is released, the laser will turn off. The HOLD (O) icon will stay on until you turn unit off or another reading is taken.
- To switch between Celsius to Fahrenheit units, press the ºC/Fº (units) button (H).
- The unit will turn off in in 60 seconds if there is no operation or no key is pressed.

TAKING DISTANCE MEASUREMENTS
To obtain the most accurate readings, follow these instructions: The LCD display shows the measurement for distance (L) from the device to the target surface, with icons for calculations length (  ), area (
  ) and volume (
  ) (J).
- Press Power button (E) to turn on unit.
- Press Mode button (F) to set unit to Sonic mode (K), shown as
![]() on LCD display.
on LCD display. - Measurements are calculated from the rear of the tool.
- To switch back and forth from ft/in. to cm/m, press the ºC/Fº (Units) button (H).
 on LCD display.
Length ( ) Measurement:
- Press the Measure button (D) to measure length (
![]() ) (J).
) (J). - After two seconds the unit will display the result of the length measurement (F).
Area (  ) Measurement:
- Press the ( X/=) button (G) until the (
![]() ) (J) symbol is displayed.
) (J) symbol is displayed. - Press the Measure button (D) to take first length measurement.
- The unit will display the result of the length measurement.
- Reposition unit and take second length measurement.
- After two seconds the unit will display the result of the area measurement.
Volume ( ) Measurement:
- Press the ( X/= ) button (G) until the (
![]() ) (J) symbol is displayed.
) (J) symbol is displayed. - Press the Measure button (D) to take first length measure ment.
- The unit will display the result of the length measurement.
- Reposition unit and take second length measurement.
- The unit will display the result of the area measurement.
- Reposition unit and take third length measurement.
- After two seconds the unit will display the result of the volume measurement.
- The unit will turn off in 60 seconds if there are no further operations or no key is pressed.

Documents / ResourcesDownload manual
Here you can download full pdf version of manual, it may contain additional safety instructions, warranty information, FCC rules, etc.
Advertisement


Need help?
Do you have a question about the E49IR01 and is the answer not in the manual?
Questions and answers