Table of Contents
Advertisement
Quick Links
Verify that you received the following items in the shipment of
your multimeter:
✔
One pair of red and black test leads
✔
One pair of 4 mm test probes
✔
One K-type thermocouple lead kit
✔
Four 1.5 V AAA alkaline batteries
✔
Printed copy of the U1271A/U1272A Quick Start Guide
✔
Printed copy of the Certificate of Calibration
If any item is missing or damaged, keep the shipping materials
and contact the nearest Agilent Sales Office.
The descriptions and instructions in this guide apply to the
NO TE
U1271A and U1272A Handheld Digital Multimeters.
The model U1272A appears in all illustrations.
All related documents and software are available for download
at www.agilent.com/find/hhTechLib.
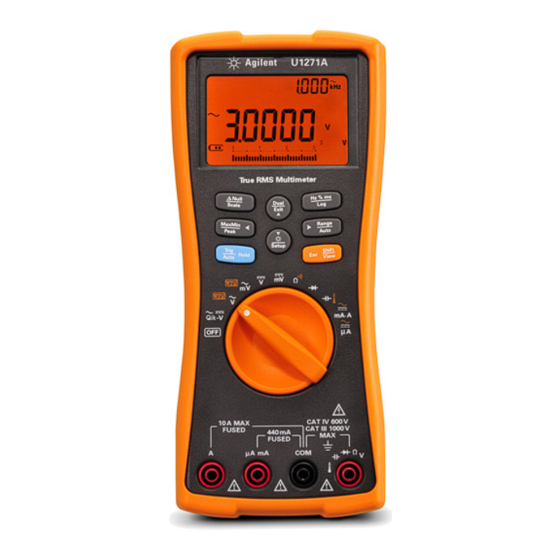
Agilent U1271A/U1272A
Handheld Digital Multimeter
Quick Start Guide
Agilent Technologies
Advertisement
Table of Contents

Related Manuals for Agilent Technologies U1272A


Summary of Contents for Agilent Technologies U1272A
- Page 1 One K-type thermocouple lead kit ✔ Four 1.5 V AAA alkaline batteries ✔ Printed copy of the U1271A/U1272A Quick Start Guide ✔ Printed copy of the Certificate of Calibration If any item is missing or damaged, keep the shipping materials and contact the nearest Agilent Sales Office.
-
Page 2: Install The Batteries
U1271A/U1272A Handheld Digital Multimeter Differences between the U1271A and U1272A Differences between the U1271A and U1272A The U1272A model offers these additional functions: • Z (low input impedance) measurements • Smart Ω measurements • Auto-diode tests • AC+DC voltage and current measurements •... -
Page 3: The Multimeter At A Glance
U1271A/U1272A Handheld Digital Multimeter The Multimeter at a Glance The Multimeter at a Glance Display screen Keypad Rotary switch Input terminals Test lead/probe holders IR communication port Battery access cover Tilt stand U1271A/U1272A Quick Start Guide... -
Page 4: Understanding The Rotary Switch
Resistance/Continuity/(Smart Ω, U1272A only) Smart Diode/(Auto-diode, U1272A only) Auto Capacitance/Temperature AC, DC, or (AC+DC mA and A, U1272A only) AC, DC, or (AC+DC μA, U1272A only) AC/DC V check for signal identification (U1271A only) Qik-V (low input impedance) AC/DC V for checking... -
Page 5: Understanding The Keypad
U1271A/U1272A Handheld Digital Multimeter Understanding the Keypad Understanding the Keypad Key response when pressed for: Legend Less than 1 second More than 1 second Sets the Scale mode for Sets the Null/Relative the specified ratio and mode. unit display. Starts and stops the Starts and stops the MaxMin recording. -
Page 6: Understanding The Input Terminals
U1271A/U1272A Handheld Digital Multimeter Understanding the Input Terminals Understanding the Input Terminals Ensure that the terminal connections are correct for that WA RN ING particular measurement function before starting any measurement. To avoid damage to the device, do not exceed the input limit. - Page 7 U1271A/U1272A Handheld Digital Multimeter Performing Measurements and Tests Performing Measurements and Tests Voltage measurements The figure below highlights the primary functions allowing voltage measurements in your multimeter. U1271A U1272A Set up your multimeter as shown in the figure below to per- form voltage measurements.
- Page 8 U1271A/U1272A Handheld Digital Multimeter Performing Measurements and Tests LPF measurements: Press while performing ac voltage measurements to pass the measured signal through a low pass filter. • Passing the measured signal through a LPF help blocks unwanted voltages such as electronic noise.
-
Page 9: Resistance Measurements
Performing Measurements and Tests Resistance measurements Set up your multimeter as shown in the figure below to per- form resistance measurements. Smart Smart Ω measurements (U1272A only): While performing resistance mea- surements, press until is shown on the display to enable the Smart Ω... -
Page 10: Continuity Tests
U1271A/U1272A Handheld Digital Multimeter Performing Measurements and Tests Continuity tests Set up your multimeter as shown in the figure below to per- form continuity tests. Press to switch to the continuity test function ( is shown on the display). You can set the beeper to sound and the backlight to flash as a... -
Page 11: Diode Tests
U1271A/U1272A Handheld Digital Multimeter Performing Measurements and Tests Diode tests Set up your multimeter as shown in the figure below to per- form diode tests. Auto Auto-diode tests (U1272A only): Press until is shown on the display to use the auto diode function. -
Page 12: Capacitance Measurements
U1271A/U1272A Handheld Digital Multimeter Performing Measurements and Tests Capacitance measurements Set up your multimeter as shown in the figure below to per- form capacitance measurements. is shown on the bottom left of the display when the capaci- NO TE tor is charging, and is shown when the capacitor is dis- charging. -
Page 13: Temperature Measurements
U1271A/U1272A Handheld Digital Multimeter Performing Measurements and Tests Temperature measurements Set up your multimeter as shown in the figure below to per- form temperature measurements. Do not connect the thermocouple to electrically live WA RN ING circuits. Doing so will potentially cause fire or electric shock. -
Page 14: Current Measurements
U1271A/U1272A Handheld Digital Multimeter Performing Measurements and Tests Current measurements Set up your multimeter as shown in the figure below to per- form current measurements. Press to switch between ac, dc, ac+dc, or % scale current measurements. Always use the proper function, range, and terminals for WA RN ING current measurements. - Page 15 WARNING notice until the indicated CAT IV Category IV 600 V overvolt- conditions are fully under- age protection 600 V stood and met. For further safety information details, refer to the Agilent U1271A/U1272A Handheld Digital Multimeter User’s Guide.
- Page 16 Printed in Malaysia Third Edition, June 11, 2012 © Agilent Technologies, Inc., 2010–2012 U1271-90000 Agilent Technologies...