Sign In
Upload
Download
Table of Contents
Contents
Add to my manuals
Delete from my manuals
Share
URL of this page:
HTML Link:
Bookmark this page
Add
Manual will be automatically added to "My Manuals"
Print this page
×
Bookmark added
×
Added to my manuals
Manuals
Brands
Hunter Manuals
Fan
53319
Installation manual
Hunter 53319 Installation Manual
Hide thumbs
1
2
3
4
5
6
7
8
9
10
11
Table Of Contents
12
page
of
12
Go
/
12
Contents
Table of Contents
Troubleshooting
Bookmarks
Table of Contents
Choosing the Right Installation Location
Installing the Ceiling Bracket
Hanging the Fan
Wiring the Fan
Installing the Canopy
Installing the Blades
Troubleshooting
Limited Lifetime Warranty
Advertisement
Quick Links
Download this manual
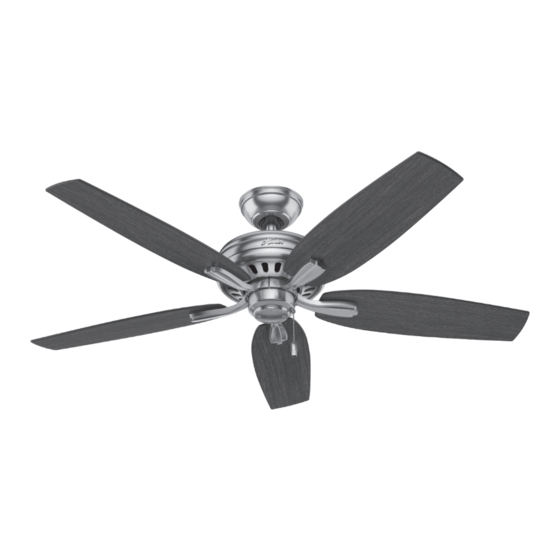
Model: 53319 Fresh White
53320 Premier Bronze
53321 Brushed Nickel
52397 Flat Matte Black
Fan weight ±2 lbs: 16.5 lbs (7.5 kg)
Newsome
Installation Manual
©2022 Hunter Fan Co.
PG4083 r080822
Table of
Contents
Previous
Page
Next
Page
1
2
3
4
5
Advertisement
Table of Contents
Need help?
Do you have a question about the 53319 and is the answer not in the manual?
Ask a question
Questions and answers
Related Manuals for Hunter 53319
Fan Hunter 53310 Installation Manual
(12 pages)
Fan Hunter Newsome Installation Manual
(9 pages)
Fan Hunter 53313 Installation Manual
(9 pages)
Fan Hunter 53314 Installation Manual
(9 pages)
Fan Hunter 53315 Installation Manual
(9 pages)
Fan Hunter 53311 Installation Manual
(12 pages)
Fan Hunter 53312 Installation Manual
(12 pages)
Fan Hunter Bennett Series Installation Manual
(9 pages)
Fan Hunter Lincoln Installation Manual
(13 pages)
Fan Hunter 53336 Installation Manual
(13 pages)
Fan Hunter 53337 Installation Manual
(13 pages)
Fan Hunter Channing Installation Manual
(13 pages)
Fan Hunter Allendale 53302 Instruction Manual
(13 pages)
Fan Hunter 53326 Instruction Manual
(9 pages)
Fan Hunter 53327 Instruction Manual
(9 pages)
Fan Hunter Donegan 53344 Installation Manual
(9 pages)
This manual is also suitable for:
Newsome
53320
53321
52397
Table of Contents
Print
Rename the bookmark
Delete bookmark?
Delete from my manuals?
Login
Sign In
OR
Sign in with Facebook
Sign in with Google
Upload manual
Upload from disk
Upload from URL


Need help?
Do you have a question about the 53319 and is the answer not in the manual?
Questions and answers