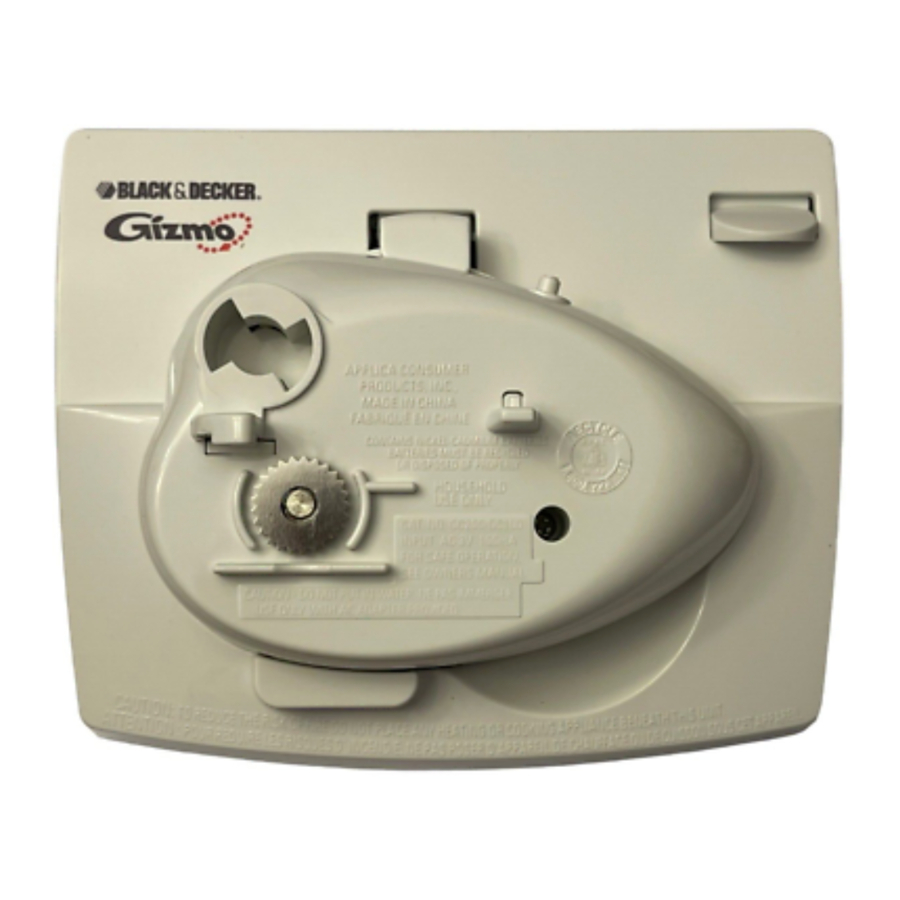
Black & Decker Gizmo GC200, GC100 Series - Spacemaker Manual
- Use and care book (2 pages)
Advertisement

Overview

- Unit release lever
- †Blade assembly with operating lever (Part#177046-00)
- Lid release
- Locating tab
- Mounting base (GC200 series)
- †Mounting hardware kit (not shown) (GC200 series) (Part# 177451-00)
- † AC adapter (not shown) (Part #GC100-01)
† Consumer replaceable
How to Use
This appliance is for household use only.
CHARGING PROCEDURES
- Before first use, you will need to charge the can opener for 24 hours. Subsequent charges as needed should be for 12 hours or overnight. When fully charged, the Gizmo™ cordless can opener is powered to open about a month's worth of cans, based on 6 cans per week (one can – 20 seconds).
- To charge the can opener, plug the small end of the AC adaptor into the can opener and plug the other end into astandard wall outlet.
- Before charging again, make sure unit is fully discharged by removing it from the mounting base, holding leverdown and letting unit run until it stops. Then recharge unit for 24 hours following the above procedures. Recharging the unit after each short use may shorten the life of the nickel-cadmium battery.
- If the can opener doesn't function, make sure that when the unit is charging the AC adaptor is plugged in and theoutlet is not controlled by a wall switch.
TO OPEN A CAN
Note: You may use the Gizmo™ can opener as an independent portable unit at a stove, over a pet dish, or over the sink by pushing unit release lever up to remove unit from the base.

For GC200 series, you may open cans while the unit is mounted as a †Spacemaker® can opener in its mounting base.

- Install the blade assembly by fitting the key spindle into the key notch andlowering the operating lever until it is properly seated. Plug the AC adapter into an electrical outlet.
- Lift operating lever and position a can so that the rim is under the locating tab, then push down on lever, making sure the blade is inside the rim.
![]()
If using mounted, it is not necessary to hold lever down or hold the can during cutting, however, you may have to support very tall or heavy cans. If using as a portable, let the can opener "walk around" the can hands-free.
Note: Cans of 28 oz. (784 g) or more (such as stewed tomatoes or large coffee cans), as well as cans 21/8" (54 mm) or less in diameter (such as small tomato paste cans) cannot be opened using the unit in the mounted base. For cans of these sizes, attach the unit directly to the can.
- When the can is opened, the Gizmo™ can opener will stop automatically. Toremove can from a mounted can opener, hold can with one hand and raise lever with the other. If using unit independently, just lift lever and remove unit from can.
Avoid contact with the cut edges of can or lids — they are sharp. Take the unit to a trash can, pull lid release on magnet, and safely discard lid from the magnet without touching it.
Care and Cleaning
This product contains no user serviceable parts. Refer service to qualified service personnel.
CLEANING YOUR DEVICE
- For GC200 series, remove unit by pushing unit release lever up and pulling it out of the mounting base. Wipe the mounting and exterior of the unit with a soft damp cloth. Do not use abrasive cleansers or scouring pads. Never immerse unit or AC adapter in water.
- Lift operating lever up as far as it will go and pull the blade assembly straight outaway from the can opener.
![]()
Wash in sudsy water by hand and dry thoroughly. You may put the blade assembly in the dishwasher, top rack only. - Before replacing the blade assembly, wipe unit body and area around the drive wheel with a slightly damp cloth or sponge. To replace assembly, fit the key spindle into the key notch, push in, and lower lever until it is "seated" in place.
BATTERY REMOVAL
This product uses rechargeable, recyclable nickel-cadmium batteries. When the batteries can no longer be charged, they should be removed, recycled, or disposed of properly. These batteries must not be incinerated or composted.
DO NOT ATTEMPT TO REMOVE THE PLASTIC COVERING FROM THE BATTERIES.
Removal:
- Remove blade assembly from the unit. (See "Care and Cleaning"). Use a small Phillips screwdriver to remove the screws on the unit and pry the two halves apart. You will see two barrel shaped batteries and connections. If the batteries have leaked or vented, wear protective gloves before touching them.
- Disconnect negative (-) black wire from one battery by sliding the connection off the battery. Disconnect positive(+) red wire in the same way. Lift the battery pack out.

Documents / ResourcesDownload manual
Here you can download full pdf version of manual, it may contain additional safety instructions, warranty information, FCC rules, etc.
Download Black & Decker Gizmo GC200, GC100 Series - Spacemaker Manual
Advertisement


Need help?
Do you have a question about the Gizmo GC200 Series and is the answer not in the manual?
Questions and answers