Sign In
Upload
Download
Table of Contents
Contents
Add to my manuals
Delete from my manuals
Share
URL of this page:
HTML Link:
Bookmark this page
Add
Manual will be automatically added to "My Manuals"
Print this page
×
Bookmark added
×
Added to my manuals
Manuals
Brands
Unimig Manuals
Welding System
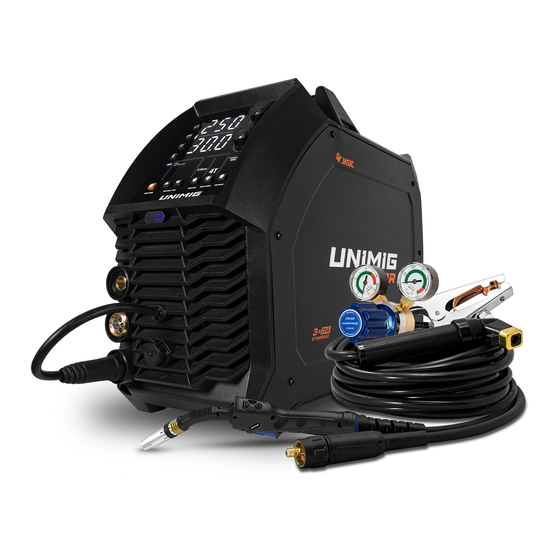
RAZOR MULTI 250
Operating manual
Unimig RAZOR MULTI 250 Operating Manual
Hide thumbs
1
Table Of Contents
2
3
4
5
6
7
8
9
10
11
12
13
14
15
16
17
18
19
20
21
22
23
24
25
26
27
28
29
30
31
32
33
34
35
36
37
38
39
40
41
42
43
44
45
46
47
48
49
50
51
52
53
54
55
56
page
of
56
Go
/
56
Contents
Table of Contents
Troubleshooting
Bookmarks
Table of Contents
Table of Contents
Safety
Machine Features
Package Contents
Machine Specifications
Machine Layout
Front Panel Layout
Rear Panel Layout
Interior Layout
Geared Wire Drive System
Control Panel Layout
Control Panel Details
Advanced Settings Menu
MIG Manual Mode
Synergic Mode
MIG: Machine Setup
MIG Welding Further Explained
TIG: Machine Setup
TIG Welding Guide
MMA: Machine Setup
MMA: Welding Guide
MIG Troubleshooting
TIG Troubleshooting
MMA (STICK) Troubleshooting
Factory Reset
Indicator Lights
Error Codes
Wiring Diagrams
Machine Breakdown and Parts List
Advertisement
Quick Links
1
Error Codes
Download this manual
RAZOR MULTI 250 Manual APR23.indd 1
RAZOR MULTI 250 Manual APR23.indd 1
U11009K | Operating Manual
6/04/2023 4:01:28 PM
6/04/2023 4:01:28 PM
Table of
Contents
Previous
Page
Next
Page
1
2
3
4
5
Advertisement
Table of Contents
Troubleshooting
MIG Troubleshooting
45
TIG Troubleshooting
47
MMA (STICK) Troubleshooting
48
Need help?
Do you have a question about the RAZOR MULTI 250 and is the answer not in the manual?
Ask a question
Questions and answers
Related Manuals for Unimig RAZOR MULTI 250
Welding System Unimig VIPER MULTI165 Operating Manual
(60 pages)
Welding System Unimig RAZOR MULTI 175 Operating Manual
(56 pages)
Welding System Unimig RAZOR MULTI 220 Operating Manual
(56 pages)
Welding System Unimig VIPER MULTI 135 Operating Manual
(48 pages)
Welding System Unimig VIPER MULTI 195 MAX Operating Manual
(72 pages)
Welding System Unimig ENVY MULTI 195 Operating Manual
(124 pages)
Welding System Unimig RazorWeld MS500 Operating Manual
Mine spec 500 (84 pages)
Welding System Unimig 345SWF Instruction Manual
Mig welder (415v) (14 pages)
Welding System Unimig KUMJRRW200DC Operating Manual
Razorweld welding machine (36 pages)
Welding System Unimig RAZOR COMPACT 250 Operating Manual
(56 pages)
Welding System Unimig Razor 250 Operating Manual
(48 pages)
Welding System Unimig VIPER Operating Manual
(48 pages)
Welding System Unimig ENVY TIG 230 AC/DC Operating Manual
(80 pages)
Welding System Unimig RAZOR TIG 200 AC/DC Operating Manual
(40 pages)
Welding System Unimig RAZOR 320 AC/DC Operating Manual
(48 pages)
Welding System Unimig KUMJRRW200 Operating Instructions Manual
(36 pages)
This manual is also suitable for:
U11009k
Table of Contents
Save PDF
Print
Rename the bookmark
Delete bookmark?
Delete from my manuals?
Login
Sign In
OR
Sign in with Facebook
Sign in with Google
Upload manual
Upload from disk
Upload from URL


Need help?
Do you have a question about the RAZOR MULTI 250 and is the answer not in the manual?
Questions and answers