Table of Contents
Advertisement
Available languages
Available languages
Quick Links
Commissioning
Connection Assignment
Jog-Shuttle
Joystick
A
A
B
C
A Cable interlock
B Cable conduit
C USB socket, type B
D Power IN 12 V DC (from main module)
E
Microphone IN
F
Power IN 12 V DC
G Power OUT 12 V DC (monitor)
H USB socket, type B (PC)
I
4 × USB socket, type A (modules and monitor)
8 × cable conduit
J
Connection and Commissioning
A
B
C C
C C
Connection Monitor
►
Put the monitor hinges into the mounting plates (A, B).
►
Fasten the monitor with the screws (C).
►
Connect the power cable with the monitor.
►
Connect a USB cable with the monitor.
Monitor
D
B
C
C
Main module /
Keyboard
J
E
F
G
H
I
Connection System
►
Connect the modules with the main module.
►
Connect the monitor with the main module.
►
Connect the main module to the PC (hot plug).
►
Connect the main module to the power supply.
The VMC-1 starts automatically and is ready for use after a few seconds.
Commissioning
The operating system detects the new device automatically.
►
Note the appropriate messages of the operating system.
►
Follow the instructions given by the operating system.
►
Finish the installation of the USB driver.
The VMC-1 is ready for operation with a CCTV system.
►
Note the appropriate documentation of the CCTV system.
Dimensions
Unit: mm
Technical Data
The following technical data was valid at the time of the document compilation.
Refer to www.dallmeier.com for possible updates.
Monitor
Size
6" TFT
Resolution
640 × 480 pixel
Complete System
Power supply
12 V DC
Power consumption
Approx. 30 W
Operating temperature
+5 °C to +35 °C
Humidity
10 – 70 % RH, non-condensing
Dimensions (W / H / D)
Approx. 560 mm × 190 mm × 224 mm
Weight
Approx. 3.8 k g
Approvals
FCC, CE, RoHS
Certifications
DIN EN 50130-4
Safety instructions
►
Observe the ratings!
►
Do not open the devices!
►
Avoid the intrusion of dirt and liquids!
►
Do not use any force!
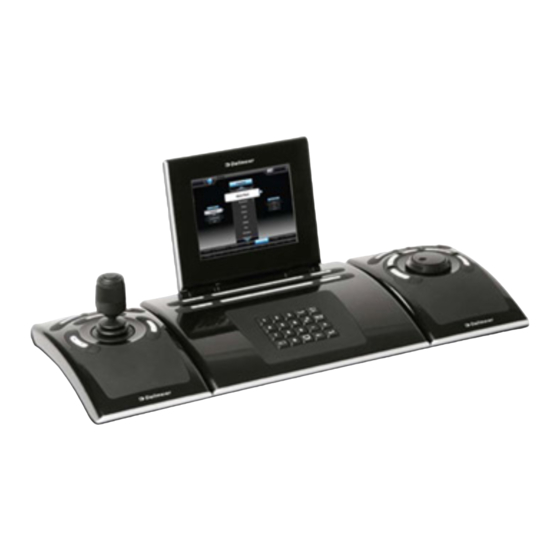
VMC-1
Video Management Center
558
Advertisement
Table of Contents

Subscribe to Our Youtube Channel
Related Manuals for dallmeier VMC-1


Summary of Contents for dallmeier VMC-1
- Page 1 Connect the main module to the power supply. Power supply 12 V DC Power consumption Approx. 30 W The VMC-1 starts automatically and is ready for use after a few seconds. Operating temperature +5 °C to +35 °C Humidity 10 – 70 % RH, non-condensing Dimensions (W / H / D) Approx.
- Page 2 Verbinden Sie das Hauptmodul mit der Stromversorgung. Stromversorgung 12 V DC Leistungsaufnahme Ca. 30 W Das VMC-1 startet automatisch und ist nach wenigen Sekunden be- Betriebstemperatur +5 °C bis +35 °C triebsbereit. Luftfeuchtigkeit 10 – 70 % RH, nicht kondensierend Abmesungen (B / H / T) Ca.
Need help?
Do you have a question about the VMC-1 and is the answer not in the manual?
Questions and answers