Yaesu FT-991 Instruction Manual
Hf/vhf/unf all mode transceiver c4fm fdma/fm
Hide thumbs
Also See for FT-991:
- Operating manual (154 pages) ,
- Reference book (21 pages) ,
- Instruction manual (20 pages)
Table of Contents
Advertisement
Quick Links
HF/VHF/UHF A
M
T
ll
ode
rAnsceiVer
c4FM FdMA/FM
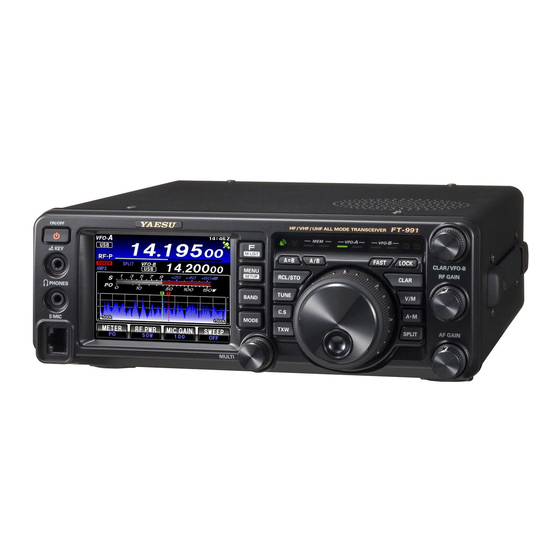
FT-991
i
M
nsTrUcTion
AnUAl
(WIRES-X Edition)
Thank you for purchasing this Yaeau product.
This instruction manual explains operations and settings associated with the
"WIRES-X Function".
For information on basic operation of the transceiver, please refer to the FT-991
Operating Manual.
Advertisement
Table of Contents

Related Manuals for Yaesu FT-991


Summary of Contents for Yaesu FT-991
- Page 1 FdMA/FM FT-991 nsTrUcTion AnUAl (WIRES-X Edition) Thank you for purchasing this Yaeau product. This instruction manual explains operations and settings associated with the “WIRES-X Function”. For information on basic operation of the transceiver, please refer to the FT-991 Operating Manual.
-
Page 2: Table Of Contents
Node or Room to Connect to ..9 Presetting Frequencies ........13 Disconnecting from a Node or Room Setting the Criteria to Sort the in Digital Mode ..9 FAVORITE List ..14 Page 2 FT-991 O (WireS-X e peraTing anual diTiOn... - Page 3 WIRES-X together with the GM (Group Monitoring) function on a compatible Yaesu transceiver, may be used to create a group including local nodes. Also networks covering a wide range may be established.
-
Page 4: What Is Wires-X
With this type of node, you can transmit/receive audio as well as text and image data. WIRES-X user ID YAESU provides identification names with the WIRES-X nodes. For each node, a DTMF ID (five-digit number), and a user ID (alphanumeric characters consisting of up to ten digits) are provided. -
Page 5: Inputting Characters
The following screen is displayed when inputting text, such as group names, on the FT-991 transceiver. Alphabet Input Screen [123#$] Touch to switch the screen to the number and symbol input screen. Touch to move the cursor in the input field left /right. -
Page 6: Communicating Using Wires-X
To communicate using WIRES-X, a WIRES-X node station (local node) must be established within radio contact range of the user transceiver. WIRES-X node stations are voluntarily operated and registered with Yaesu by users. Their locations, frequencies and operation information are listed on our website: https://www.yaesu.com/jp/en/wires-x/index.php... -
Page 7: Communicating Using Wires-X
4. Connected to the local node, successfully connected to an Internet node or room (the Internet node or room is different from the one previously used) J 1 BF S I AG WA KU Y E U DSCNCT FT-991 O (WireS-X e Page 7 peraTing anual diTiOn... -
Page 8: Connecting To A Node Or Room On The Internet In Digital Mode
4. Rotate the MULTI knob or touch the screen to select the node or room Y K HA you want to connect to. Touching [TOP] jumps to the top of the list. Page 8 FT-991 O (WireS-X e peraTing anual diTiOn... -
Page 9: Connected Node Or Room
1. Touch [DISCNCT]. If disconnection is successful, “Not Connected” appears and then the screen returns to the local node connection screen. J 1 BF S I AG WA KU Y E U DSCNCT FT-991 O (WireS-X e Page 9 peraTing anual diTiOn... -
Page 10: Connecting To A Node Or Room On The Internet In Analog Mode
Maximum continuous TX: three minutes 3. Release [PTT]. The transceiver switches to receive mode. Page 10 FT-991 O (WireS-X e peraTing anual diTiOn... -
Page 11: Using Preset Channels
3. Touch [SELECT] on the screen. 4. Rotate the MULTI knob to select “PRESET”. Default setting: MANUAL 5. Touch [ENT] on the screen. 6. Touch [BACK]. Returns to the original screen. MULTI knob FT-991 O (WireS-X e Page 11 peraTing anual diTiOn... -
Page 12: Useful Functions In Digital Mode
& T U IN operating screen. Y E U Y E U- RI E To exit the operation without deleting the node or room, touch Y K HA [Cancel]. Y K HA Page 12 FT-991 O (WireS-X e peraTing anual diTiOn... -
Page 13: Set-Up Menu For The Wires-X Function
If no inputting operation is made within 10 seconds, the operation will be canceled. MULTI knob 5. Touch [ENT] on the screen. Registers the input Preset Channel Frequency. 6. Touch [BACK]. Returns to the original operating screen. FT-991 O (WireS-X e Page 13 peraTing anual diTiOn... -
Page 14: Favorite List
Nodes are listed after rooms. Default setting: HISTORY 5. Touch [ENTER] on the screen. 6. Touch [BACK]. Returns to the original screen. Page 14 FT-991 O (WireS-X e peraTing anual diTiOn... - Page 15 Copyright 2015 YAESU MUSEN CO., LTD. All rights reserved No portion of this manual may be reproduced without the permission of YAESU MUSEN CO., LTD. 1507-A0 Printed in Japan...
Need help?
Do you have a question about the FT-991 and is the answer not in the manual?
Questions and answers