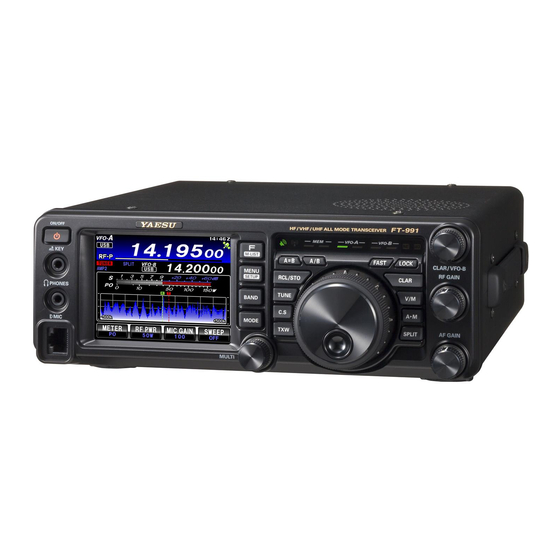
Yaesu FT991 Setup
Wsjt-x setup
Hide thumbs
Also See for FT991:
- Operating manual (154 pages) ,
- Reference book (21 pages) ,
- Instruction manual (20 pages)
Table of Contents
Advertisement
Quick Links
Let's set up the FT991 first
1. Click the Menu/Setup button and set the following menu items to these values (courtesy of
G4WJS):
i. 029 = 38400bps
ii. 030 = 10msec
iii. 031 = 38400
iv. 062 = OTHERS
v. 064 = 1500Hz
vi. 065 = 1500Hz
vii. 066 = OFF
viii. 068 = OFF
ix. 070 = REAR
x. 071 = DAKY
xi. 072 = USB
2. Exit the Menu/Setup and press the F (M-List) key, then set up the following buttons:
i. NAR/WIDE to WIDE
ii. NB doesn't matter
iii. AGC = AUTO
iv. RF POWER = set to max drive power for your amplifier (if you use one). Mine gets to
full output at 25w
3. DT GAIN = you'll have to fuss with this, as it affects the ALC. I set it so I get to max drive with
the WSJT-X power slider all the way up
FT991 and WSJT-X setup
Advertisement
Table of Contents

Subscribe to Our Youtube Channel
Related Manuals for Yaesu FT991


Summary of Contents for Yaesu FT991
- Page 1 FT991 and WSJT-X setup Let’s set up the FT991 first 1. Click the Menu/Setup button and set the following menu items to these values (courtesy of G4WJS): i. 029 = 38400bps ii. 030 = 10msec iii. 031 = 38400 iv.
- Page 2 You are going to have to set the shift and width with every band you go to with wsjt-x, but only the first time around. The ft991 has 3 band stack registers on each band, and I reserve one of these on each band for digital modes.
- Page 3 FT991 and WSJT-X setup i. MOX, VOX and MONI = off Turn off the FT991 and make certain the USB cable is not connected to your computer yet Install the USB drivers from the Yaesu web site onto your computer which will be running wsjt-x.
- Page 4 FT991 and WSJT-X setup Next, start up wsjt-x and go to file/settings. 1. Enable the VHF/UHF/Microwave features for operation above 30 MHz, otherwise uncheck it; enable any of the other features you may want to use. My own setup for VHF is shown...
- Page 5 3. With your FT991 connected to a dummy load, click the Test CAT radio button; if all is set up properly, it should turn green in a second or two. When it turns green, test the PTT by clicking on the Test PTT radio button.
- Page 6 FT991 and WSJT-X setup 4. Now go to the Audio tab. Set the input to the Microphone (USB Audio CODEC) and the Output to the Speakers (USB Audio CODEC). Click OK. That’s it...
Need help?
Do you have a question about the FT991 and is the answer not in the manual?
Questions and answers
Где можно переключить стоящий курсор на движение и отключить обратно.