
Related Manuals for Humidex GVS-SD2

Summary of Contents for Humidex GVS-SD2
- Page 1 October 2017 Humidex GVS-SD2 Rev. 1.3En Owner’s Manual Manufactured by: Clairitech Innovations Inc. 1095 Ohio Rd. Boudreau-West, NB Canada E4P 6N4...
-
Page 2: Table Of Contents
Table of Contents Table of Contents Service and Warranty OR CUSTOMER ASSISTANCE ONSUMER IMITED ARRANTY Before Installing ECHNICAL DATA ECOMMENDED TOOLS REQUIRED FOR INSTALLATION NCLUDED PARTS LIST DEAL INSTALLATION LOCATION ARNINGS FOR USE Installation How to Operate the Humidex Wiring Diagram... -
Page 3: Service And Warranty
Product name: Model #: Date of manufacturing: Serial #: Dealer name (if any): For the following inquiries: Service Parts Accessories Additional customer information Please contact us by: Phone: 1-888-533-1348 Email: support@humidex.ca Website: www.humidex.ca... -
Page 4: Consumer Limitedw
Consumer Limited Warranty Clairitech Innovations Inc. warrants to the first consumer that this Humidex product, when shipped in its original container, will be free from defective workmanship and materials, and agrees that it will, at its discretion, either repair the defect or replace the defective... - Page 5 Humidex The warranties described herein shall be the sole and exclusive warranties granted by Clairitech and shall be the sole and exclusive remedy available to the purchaser. Correction of defects, in the manner and for the period of time described herein, shall constitute...
-
Page 6: Before Installing
2x #8x1-1/4” yellow anchors Ideal installation location When looking for a location to install your new Humidex, make sure to place it on an outside wall so that the unit can exhaust its air outside. The unit should be installed near an electrical outlet and, if possible, in the dampest location. -
Page 7: Warnings For Use
Humidex Warnings for use The following warnings will help reduce the risk of fire, electric shock or injury. Please read and save these instructions. 1) Do not operate any unit with a damaged cord or plug. Please contact our service department for examination and/or repair. -
Page 8: Installation
Humidex Installation Please follow these instructions to install your Humidex properly. 1. From the inside, mark where the center of the Humidex will be placed and drill through the wall with a ¼’’x 12’’ pilot bit. hole should approximately 12 inches from the floor. Cut a 4 ½’’ hole through the wall. -
Page 9: How To Operate The Humidex
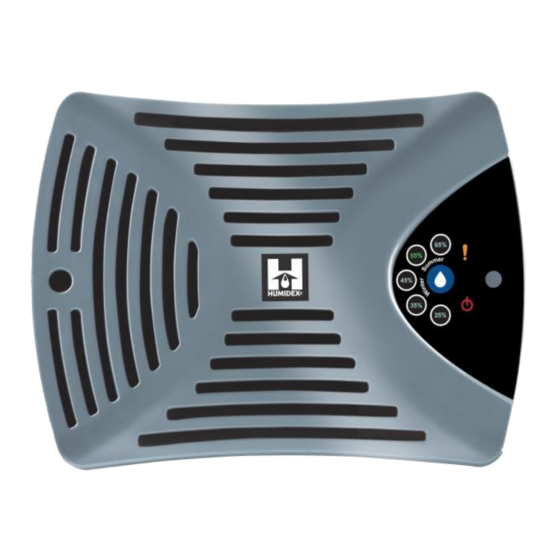
How to Operate the Humidex After both the Humidex and the exhaust vent are properly installed, you can now plug the Humidex in the closest outlet. The Humidex unit possesses a label illuminated by LEDs that will indicate the set humidity preference, if the unit is powered On and if the unit has detected a higher than usual amount of CO. - Page 10 Solid Light: If a higher level of carbon monoxide is detected the CO indicator will turn a solid color. During this time the humidex will run at a high speed to try and reduce the CO levels Note: The device cannot guaranty that it will be able to evacuate the CO from your garage or shed.
-
Page 11: Wiring Diagram
Humidex Wiring Diagram...
Need help?
Do you have a question about the GVS-SD2 and is the answer not in the manual?
Questions and answers