Advertisement
Quick Links
Advertisement

Related Manuals for Harvil NGD2322

Summary of Contents for Harvil NGD2322
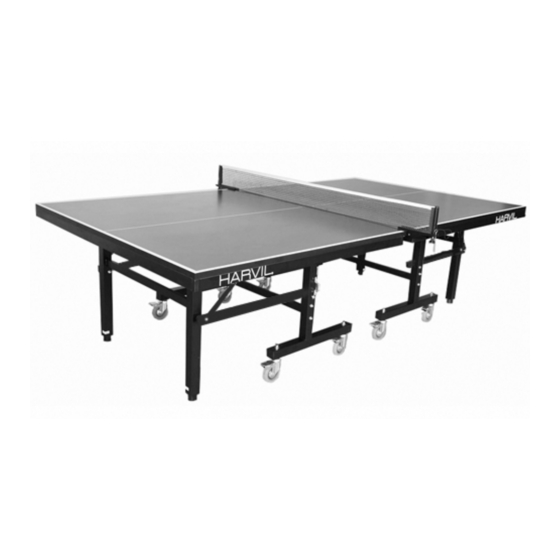
- Page 1 HARVIL PROFESSIONAL TABLE TENNIS TABLE ASSEMBLY INSTRUCTIONS NGD2322...
- Page 2 THANK YOU! Thank you for your purchase of this Harvil product. We work around the clock and around the globe to ensure that Harvil products maintain the highest possible quality. However, in the rare instance that your product is defective or missing parts, contact your retailer to submit parts requests or warranty claims.
- Page 3 PARTS IDENTIFIER (NOT TO SCALE) IMPORTANT! CAREFULLY OPEN AND RETAIN THE CARDBOARD SHIPPING CARTON. IT WILL BE USED TO PROTECT THE PLAYING SURFACE DURING ASSEMBLY.
-
Page 4: Assembly Tips
ASSEMBLY TIPS 1. Find a clean, level surface to begin the assembly of your game table. The table will be partially assembled upside down and then turned over onto its legs. This is a heavy table and turning it over will require at least two strong adults. 2. - Page 5 ASSEMBLY INSTRUCTIONS 1. Attach two CASTER WHEELS #4 to each LEFT WHEEL ASSEMBLY #3 with 12mm FLAT WASH- ER #5 and 12mm ACORN NUT #6. 2. Attach one pre-assembled RIGHT WHEEL ASSEMBLY #2 and one LEFT WHEEL ASSEMBLY #3 to each side of one CENTER SUPPORT BRACE #7 as shown with M8x65mm BOLT #8, 8mm FLAT WASHER #9 and 8mm NUT #10.
- Page 6 ASSEMBLY INSTRUCTIONS (CONT.) 3. Attach one LOCKING BRACKET #11 to each RIGHT WHEEL ASSEMBLY #2 with M6x65mm BOLT #12, 6mm FLAT WASHER #13 and 6mm NUT #14. 4. Lay each TABLE TOP HALF #1 upside-down on the cardboard shipping carton to protect the playing surface during assembly.
- Page 7 ASSEMBLY INSTRUCTIONS (CONT.) 5. Connect the pre-attached leg supports to each WHEEL ASSEMBLY as shown using the pre- installed bolts, spacers, washers and nuts.. 6. Carefully turn each half of the table over. Push halves together. Clip each TABLE TENNIS NET POST #16 at the center line.
-
Page 8: Care And Use
CONGRATULATIONS! You have now assembled your Harvil Game Table. Please note the Care and Use instructions below to ensure years of trouble free use of your game table. CARE AND USE 1. This product is intended for INDOOR use only. -
Page 9: Year Limited Warranty
1-YEAR LIMITED WARRANTY This Harvil product is warranted to the original purchaser to be free from defects in material or work- manship for a period of one year from the date of the original retail purchase. This warranty does not cover defects or damage due to improper installation, alteration, accident or any other event beyond the control of the manufacturer.
Need help?
Do you have a question about the NGD2322 and is the answer not in the manual?
Questions and answers