LiftMaster 882LMW - Multi-Function Control Panel SECURITY+ 2.0 Manual
- Quick start manual (3 pages)
Advertisement
Safety

To prevent possible SERIOUS INJURY or DEATH from electrocution:
- Be sure power is NOT connected BEFORE installing door control.
- Connect ONLY to 12 VOLT low voltage wires.
To prevent possible SERIOUS INJURY or DEATH from a closing garage door:
- Install door control within sight of garage door, out of reach of children at a minimum height of 5 feet (1.5 m), and away from ALL moving parts of door.
- NEVER permit children to operate or play with door control push buttons or remote control transmitters.
- Activate door ONLY when it can be seen clearly, is properly adjusted, and there are no obstructions to door travel.
- ALWAYS keep garage door in sight until completely closed.
NEVER permit anyone to cross path of closing garage door. - Unattended devices and features are to be used ONLY with sectional doors.
For use with Security+ 2.0® Garage Door Openers, Wi-Fi® enabled Security+ 2.0® Garage Door Openers (indicated by the Wi-Fi logo on the garage door opener cover) and MyQ® accessories.
UNATTENDED OPERATION
The Timer-to-Close (TTC) feature, the MyQ® Smartphone Control app, and MyQ® Garage Door and Gate Monitor are examples of unattended close and are to be used ONLY with sectional doors. Any device or feature that allows the door to close without being in the line of sight of the door is considered unattended close. The Timer-to-Close (TTC) feature, the MyQ® Smartphone Control, and any other MyQ® devices are to be used ONLY with sectional doors.
INSTALLATION
Unplug the garage door opener. Disconnect the battery (if applicable).

To insert or release wire, push in tab with screwdriver tip.
- Connect the wires to the back of the door control.
- Secure the door control to the wall.
- Connect the wires to the garage door opener.
Plug in the garage door opener and reconnect the battery. The command LED on the door control will blink if installed correctly. To synchronize the garage door opener and the door control, press the push bar up to 3 times, until the garage door opener activates.

PROGRAM
REMOTE CONTROL
- Press the LEARN button on the door control twice. The Command LED will blink.
![]()
- Press and release the button on the remote control that you wish to operate your garage door.
![]()


The garage door opener lights will flash (or two clicks will be heard) and the Command LED will stop blinking when the code has been programmed.
KEYLESS ENTRY
- Press the LEARN button on the door control twice. The Command LED will blink.
![]()
- Enter a 4-digit personal identification number (PIN) on the keypad. Then press the ENTER button.
![]()

The garage door opener lights will flash (or two clicks will be heard) and the Command LED will stop blinking when the code has been programmed.
CONNECT YOUR GARAGE DOOR OPENER TO YOUR HOME WI-FI NETWORK
for Wi-Fi garage door openers ONLY
- Lift the push bar on the door control. Press and release the LEARN button. The garage door opener will beep once and the command LED on the door control will blink to indicate Wi-Fi learn mode. You have 20 minutes to complete the connection process.
![]()
- On your mobile device, go to Settings > Wi-Fi and select the network with the "MyQ-" prefix.
![]()
- Launch the web browser on your smartphone or tablet. Enter setup.myqdevice.com into the browser address bar. Follow the on screen prompts to connect the garage door opener to your Wi-Fi network. The MyQ serial number will display on screen.
- Download the MyQ app from the App Store or Google Play™ store. Sign up for your MyQ account and add the MyQ serial number to your account.


If you are unsuccessful adding your device, try an alternate web browser or visit WiFiHelp.LiftMaster.com.
FEATURES

LOCK
Prevents activation of the garage door opener from remote controls while still allowing activation from the door control and keyless entry. Factory default is OFF.
Turn ON: Press and hold the LOCK button for 2 seconds. The command LED will blink as long as the lock feature is activated.
Turn OFF: Press and hold the LOCK button again for 2 seconds. The command LED will stop blinking and normal operation will resume.
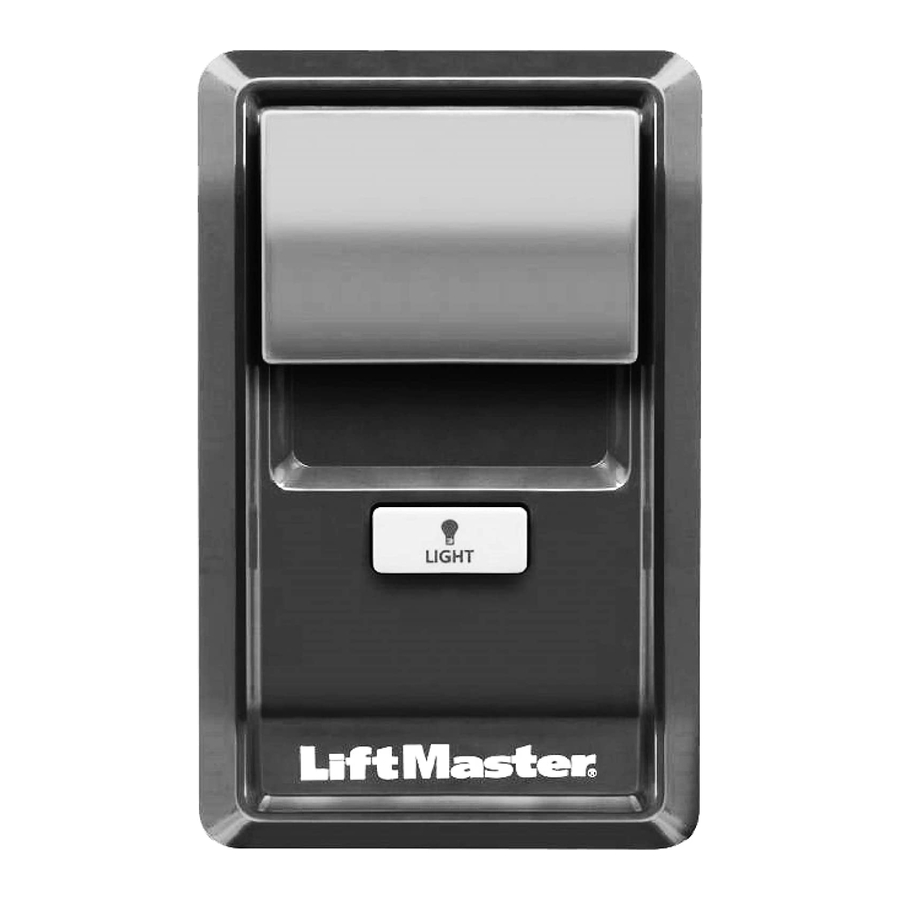
LIGHT
Press the LIGHT button to turn the garage door opener lights on or off.
The LIGHT button will not control the lights when the door is in motion.
When the lights are turned on they will stay on until the LIGHT button is pressed again, or until the garage door opener is activated. Once the garage door opener is activated the lights will turn off after a specified period of time (see below).
TO CHANGE THE AMOUNT OF TIME THE GARAGE DOOR OPENER LIGHTS WILL STAY ON
Press and hold the LOCK button until the garage door opener lights flash (about 10 seconds). The garage door opener lights will flash up to 4 times to indicate current setting:
- Flash = Lights stay on 1 ½ minutes
- Flashes = Lights stay on 2 ½ minutes
- Flashes = Lights stay on 3 ½ minutes
- Flashes = Lights stay on 4 ½ minutes (factory default)
Repeat the steps above until your desired time frame is reached.
LIGHT FEATURE FOR THE SAFETY REVERSING SENSORS
The garage door opener lights will turn on when the safety reversing sensor beam is interrupted. Factory default is ON.
Turn ON: Start with the garage door opener lights on. Press and hold the LIGHT button to turn off the light, continue to hold until the light turns on (about 10 seconds).
Turn OFF: Start with the garage door opener lights off. Press and hold the LIGHT button to turn on the light, continue to hold until the light turns off (about 10 seconds).
MAINTENANCE ALERT SYSTEM (MAS)
When the garage door opener needs to be serviced (approximately 4500 garage door opener cycles) the command and service LEDs will alternately blink back and forth. Factory default is OFF.
Turn ON/OFF: Press and hold the LEARN button. Then press the LIGHT button. The service LED will blink the status; ON is 2 blinks and OFF is 3 blinks.

Documents / Resources
References

Download manual
Here you can download full pdf version of manual, it may contain additional safety instructions, warranty information, FCC rules, etc.
Download LiftMaster 882LMW - Multi-Function Control Panel SECURITY+ 2.0 Manual
Advertisement


Need help?
Do you have a question about the 882LMW and is the answer not in the manual?
Questions and answers