
Related Manuals for Black Box RM069A


Summary of Contents for Black Box RM069A
- Page 1 VPN: ISBXSO © Copyright 1999. Black Box Corporation. All rights reserved. 1000 Park Drive • Lawrence, PA 15055-1018 • 724-746-5500 • Fax 724-746-0746...
- Page 2 Order toll-free in the U.S. 24 hours, 7 A.M. Monday to midnight Friday: 877-877-BBOX FREE technical support, 24 hours a day, 7 days a week: Call 724-746-5500 or fax 724-746-0746 SUPPORT Mail order: Black Box Corporation, 1000 Park Drive, Lawrence, PA 15055-1018 INFORMATION Web site: www.blackbox.com • E-mail: info@blackbox.com...
-
Page 3: Chapter 1: Specifications
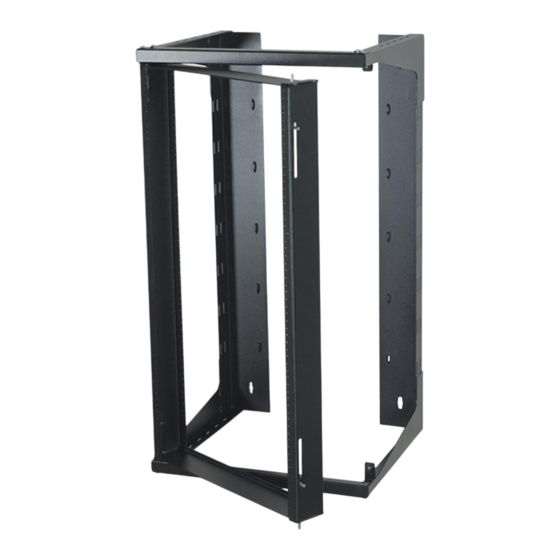
RM070A: 23.9"H x 20.7"W x 18"D (60.8 x 52.6 x 45.7 cm) RM080A: 46.7"H x 20.7"W x 18"D (118.5 x 52.6 x 45.7 cm) Weight — RM069A: 48 lb. (21.8 kg); RM070A: 38 lb. (17.3 kg); RM080A: 55 lb. (25 kg) 20.71"... - Page 4 Rack is simple to assemble. It comes in three different heights: 38" (96 cm, our product code RM069A), with 20 rack units of space, 24" (61 cm, our product code RM070A), with 12 rack units of space, and 47" (119.4 cm, our product code RM080A), with 25 rack units of space.
- Page 5 CHAPTER 3: Assembly 3. Assembly To assemble the Swing-Out Rack, you’ll need a 3/8" socket or wrench and a level or carpenter’s square. Once you have these ready, take these steps: 1. Lay the vertical fixed frame members on the ground, parallel to each other (see Figure 3-1 below).
- Page 6 SWING-OUT RACK 3. Attach the swing frame by inserting its bottom release pins into the corresponding pin guides (see Figure 3-3 below). While pulling down on the top release pins, slide the swing frame into position. Make sure the top pins are also properly inserted in their corresponding pin guides. b) Pull down the top release pins...
-
Page 7: Installation And Use
Figure 4-1 below. The left and right holes are 16" (40.6 cm) apart, so the Rack can be mounted on a pair of studs. 16" ⁄ " (RM069A) or ⁄ " (RM070A) or ⁄ " (RM080A) - Page 8 SWING-OUT RACK 4.2 Cabling the Rack When you mount electronic hardware in the Swing-Out Rack, leave enough slack in the cables to let the rack swing open, as shown in Figure 4-2 below. Figure 4-2. Cable slack for the swing mechanism (top view of Rack shown). You can secure cables to the Rack’s integrated cable-management tie slots with nylon ties or Velcro style straps, as shown in Figure 4-3 below.
- Page 9 CHAPTER 4: Installation and Use 4.3 Opening the Rack To open the Swing-Out Rack, first make sure that the Rack’s release pins are secured in their pin guides. (If either pin on the side you aren’t opening isn’t secure, the Rack’s swing frame could come off when you try to open it.) Using both hands, gently move the pair of quick-release levers at the top and bottom of either side of the Rack—one of these levers is shown in Figure 4-4 below—...
- Page 10 SWING-OUT RACK 4.4 Closing the Rack To close the Swing-Out Rack, use both hands to gently press the Rack’s free release pins in (toward each other), or move the pair of quick-release levers at the top and bottom of either side of the Rack toward each other, and swing the front of the Rack closed until it touches the Rack’s stopper (shown in Figure 4-6 below).
-
Page 11: Troubleshooting
If you need to transport or ship your Swing-Out Rack: • Package it carefully. We recommend that you use the original container. • Before you ship the Rack for repair or return, contact Black Box to get a Return Materials Authorization (RMA) number. - Page 12 NOTES...
Need help?
Do you have a question about the RM069A and is the answer not in the manual?
Questions and answers