
Related Manuals for Vmac A700247


Summary of Contents for Vmac A700247
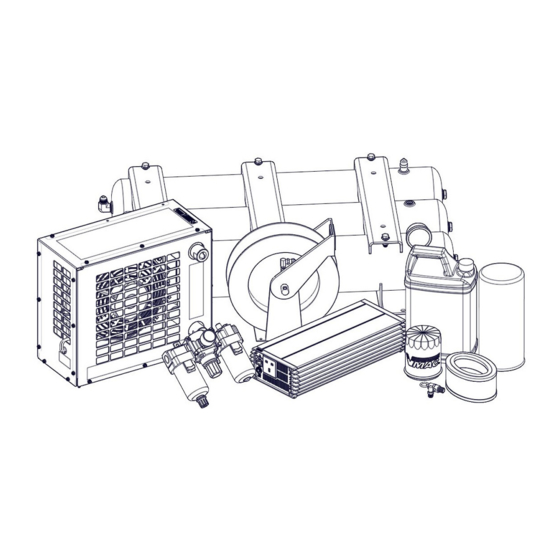
- Page 1 ® Installation Manual for VMAC Accessory A700247 Multifunction Power System External Fuel Pump (Gas) (Honda IGX800) www.vmacair.com www.vmacair.com...
-
Page 3: Table Of Contents
Installation ............11 VMAC - Vehicle Mounted Air Compressors VMAC Technical Support: 888-241-2289 VMAC Knowledge Base: kb.vmacair.com... - Page 4 Copyright © 2023 VMAC Global Technology Inc. All Rights Reserved. These materials are provided by VMAC for informational purposes only, without representation or warranty of any kind, and VMAC shall not be liable for errors or omissions with respect to the materials. The only warranties for VMAC...
-
Page 5: Safety
VMAC will not be held responsible for any liability, consequential damages, injuries, loss or damage to individuals or to equipment as a result of the failure of anyone to properly adhere to the procedures set out in this manual or standard safety practices. -
Page 6: Warranty
Warranty registration for VMAC systems can be completed online or by filling in the form at the back of each system installation manual. Warranty registration must be completed and sent to VMAC at the time the system is put into service for any subsequent warranty claim to be considered valid. - Page 7 If requested, failed parts must be returned to VMAC for evaluation. 4) Dealers may login to the VMAC website to view the "VMAC Labour Time Guide" (under “Agreements”) to see the allowable warranty labour times. 5) Warranty invoices must include the Service Ticket number, VMAC System ID#, hours on the compressor, and a detailed description of the work performed.
-
Page 8: General Information
Please contact VMAC for replacement hoses and further information. Ordering Parts To order parts, contact a VMAC dealer. The dealer will ask for the VMAC serial number, part number, description and quantity. Locate the nearest dealer online at www.vmacair.com/dealer-locator or call 1-877-912-6605. - Page 9 All fasteners must be torqued to specifications. Use manufacturers’ torque values for OEM fasteners. The torque values supplied in Table 1 are intended for VMAC supplied components, or for use as a guide in the absence of a torque value provided by an OEM.
- Page 10 9500675 FUEL PUMP, ELEC, 12V 3550900 FUEL PUMP HARNESS 2200164 CABLE TIES 3501441 CONN,BUTT,CRIMP-SOLDER-SEAL,20-18GA 9500676 FUEL FILTER 5000239 CONNECTOR, BRASS, 1/8NPT X 1/4 BARB ×3 ×2 VMAC - Vehicle Mounted Air Compressors VMAC Technical Support: 888-241-2289 VMAC Knowledge Base: kb.vmacair.com...
-
Page 11: Electrical System Best Practices
Do not use a test light to probe for power on vehicle circuits, the increased current draw of the test light may damage components. • VMAC recommends using only sealed crimp and solder butt connectors for all electrical connections. •... - Page 12 Use only genuine VMAC parts to maintain the system. Genuine VMAC parts are designed to work with the high pressure and heat generated by the compressor. Substituting genuine VMAC parts may void the warranty and could cause equipment damage, injury, or death.
-
Page 13: Installation
• The fuel pump can be mounted Vertically, at a 45° angle, or horizontally (Figure 2). Flow Flow Flow Figure 2 — Fuel pump orientation VMAC - Vehicle Mounted Air Compressors VMAC Technical Support: 888-241-2289 VMAC Knowledge Base: kb.vmacair.com... - Page 14 Mount the fuel pump in the selected location (fasteners not included) (Figure 3). ☐ Install the supplied fuel filter on the inlet side of the pump (Figure 4). Figure 4 — Install fuel filter VMAC - Vehicle Mounted Air Compressors VMAC Technical Support: 888-241-2289 VMAC Knowledge Base: kb.vmacair.com...
- Page 15 *Turn the key switch to the “ON” position. ☐ *Press the “ENTER” button to start the engine and allow it to reach normal operating temperature. ☐ Check the system for any leaks. VMAC - Vehicle Mounted Air Compressors VMAC Technical Support: 888-241-2289 VMAC Knowledge Base: kb.vmacair.com...
- Page 16 Notes VMAC - Vehicle Mounted Air Compressors VMAC Technical Support: 888-241-2289 VMAC Knowledge Base: kb.vmacair.com...
- Page 17 Notes VMAC - Vehicle Mounted Air Compressors VMAC Technical Support: 888-241-2289 VMAC Knowledge Base: kb.vmacair.com...
- Page 18 Notes VMAC - Vehicle Mounted Air Compressors VMAC Technical Support: 888-241-2289 VMAC Knowledge Base: kb.vmacair.com...
- Page 20 Manufactured by ® 888-241-2289 tech@vmacair.com 877-740-3202 warranty@vmacair.com www.vmacair.com kb.vmacair.com 1333 Kipp Road, Nanaimo, B.C., V9X 1R3 Canada...
Need help?
Do you have a question about the A700247 and is the answer not in the manual?
Questions and answers