Advertisement
Quick Links
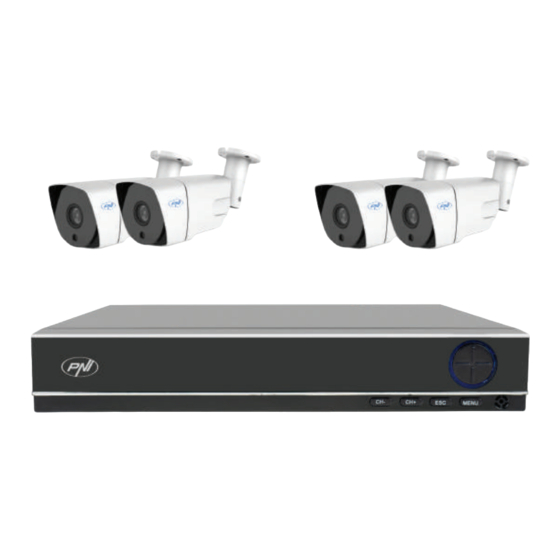
PNI HOUSE PTZ1300
Video surveillance kit /
Videoüberwachungsset / Kit de videovigilancia / Kit de vidéosurveillance /
Videó megfigyelő készlet / Kit di videosorveglianza / Videobewakingskit /
Zestaw do nadzoru wideo / Kit supraveghere video
EN
BG
DE
ES
FR
HU
IT
NL
PL
RO
Комплект за видеонаблюдение
User manual .........................................................
Ръководство за употреба .............................
Benutzerhandbuch ..............................................
Manual de usuario ...............................................
Manuel utilisateur ...............................................
Használati utasítás ..............................................
Manuale utente ..................................................
Handleiding ........................................................
Instrukcja obsługi ...............................................
Manual de utilizare .............................................
/
3
32
63
93
123
152
181
210
240
269
Advertisement

Related Manuals for PNI HOUSE PTZ1300


Summary of Contents for PNI HOUSE PTZ1300
- Page 1 PNI HOUSE PTZ1300 Video surveillance kit / Комплект за видеонаблюдение Videoüberwachungsset / Kit de videovigilancia / Kit de vidéosurveillance / Videó megfigyelő készlet / Kit di videosorveglianza / Videobewakingskit / Zestaw do nadzoru wideo / Kit supraveghere video User manual ............
-
Page 3: Main Features
Main features Simultaneous HDMI and VGA video output » Supports up to one 14TB SATA HDD » 10 / 100Mbps RJ45 Ethernet port » H.265 + video compression » ONVIF compatible » Supports Cloud and P2P service » Remote control »... - Page 4 IP66 Dimensions 63 x 166 x 63 mm Working temperature 26°C ~ +60°C Software The PNI House PTZ1500 system can be controlled locally or remotely from both smartphones and computers with Windows operating system: Operating system Application Download Android, iOS...
- Page 5 Connections 9 10 Video inputs Connect the 4 cameras included in the package Audio output Connect an audio amplifier Video output Connect a monitor (composite video) HDMI Connect a monitor via an HDMI cable (max. 1080P) Connect a monitor via a VGA cable (max. 1080P) Audio inputs Connect a microphone to each RCA port Insert a USB mouse or USB flash drive for firmware...
-
Page 6: Turn The Device On
Turn the device on Plug the power cord into a 230V outlet. The NVR will start. The indicator LED will light up. By default, 16 channels will be displayed on the screen. If the start time is within the preset program for recording, then the recording function will start automatically. - Page 7 Set the time, date and time zone Network test The system will start an automatic check of the network parameters. In case of an error, click on the Network button, check the DHCP option or enter the parameters manually. User manual...
- Page 8 Quick set Quickly add and configure cameras. Add cameras interface 1. Select the communication protocol between the NVR and the cameras. Options: NETIP, ONVIF, Full Netcom. 2. Search. Press the Search key to search for cameras connected to the same router (same network) as the NVR.
- Page 9 User manual...
- Page 10 Install mobile app Scan the QR code for installing the XMEye mobile application and the code for adding the system to the application. Human detect Activate and configure the human detection function. Click Next and OK to exit the quick setup guide. User manual...
- Page 11 The menu In the main preview interface, right- click with the mouse to access the menu. Main Menu Options: Record, Alarm, System, Advanced, Info, Logout. Record Options: Record config, Playback, Backup. User manual...
- Page 12 Record Conf. The interface allows the following settings: duration of a recording file, recording mode (programmed or manual), period (day and time interval) and recording type (normal recording, motion detection and alarm) . Playback The system offers numerous filters and options for identifying the desired registration file.
- Page 13 Backup The USB memory or external HDD must be installed in the NVR before starting the backup. Press the Detect button to identify the storage device, then the Backup button to perform the backup. Alarm Options: Intelligent Alert, Video Blind, Video Loss, Alarm input, Alarm Output, Abnormality, Human detect, Face detection.
- Page 14 Intelligent Alert Activate the function, select the channel, the level of sensitivity to motion, the period and the behavior of the system in case of motion detection: send email, upload the registration on an FTP server or send notification in the mobile application.
- Page 15 Alarm input The function is only useful when the surveillance system is connected to an alarm system. User manual...
- Page 16 Alarm output The function is only useful when the surveillance system is connected to an alarm system. Abnormality Set the system behavior in case of: storage device error, lack of space on the storage device, lack of internet connection or IP conflict. In such situations you can set the sending of a notification in the application or an email.
- Page 17 Face detection Activate the function, select the channel, period and behavior of the system in case of face detection: send email or send notification in the mobile application. System Options: General, Encode, Network, NetService, Display, PTZ Config, RS232, Tour, Digital, XVI settings. User manual...
- Page 18 General Set the time zone, time and date, system display language, and duration of a work session. Encode Displays the technical parameters of the connected cameras (resolution, frame rate, video compression, quality, etc.). User manual...
- Page 19 Network Manually set the network parameters (IP address, gateway, DNS, port, etc.) or check the DHCP option for automatic parameter retrieval. Note: For the settings to take effect, restart the system. Right click on the screen - Logout - Reboot. NetService Make various settings, such as: the email address where to receive alerts, or the FTP server where to send the system records.
- Page 20 Display In the local preview mode can be displayed: time, channel name, recording status, alarm status, transparency and display resolution. The maximum viewing resolution supported by this device is 1920 x 1080px. Note: Before changing the resolution, make sure that your monitor supports that resolution.
Need help?
Do you have a question about the HOUSE PTZ1300 and is the answer not in the manual?
Questions and answers