
Related Manuals for Oxhark Flame 1900EZ-26FP


Summary of Contents for Oxhark Flame 1900EZ-26FP
- Page 1 ELECTRIC FIREPLACE User’s Manual Model # 1900EZ-26FP PLEASE READ THIS MANUAL CAREFULLY BEFORE USING YOUR ELECTRIC FIREPLACE AND KEEP IT FOR FUTURE REFERENCE.
-
Page 2: Section1: Beginning
SECTION1: BEGINNING QUICK START GUIDE (1) Prior to first use verify that the circuit breakers are on. (2) The heating element on this unit may emit a slight, harmless odor when first used. This odor is a normal reaction to heating the internal heater parts for the first time. This odor will dissipate and should not happen again. - Page 3 authorized service facility for examination and/or repair. 8. If the supply cord is damaged, it must be replaced by the manufacture, its service agent or similarly qualified persons in order to avoid a hazard. 9. Any repairs to this heater should be carried out by a qualified service person. 10.
- Page 4 the manufacturer may cause fire, electric shock or injury to persons. 23. Always plug heaters directly into a wall outlet/ receptacle. Never use with an extension cord or relocatable power tap (outlet/ power strip). 24. See directions in Figure 1. This heater is for use on 120 volts. The cord has a plug as shown in figure 1.
-
Page 5: Section2: Preparing Fireplace For Use
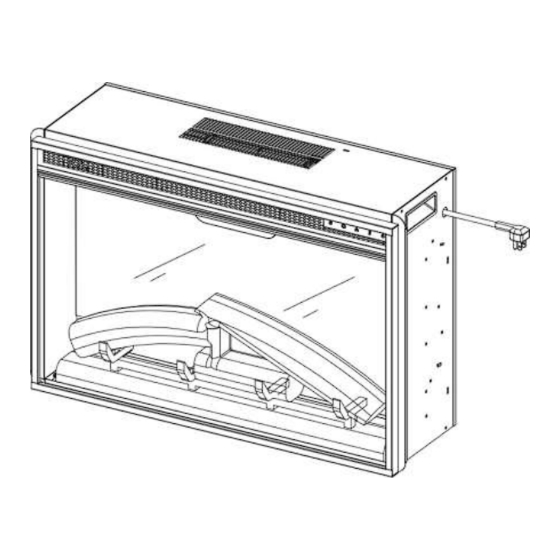
SECTION2: PREPARING FIREPLACE FOR USE ELECTRICAL CONNECTION A 12.5 AMP, 120 Volts, 60 Hz circuit with a properly grounded outlet is required. It’s recommended that the fireplace be on a dedicated circuit, as other appliances on the same circuit may cause the circuit breaker to trip or blow the fuse when the heater is in operation. - Page 6 (1) On/Off /Main Power Button a. Press to switch the unit ON/OFF. b. The unit will turn on to its default factory settings. c. Child Lock. Unit is working, press power button 5 seconds enter Child Lock mode. Log set light will flicker 5 times and can’t choose any other function. Press Power button 5 seconds again, then Child Lock mode will off.
-
Page 7: Replacing Remote Control Battery
Remote Control Operating Procedures (1) Power-------- ----------(4) Down Light --------- (5) Flame Speed (2) Flame Brightness - ------ (3) Timer -------- ----------(6) Heater (1) Power: Press to turn the unit ON/OFF (2) Flame: Press to adjust the level of brightness of the flame: F6- F5- F4- F3- F2- F1-OFF. (F6 being the brightest and F1 the dimmest) (3) Timer: Press to adjust the duration of the heater: 30 min- 1H- 2H- 3H- 4H- 5H- 6H-7H-8H- 9H- OFF... -
Page 8: Disposal Of Used Batteries
DISPOSAL OF USED BATTERIES Battery may contain hazardous substances which could endanger the environment and human health. This symbol marked on the battery and/ or packaging indicates that used battery shall not be treated as municipal waste. Batteries should be disposed of at an appropriate collection point for recycling. By ensuring the used batteries are disposed of correctly, you will help preventing potential negative consequences for the environment and human health. - Page 9 WARNING: Make sure the power is turned off before proceeding. Any electrical repairs or rewiring of this unit should be carried out by a licensed electrician in accordance with national and local codes. If repairing or replacing any electrical component or wiring, the original wire routing, color coding and securing locations must be followed.
-
Page 10: Troubleshooting
TROUBLE SHOOTING Problem Root Cause Corrective Action Inspect the heater and check that the air inlets and outlets are not blocked as this may cause overheating. Unplug The thermostat sensor the heater for 30 minutes and allow it to cool down. Display shows “E2/E3”... - Page 11 Model Number: IMPORTANT: SAVE THESE INSTRUCTIONS...
Need help?
Do you have a question about the 1900EZ-26FP and is the answer not in the manual?
Questions and answers
Comes on fine but then starts flashing 88