Advertisement
Quick Links
Advertisement

Related Manuals for Dripex Q202A-QW


Summary of Contents for Dripex Q202A-QW
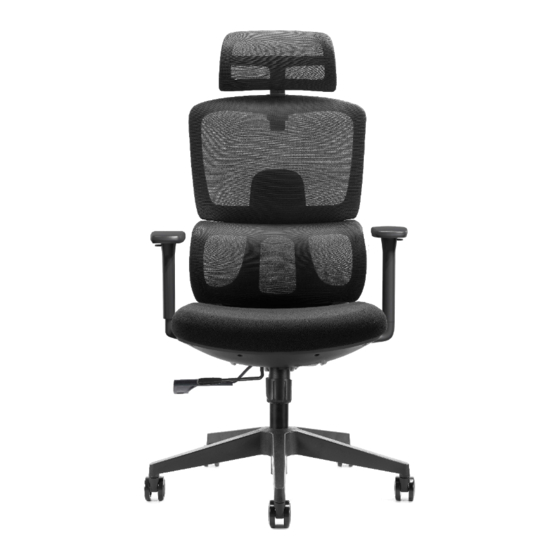
- Page 1 INSTALLATION MANUAL Q202A-QW support@dripex.co.uk support@dripex.co.uk...
- Page 2 Step 1 Step 2 Keep the gap on the castor loop down Insert base legs into base joint, screw together Base legs SGS cylinder Base joint (x 5 pcs) ↓ Base joint Cap Castors Tilt/height contol (x 5 pcs) Seat 2D Arms Backrest screws M6*12MM*10pcs...
- Page 3 Step 4 Step 7 Step 8 Backrest to seat Push castor into base leg hole with both of your thumbs Tilt control to seat √ The force of both thumbs focus FACEDOWN on the upper arched area (blue (lay it on the corner →...
- Page 4 We'll respond within 24hours. CARE AND CLEANING 1. Do NOT get it close to the fire or a wet,acidic and corrosive support@dripex.co.uk environment. Avoid overexposure to the sun. 2. Do NOT use sharp or hooked objects to scrape the chair 3.
- Page 5 INSTALLATION MANUAL Q202A-QW support@dripex.co.uk support@dripex.co.uk...
- Page 6 INSTALLATION MANUAL Q202A-QW support@dripex.co.uk support@dripex.co.uk...
Need help?
Do you have a question about the Q202A-QW and is the answer not in the manual?
Questions and answers