Oregon Scientific RRM116, RRM116U - Classic Alarm Clock With Radio Manual
- User manual (11 pages)
Advertisement
INTRODUCTION
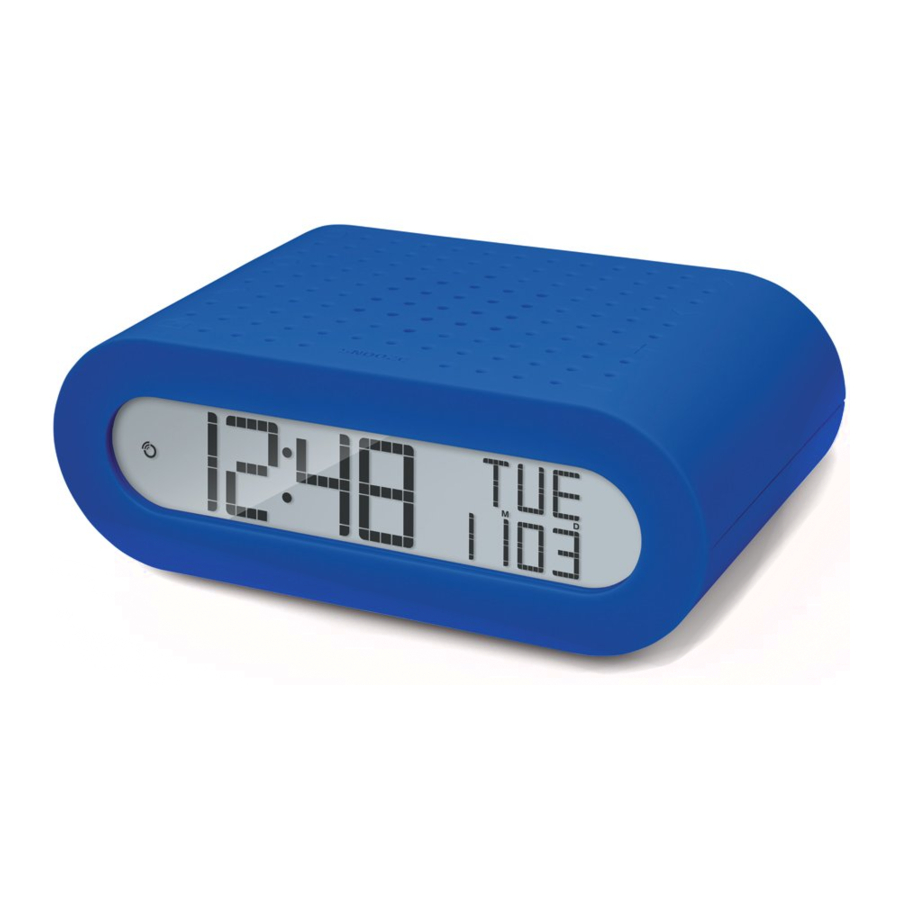
Thank you for selecting the Oregon Sientific™ Classic Alarm Clock (RRM116/RRM116U).
 NOTE
NOTE
Please keep this manual handy as you use your new product. It contains practical step-by-step instructions, as well as technical specifications and warnings you should know about.
OVERVIEW
FRONT VIEW

![]() Set the alarm. Activate/Cancel the alarm.
Set the alarm. Activate/Cancel the alarm.![]() Set the clock time Press to display Alarm 1 time and Alarm 2 time.
Set the clock time Press to display Alarm 1 time and Alarm 2 time.![]() Set the sleep timer
Set the sleep timer![]() Turn on/off the radio; Store the preset radio station.
Turn on/off the radio; Store the preset radio station.- SNOOZE Enable snooze; Turns on backlight
![]() Select the preset radio channel; Select the FM frequency; Activate radio reception
Select the preset radio channel; Select the FM frequency; Activate radio reception![]() Select the preset radio channel; Select the FM frequency; Deactivate radio reception
Select the preset radio channel; Select the FM frequency; Deactivate radio reception![]() Volume up; adjust the settings
Volume up; adjust the settings![]() Volume down; adjust the settings
Volume down; adjust the settings- Current time
- RF signal reception indicator
- Low battery indicator
- Current weekday
- Current date /Current FM frequency
- Alarm indicator


REAR VIEW

- Micro USB power jack
- RESET Returns all settings to default settings
BOTTOM VIEW

- Battery compartment
POWER YOUR ALARM CLOCK
- Install the supplied 3 UM4 1.5V AAA batteries to the battery compartment for back-up usage, matching the polarity symbols (+ and -) marked inside.
- Connect the supplied AC adapter to the Micro USB jack on the rear of the unit and plug into a standard outlet.
- The alarm clock enters standby mode and the time appears on the display.
NOTE
Replace the batteries when  displays, or when the display/backlight is dim. Press RESET after each battery replacement.
CLOCK RECEPTION
This clock is designed to single-band synchronize its clock automatically with a clock signal ( EU: DCF; UK: MSF)
Clock signal reception indicator:
| Strong signal | Weak signal | No signal | Receiving signal |
 |  |  |  |
To activate/deactivate signal reception:
- Press and hold
![]() to activate signal reception.
to activate signal reception. - Press and hold
![]() to deactivate signal reception.
to deactivate signal reception.
SETTING CLOCK TIME
- Press and hold
![]() for 2 seconds to enter the time setting mode.
for 2 seconds to enter the time setting mode. - Press
![]() or
or ![]() repeatedly to adjust settings; press and hold
repeatedly to adjust settings; press and hold![]() or
or ![]() to quickly setting.
to quickly setting. - Press
![]() to confirm and go to the next setting.
to confirm and go to the next setting.
 for 2 seconds to enter the time setting mode.
- The setting order is Time zone (+/- 23) > 12/24 hour format > Hour>minute>year>calendar format (MD/DM)> month> day> Weekday language.
- Complete each step within 20 seconds or the clock radio will exit the clock setting mode.
- In clock setting mode, press and hold
![]() for 2 seconds to exit the setting mode.
for 2 seconds to exit the setting mode. - The language options are English (ENG), German (GER), Spanish (SPA), Italian (ITA), and French (FRE).
SETTING ALARMS
- Press and hold
![]() for 2 seconds to enter alarm setting mode. The clock digits flash.
for 2 seconds to enter alarm setting mode. The clock digits flash. - Press
![]() or
or ![]() repeatedly to adjust settings; press and hold
repeatedly to adjust settings; press and hold ![]() or
or ![]() to quickly setting.
to quickly setting. - Press
![]() to confirm and go to the next setting.
to confirm and go to the next setting.
The setting order is Alarm 1 time setting > Alarm 1 radio alarm ON/OFF > Alarm 1 radio channel > Alarm 1 radio volume > Alarm 1 radio snooze time setting (15/30/60/90 mins / OFF) > Alarm 2 time setting > Alarm 2 radio alarm ON/OFF > Alarm 2 radio channel > Alarm 2 radio volume > Radio off time setting (15/30/60/90 mins / OFF).
Activating/Deactivating the alarm
Press  accordingly for desired option:
| Time pressing | Alarm on/off | Operation |
| 1 | Alarm 1  on on | Set Alarm 1 |
| 2 | Alarm 2  on on | Set Alarm 2 |
| 3 | Both alarms on | Set Alarm 1 and 2 |
| 4 | Both alarms off | Set Alarm 1 and 2 |
NOTE
If the alarm radio function is off, the alarm will default to the buzzer sound.
Snooze /Stop the alarm
- When the alarm sounds, the backlight will be on for 10 seconds. Press SNOOZE to stop the alarm for 8 minutes.
- When the alarm sounds, double press SNOOZE to stop the alarm for 24 hours.
RADIO FUNCTION
Storing the preset FM station
You can store up to 8 preset FM station.
After each battery replacement or reset, first time press  , the clock will store 8 FM radio channels automatically.
Manually store the channels
- Press and hold the
![]() to enter the radio setting mode.
to enter the radio setting mode. - Press
![]() or
or ![]() to select a channel. Press
to select a channel. Press ![]() to confirm
to confirm - Press
![]() or
or ![]() to select a frequency. Press and hold
to select a frequency. Press and hold ![]() or
or ![]() for more than 1 second to automatically tune to a higher or lower frequency. Tuning automatically stops when it detects a station signal.
for more than 1 second to automatically tune to a higher or lower frequency. Tuning automatically stops when it detects a station signal. - Press
![]() to confirm and exit.
to confirm and exit. - Follow steps 1-4 to set next channel.
 or
or  to select a channel. Press
 In radio play mode
- Press and hold
![]() or
or ![]() for more than 1 second to store the current frequency to the preset station, then press
for more than 1 second to store the current frequency to the preset station, then press ![]() or
or ![]() to tune to a higher or lower frequency.
to tune to a higher or lower frequency.
NOTE
In radio setting mode,  and
and  are still workable to control radio sound volume.
Listen to the radio
- Press
![]() to turn on the radio.
to turn on the radio. - Press
![]() and
and ![]() to change to your favorite channel 1-8.
to change to your favorite channel 1-8. - Press
![]() and
and ![]() to control sound volume (0-7).
to control sound volume (0-7). - Press
![]() again to turn off the radio.
again to turn off the radio.
 to turn on the radio.
Setting Sleep Timer
- Press
![]() in radio mode. The
in radio mode. The ![]() indicator and 15 appear in the display indicating that the radio will turn off after 15 minutes.
indicator and 15 appear in the display indicating that the radio will turn off after 15 minutes. - Repeatedly press
![]() to select a time period of 15, 30, 60, 90 minutes. The radio frequency and the sleep timer counter will display in turn for 5 seconds.
to select a time period of 15, 30, 60, 90 minutes. The radio frequency and the sleep timer counter will display in turn for 5 seconds. - To cancel the sleep functions, repeatedly press
![]() until OFF appears.
until OFF appears.
 in radio mode. The
 SPECIFICATIONS
| Power source | 5 V 190 mA adapter |
| Backup batteries | 3 x 1.5 V AAA batteries |
| Frequency Range | FM 87.5 – 108.0 MHz |
| Operation conditions | 0o C to 40o C (32o F to 104o F) |
| Radio frequency System | DCF, MSF |
| Dimensions (L x W x H ) | 134 x 80 x 50 mm |
| Weight | 156.0 g |
PRECAUTIONS
- Use only fresh batteries of the required size and type. Do not mix old and new batteries, different types of batteries.
- Do not dispose old batteries as unsorted municipal waste. Collection of such waste separately for special treatment is necessary.
- If you do not plan to use the clock for a long time, remove the batteries. Batteries can leak chemicals that can damage electronic parts.
- Do not subject the device to excessive force, shock, dust, temperature or humidity.
- Do not immerse the device in water. If you spill liquid over it, dry it immediately with a soft, lint-free cloth.
- Do not clean the device with abrasive or corrosive materials.
- Do not tamper with the device's internal components. Doing so invalidates the warranty.
- Images shown in this manual may differ from the actual display.
- When disposing of this product, ensure it is collected separately for special treatment.
- The contents of this manual may not be reproduced without the permission of the manufacturer.
NOTE
The technical specifications for this product and the contents of the user manual are subject to change without notice.
NOTE
Features and accessories will not be available in all countries. For more information, please contact your local retailer. To download an electronic version of the user manual, please visit http://global.oregonscientific.com/customerSupport.php.

Documents / ResourcesDownload manual
Here you can download full pdf version of manual, it may contain additional safety instructions, warranty information, FCC rules, etc.
Download Oregon Scientific RRM116, RRM116U - Classic Alarm Clock With Radio Manual
Advertisement


Need help?
Do you have a question about the RRM116 and is the answer not in the manual?
Questions and answers