Advertisement
- 1 Overview
- 2 Connecting the telephone
- 3 Safety precautions
- 4 Setting up the telephone for use
- 5 Dialling and saving numbers
- 6 Adjusting the telephone
- 7 Operation on a PABX
- 8 Operation on public telephone systems
- 9 Care
- 10 Contact with liquid
- 11 Questions and answers
- 12 Protecting our environment
- 13 Contacts
- 14 Authorisation
- 15 Documents / Resources
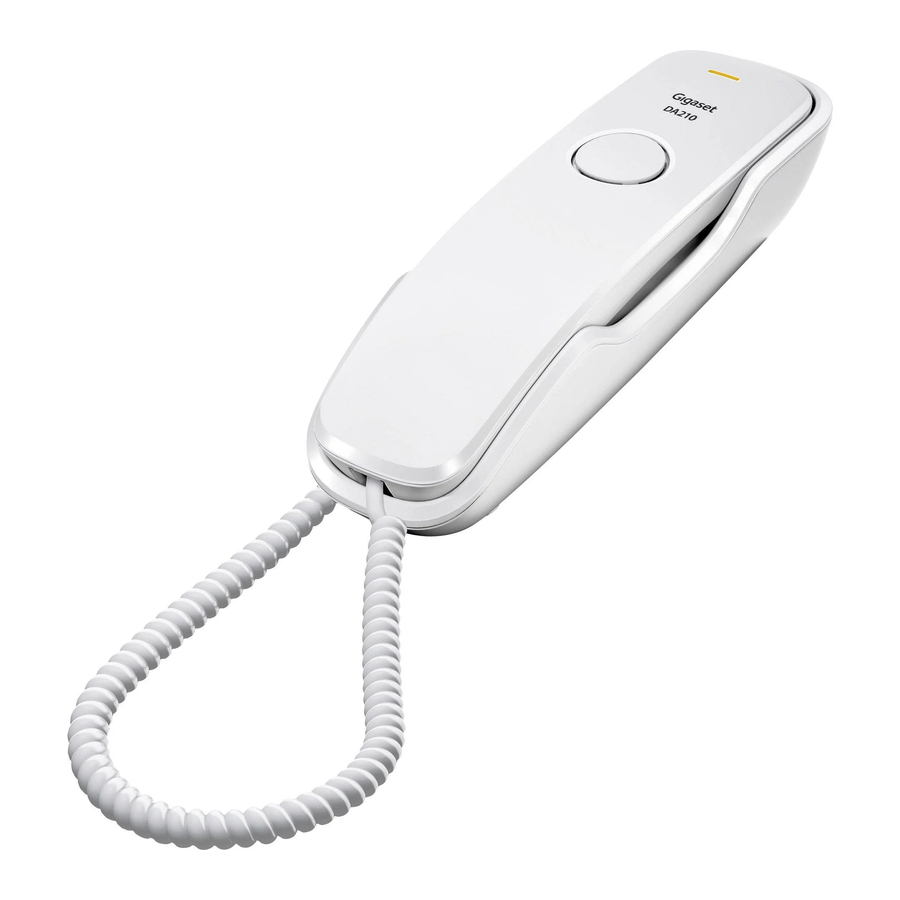
Overview


- Speed dial key
- Mute key with LED
The LED flashes if the microphone is switched off. - Set key
The mute key LED flashes while the telephone is in set mode. - Redial/Pause key
- Recall key
- Handset volume key
- Switch for changing between pulse and tone dialling mode
Connecting the telephone
- Connect your telephone to the main phone socket using the supplied telephone cable and, if necessary, one of the telephone adapters provided.
- Plug the coiled end of the cable into the handset (1).
![]()
- Guide the cable through the cable channel of the handset cradle: upwards for operating the phone on the table (2);
downwards when mounting the phone on the wall (3).


Wall mounting
- Drill two dowel holes into the wall at a vertical distance of 85 mm and fix two screws.
- Lift out the handset bracket (4) with a screwdriver and clip it into the handset cradle (5).
- Hang the telephone on the projecting screw heads.
Please note: The handset bracket must be placed in the cradle with the slanting edge facing forwards (see graphic), as otherwise the handset will not be properly secured.
Safety precautions
When installing, connecting and operating the telephone, always observe the following precautions:
- Only use the jacks and leads supplied.
- Only connect the connecting lead to the intended socket.
- Only connect approved accessories.
- Lay the connecting lead where it will not cause accidents.
- Position the telephone on a nonslip surface.
- For your safety and protection, the telephone may not be used in the bath or shower rooms (wet locations). The telephone is not splash proof.
- Never expose the telephone to sources of heat, direct sunlight or other electrical devices.
- Protect your telephone from moisture, dust, corrosive liquids and vapours.
- Never open up the telephone yourself.
- Do not touch the plug contact with pointed or metallic objects.
- Do not carry the telephone by the leads.
- If you give your telephone to someone else, make sure you also give them the operating manual.
Setting up the telephone for use
Recommended installation of telephone:
- Do not expose the telephone to direct sunlight or other sources of heat.
- Operate at temperatures of between +5°C and +40°C.
- Maintain a distance of at least one metre between the telephone and radio equipment, e.g. radio telephones, radio paging equipment or TV sets. Otherwise, telephone communication could be impaired.
- Do not install the telephone in dusty rooms as this can limit the service life of the telephone.
- Furniture lacquer and polish can be adversely affected by contact with parts of the unit (e.g. feet).
Dialling and saving numbers
Dialling a number
Lift the handset, dial the number.

Last number redial
The last number dialled is automatically saved.
Lift the handset, press the last number redial key.

Speed dialling
You can save 10 numbers for speed dial on the number keys (0-9) (each with max. 21 digits).
Saving number
 Press the set key.
 Press the speed dial key.
 Define the speed dial
 Enter the number for number.
 Press the set key. the speed dial.
Note: The LED on the mute key flashes while the telephone is in set mode.
Dialling a speed dial number
Lift the handset, press the speed dial key

Press the speed dial number key.

Notes on saving and deleting speed dial numbers
 and
and  are saved regardless of the set dialling mode but are only dialled with tone dialling mode
If the number entered is longer than 21 digits, the saved number is deleted.
Dialling pauses
One or more dialling pauses can be entered using  (not at 1st digit).
Pauses are transferred to the memory and are necessary for certain extension systems (e.g.: 0  2368).
- Dialling a dialling pause within the first 5 digits:
The entire number saved is dialled, including the 2-second dialling pause. - Dialling a dialling pause after the first 5 digits:
The portion of the number saved after the pause is only dialled after pressing the![]() key.
key.
Adjusting the telephone
Setting the handset volume
The handset volume can be set to two levels.
 Press the handset volume control key.
The primary volume is reset after hanging up.
Mute
You can deactivate the telephone's microphone during a call.
 Press the mute key.
To reactivate microphone: Press the mute key again or press any other key.
The mute key LED flashes while the microphone is deactivated.
Setting the ringer
You can set the ringer melody and volume to 9 levels or turn it off (factory default: level 6).
Lift the handset, press the set key.

 Press the hash key.
Press one of the number keys.

(0: Ringer off until handset is next lifted).
 Press the set key.
Note: The LED on the mute key flashes while the telephone is in set mode.
Operation on a PABX
Special functions/Recall key
During an external call, you can To do this, press the recall key  . make an enquiry or forward the call.
The subsequent procedure depends on your PABX.
To set the recall key, the telephone's flash time must be set consistent with your PABX. Please refer to the operating instructions for your PABX.
Changing the dialling mode/ flash time
The telephone supports the following dialling modes:
T1: Tone dialling, flash time 100 ms
T2: Tone dialling, flash time 280/600 ms (depending on device model)
P: Pulse dialling
Depending on your PABX, you may need to change your telephone's dialling mode or the flash time.
To so this, use the sliding switch below the keypad.

Temporary tone dialling switching in "Pulse" position
To use functions that require tone dialling (e.g. remote control of answering machine), you can set the telephone to tone dialling for the duration of the call without adjusting the switch.
After the connection is established:
 Press the star key.
After the connection is broken, the setting reverts to pulse dialling.
Operation on public telephone systems
Public telephone systems - in some cases by special order/request – offer you a range of useful additional services (e.g. call divert, call back on busy, three-party conference etc.). These services can be selected using specified key combinations, which your network provider will notify you of.
You can save the entire key combination, including the number of a fixed call divert destination, to your speed dial keys just like a normal number.
Recall key
In public telephone systems, the recall key is required to use certain additional services; e.g. for "Call back on busy".
You may need to adjust the flash time of your telephone to the needs of the public telephone system. To do this, use the sliding switch below the keypad.
Care
Wipe the unit with a damp cloth or an antistatic cloth. Do not use solvents or microfibre cloths. Never use a dry cloth; this can cause static.
Contact with liquid
If the device comes into contact with liquid:
- Allow the liquid to drain from the device.
- Pat all parts dry. Place the device (the keypad facing down) in a dry, warm place for at least 72 hours (not in a microwave, oven etc.).
- Do not switch on the device again until it is completely dry.
When it has fully dried out, you will normally be able to use it again. In rare cases, contact with chemical substances can cause changes to the telephone's exterior. Due to the wide variety of chemical products available on the market, it was not possible to test all substances.
Questions and answers
You lift the handset but you hear no dialling tone:
Is the connecting lead correctly plugged into the telephone and the telephone socket?
The dialling tone is audible but the telephone will not dial:
The connection is OK. Is the dialling mode set correctly?
The other party cannot hear you
Mute activated?
Regular pulse noises can be heard during a call
The connection is receiving metering pulses from the exchange, which the telephone cannot interpret. Contact your network operator.
Protecting our environment
Our environmental mission statement
We, Gigaset Communications GmbH, bear social responsibility and are actively committed to a better world. Our ideas, technologies and actions serve people, society and the environment. The aim of our global activity is to secure sustainable life resources for humanity. We are committed to taking responsibility for our products throughout their entire life cycle. The environmental impact of products, including their manufacture, procurement, distribution, use, service and disposal, is evaluated early on, during product and process design.
Further information on environmentally friendly products and processes is available on the Internet at www.gigaset.com.
Environmental management system
Gigaset Communications GmbH is certified according to the international standards EN 14001 and ISO 9001.
ISO 14001 (Environment): Certified since September 2007 by TüV SÜD Management Service GmbH.
ISO 9001 (Quality): Certified since 17/02/1994 by TüV Süd Management Service GmbH.

Contacts
If you should encounter any problems when operating the telephone connected to a communication system with analogue network access, please contact the network operator responsible or your dealer.
Authorisation
This device is intended for connection to analogue networks. Outside the European Economic Area (with the exception of Switzerland) depending on national type approval.
Country-specific requirements have been taken into consideration.
We, Gigaset Communications GmbH, declare that this device meets the essential requirements and other relevant regulations laid down in Directive 2014/30/EU and 2014/35/EU.
A copy of the Declaration of Conformity is available at this Internet address:
www.gigaset.com/docs
Documents / Resources
References
Download manual
Here you can download full pdf version of manual, it may contain additional safety instructions, warranty information, FCC rules, etc.
Advertisement


Need help?
Do you have a question about the DA210 and is the answer not in the manual?
Questions and answers