HP ProLiant ML150 G6 Installation Sheet
Hide thumbs
Also See for ProLiant ML150 G6:
- Maintenance and service manual (114 pages) ,
- User manual (112 pages) ,
- Quickspecs (45 pages)
Table of Contents
Advertisement
Quick Links
Advertisement
Table of Contents

Subscribe to Our Youtube Channel
Related Manuals for HP ProLiant ML150 G6


Summary of Contents for HP ProLiant ML150 G6
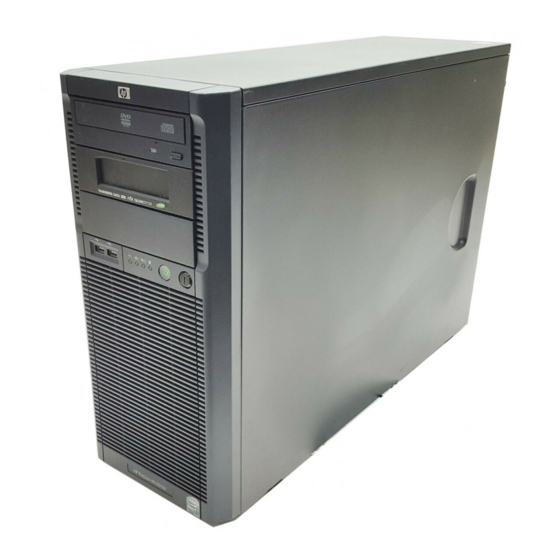
- Page 1 HP ProLiant ML150 G6 Server Installation Sheet Part Number 501527-004...
- Page 2 Connect the keyboard, mouse, and monitor. To determine the BIOS version: a. Power up the server. b. Press the Esc key at the HP logo screen, and then press the Pause key to halt screen movement. Note the server BIOS version. Verify the server BIOS version against the latest BIOS version listed for this server on the HP website: http://www.hp.com.
- Page 3 Figure 3 Removing the access panel Item Description Item Description CPU1_DIMM slot 4B SATA 3 connector CPU1_DIMM slot 5F SATA 2 connector CPU1_DIMM slot 6C SATA 1 connector Power supply connector System fan 1 (4-pin) Expansion slot 5 System fan 2 (redundant) Expansion slot 4 System fan 3 Expansion slot 3...
- Page 4 Figure 8 Installing a non-hot-plug drive Installing an accessory card Figure 6 Installing an accessory card Hot-plug drive installation Figure 9 Installing a hot-plug-drive Installing hard drives This system can support SATA and SAS drives in non-hot-plug and hot-plug hard disk drive cages. For detailed drive cabling information, see the server hood label.
- Page 5 Figure 11 Installing an optical drive Figure 12 Installing a DIMM Installing a processor Installing memory For a two-processor system, both processors must be of the same Memory installation guidelines are as follows: type. To access the processor sockets, remove the air baffle as shown previously.
- Page 6 Figure 14 Reinserting the processor Figure 16 Removing the tool Close the processor socket retaining bracket and the processor locking lever. The processor socket cover is automatically Align the processor installation tool with the socket, and then ejected. Remove the cover. install the processor.
- Page 7 Figure 18 Installing the heatsink NOTE: Ensure that the air flow arrow on top of the heatsink is pointing towards the rear of the chassis.
- Page 8 © Copyright 2009, 2012 Hewlett-Packard Development Company, L.P. The information contained herein is subject to change without notice. The only warranties for HP products and services are set forth in the express warranty statements accompanying such products and services. Nothing herein should be construed as constituting an additional warranty. HP shall not be liable for technical or editorial errors or omissions contained herein.
Need help?
Do you have a question about the ProLiant ML150 G6 and is the answer not in the manual?
Questions and answers